Snickers Bites

Welcome to anyone who is new to my wine blog… especially to those who have found your way here through @coffee_and_crayons_blog. I wanted to get this recipe posted somewhere so I had a way to share it with others. While it doesn’t incorporate wine, it’s one that I make often and is one of my favorite whole food snacks. This is my smaller “snack-size” spin on one that is posted on Brittany’s @EatingBirdFood . Note: my ingredients list is vague for a reason. If you want to use 3 dates and make 12 bites, you’ll need less ingredients than if you use 7 dates and make 28 bites. I don’t typically measure this recipe and like to “use the force”, as my husband so says. My Snickers Bites don’t look incredibly swoon-worthy, but they’re delicious! See Photo #1 below.

Ingredients:
Medjool dates
Whole dry-roasted almonds (or pecans)
Peanut butter (the drippy kind where peanuts are the only ingredient)
Chocolate Chips (I either use semi-sweet or dark chocolate)
Coconut oil

Directions:
1. Line a cookie tray with a piece of parchment paper. Slice your dates into fourths and lay on the prepared tray, leaving enough room in case things get “messy”.
2. Press a single nut on each quarter piece of date. See Photo #2
3. Spoon a small amount of peanut butter on each date. Pop in the freezer to allow the peanut butter to harden. Try not to get excess peanut butter on the parchment, since it will be discarded if it’s not *on* the bite. Once hardened, I flip the bites over before adding the chocolate. This is completely unnecessary, but I think it’s pretty. See Photo #3
4. Warm up the chips with a small amount of coconut oil until smooth. I use a silicone measuring cup and microwave in 30 second increments until the chips and oil have melted together.
5. Spoon (or drizzle) a small amount of the chocolate mixture on top of each date… this is where it can get really messy and where you’ll be glad of a little space between each bite. Once all the bites are covered to your liking in chocolate, pop the tray back into the freezer to harden. See Photo #4
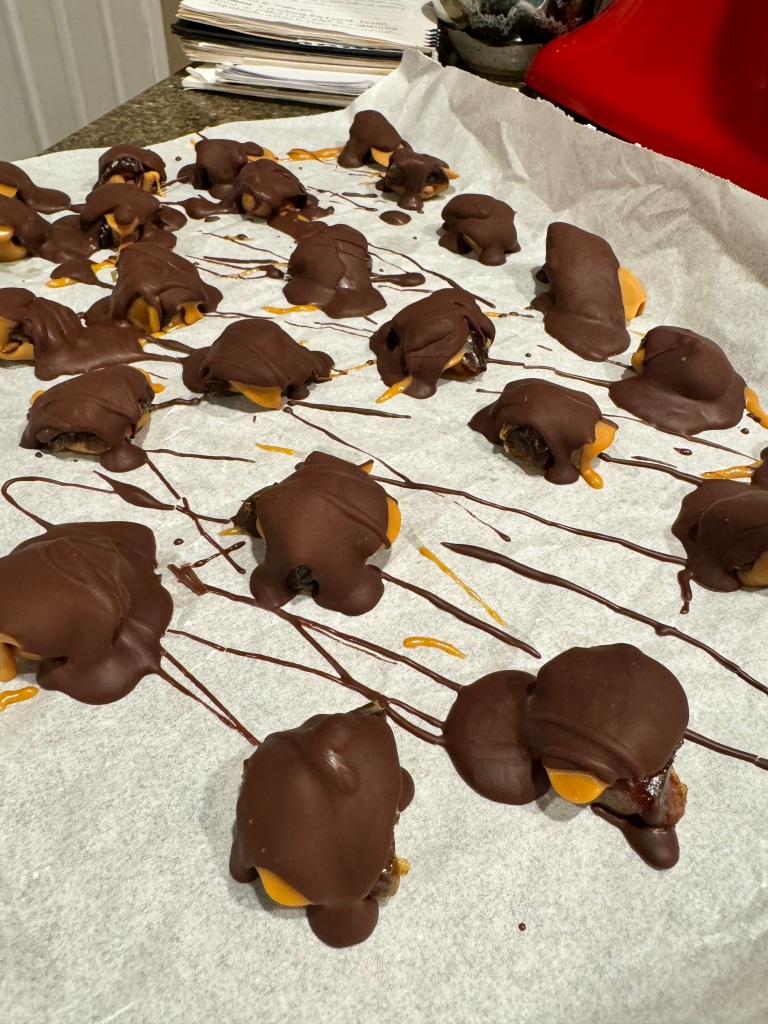
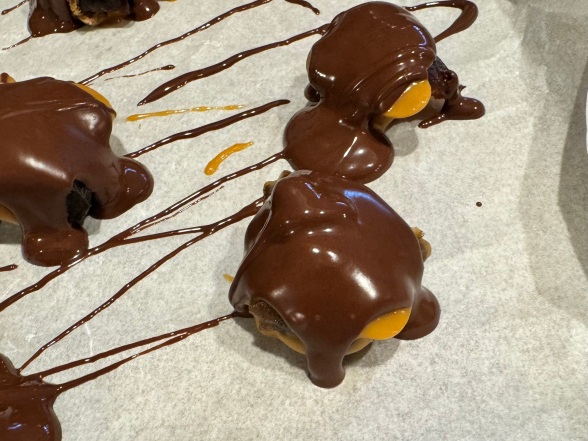
6. Once your snickers bites are hard enough, you can remove them from the tray and store them in a ziplock bag in your freezer. See Photo #5 below.

Photo #1 – completed Snickers Bite
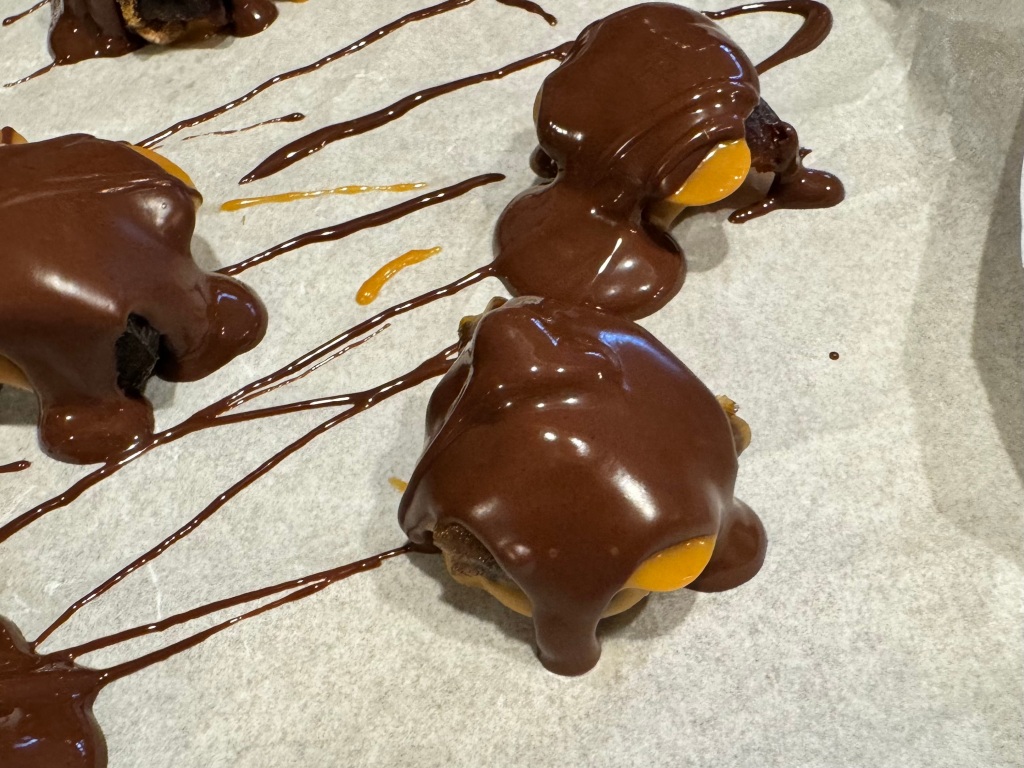
Photo # 2 – dates are quartered and a single almond is pressed into each
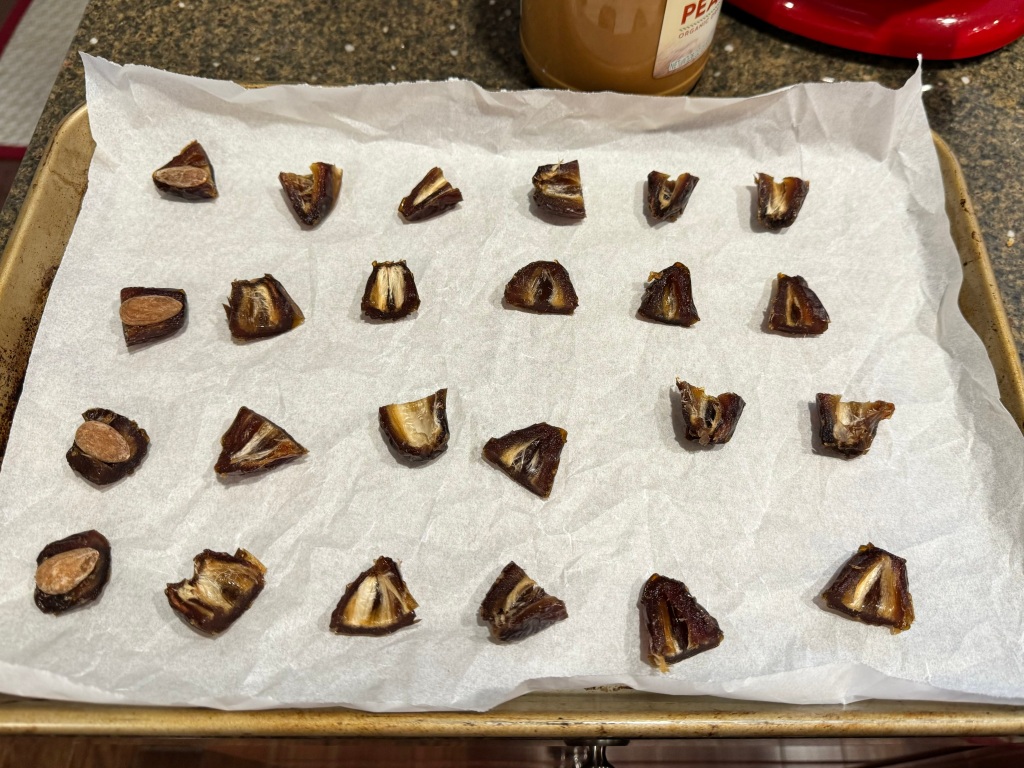
Photo #3 – Photo of bites, first with peanut butter and then with the bites flipped over, ready for the chocolate layer
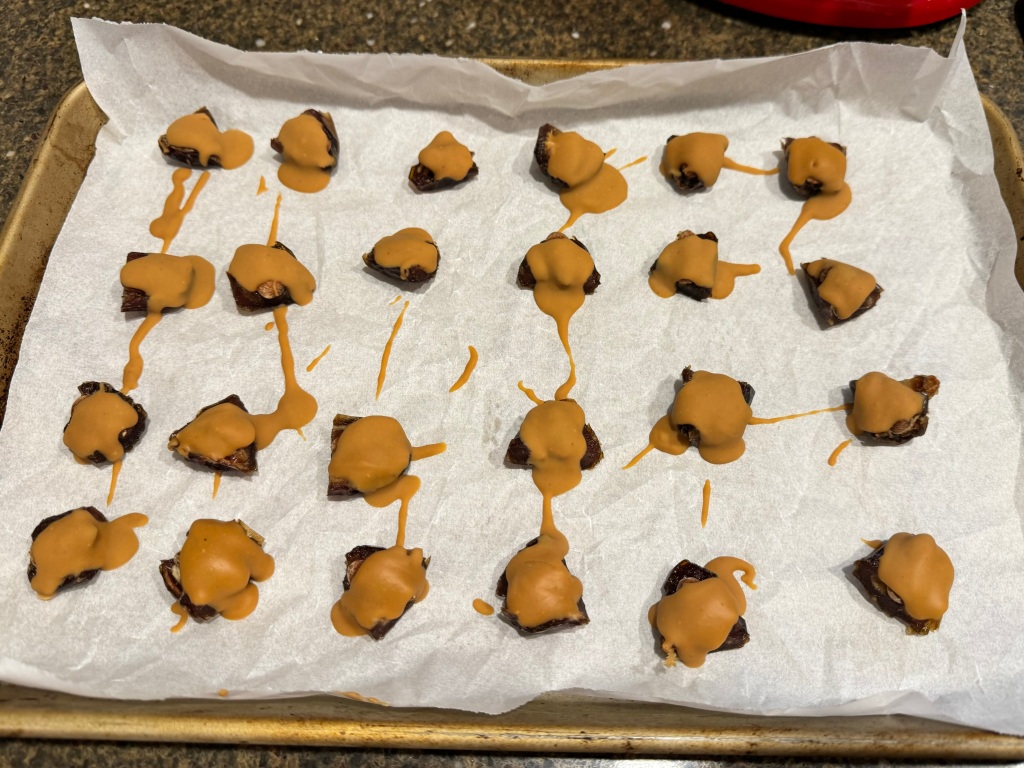
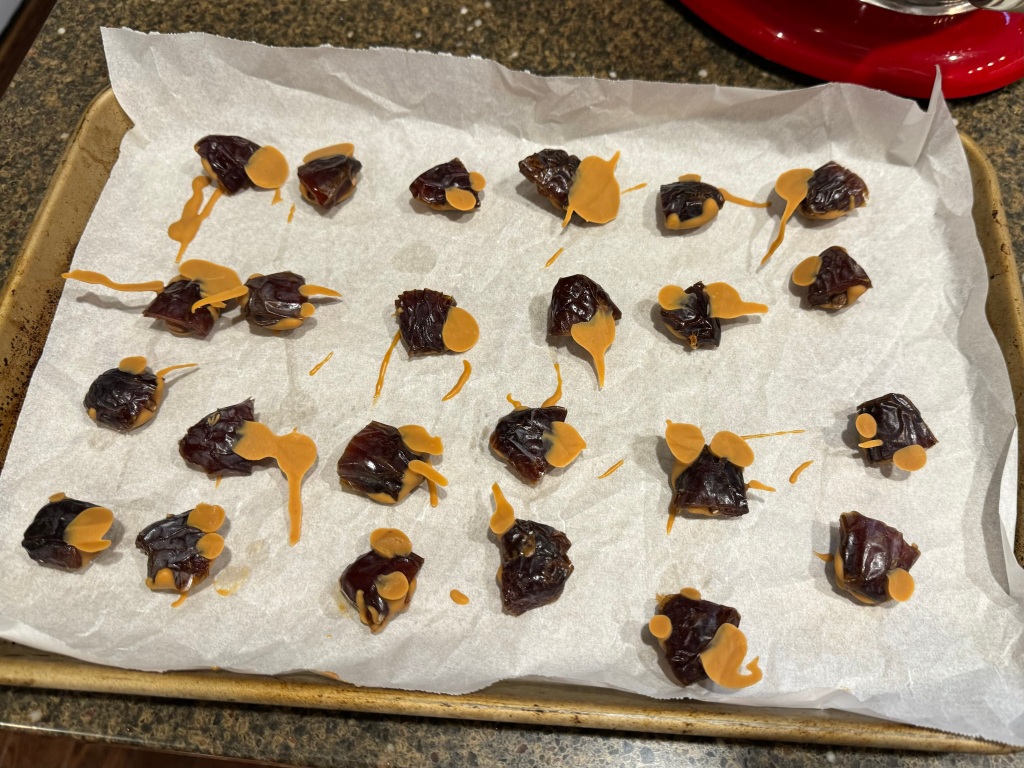
Photo #4 – chocolate layer with a bit of drizzle – now they head back to the freezer
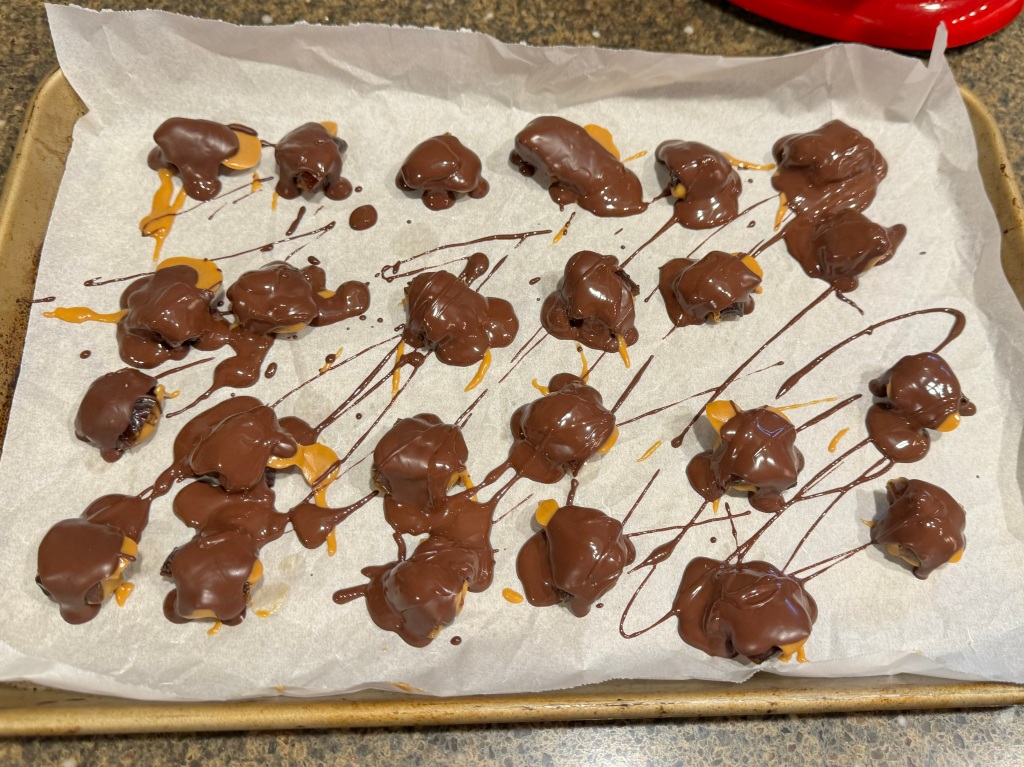
Photo #5 – completed Snickers Bites, nicely hardened and ready to eat.
I hope you enjoy this recipe. It’s one that I make every week or so and one that doesn’t seem to require a lot of thought or planning, provided I keep all the main ingredients on hand. You can certainly adjust this recipe to fit your own preferences – I’ve used dry-roasted pecans instead of almonds (just as delicious) but highly recommend using the larger Medjool dates rather than the smaller “pitted dates” you might find in large bags at a store like BJ’s.

Blueberry Lemon Scones

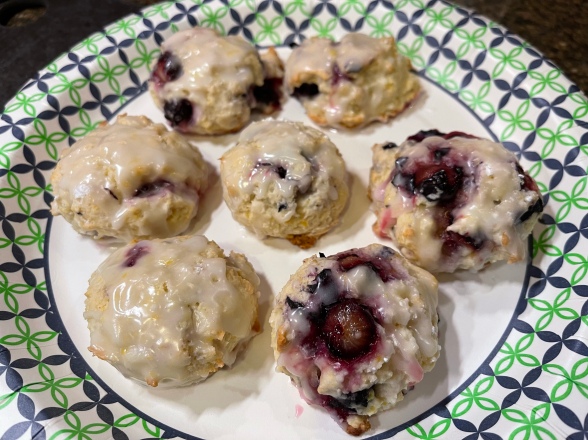
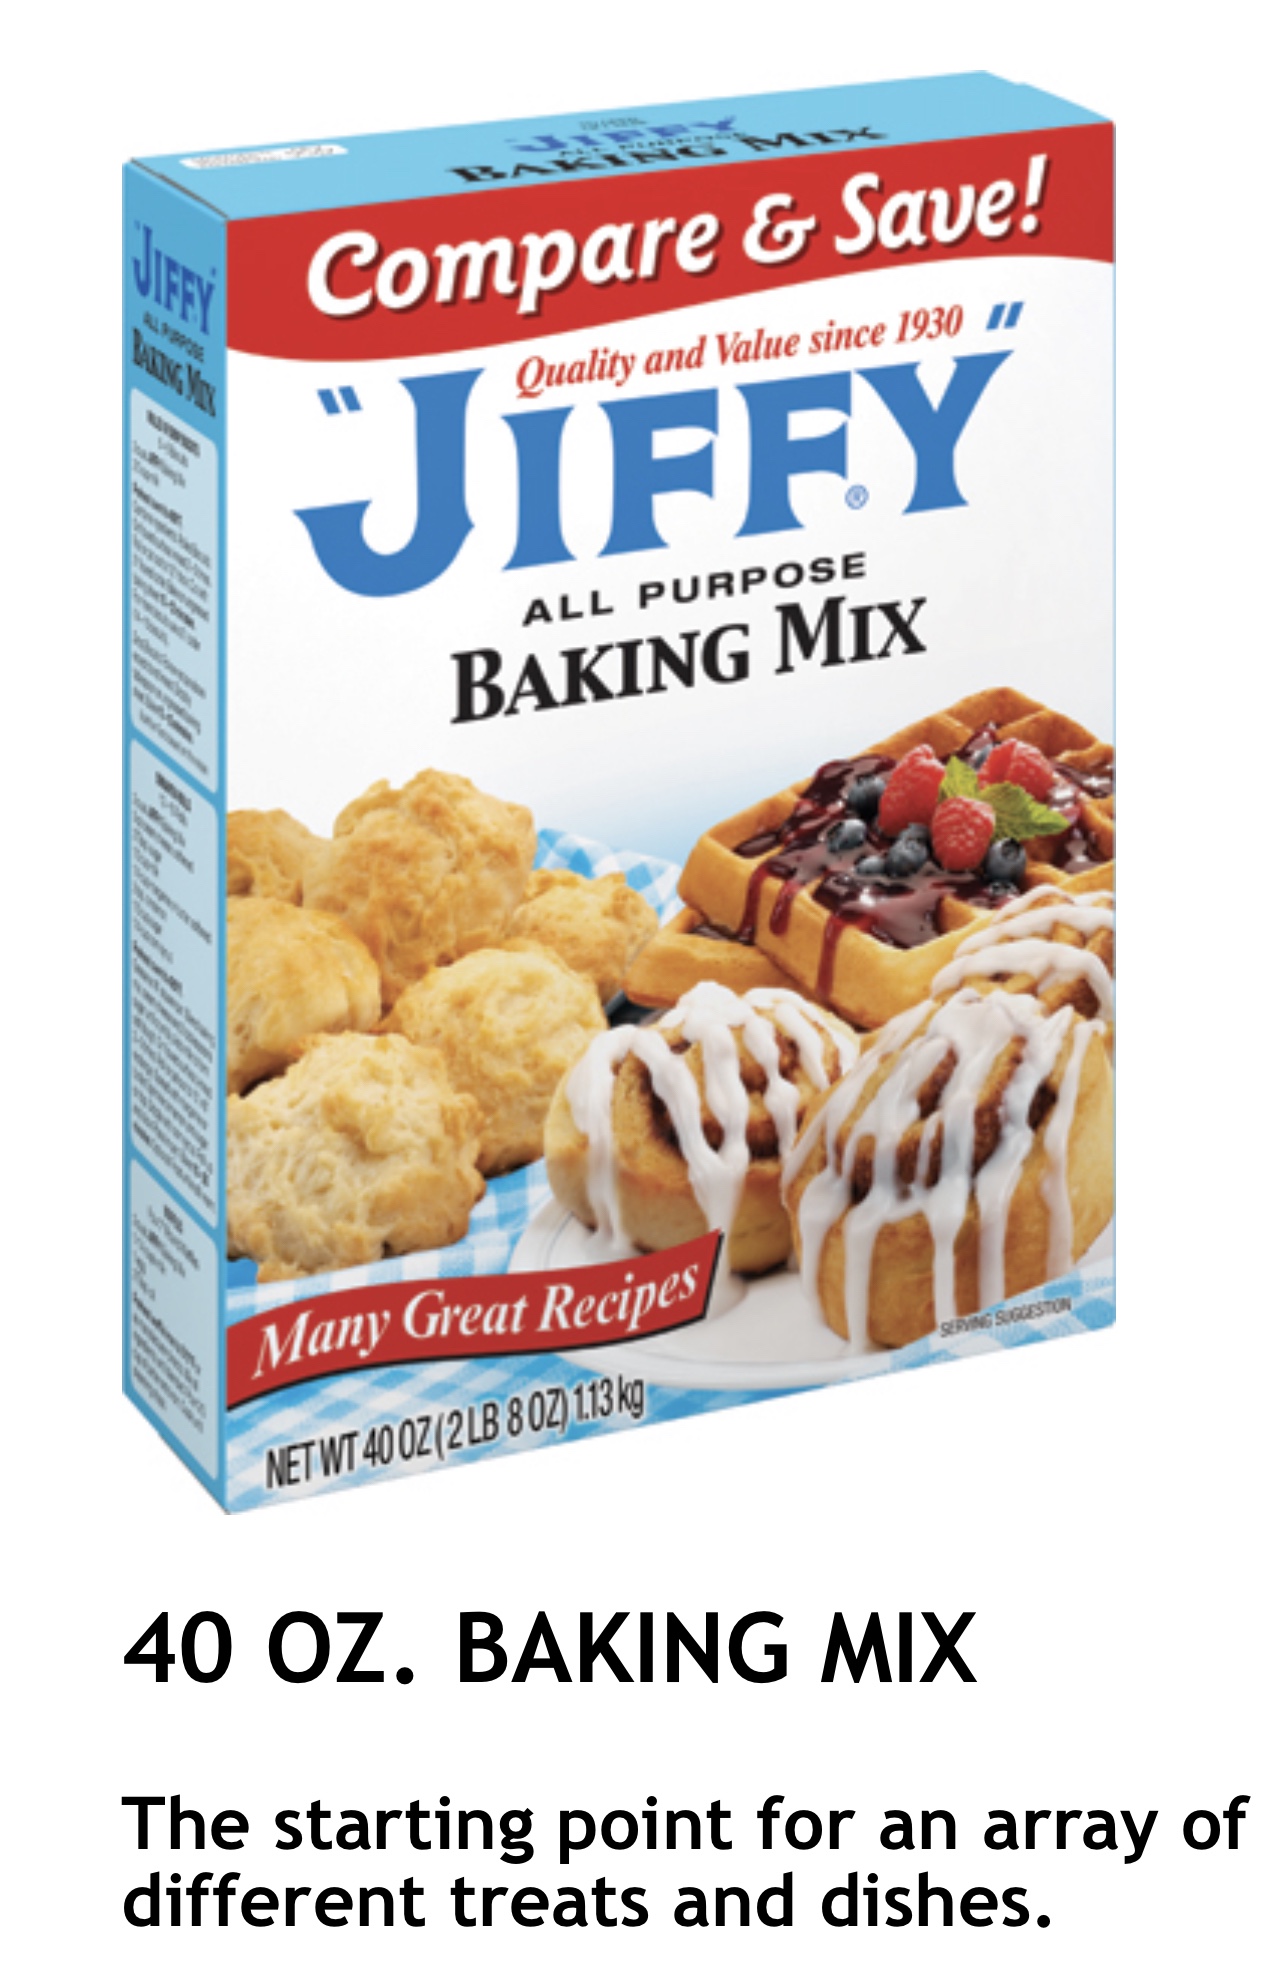
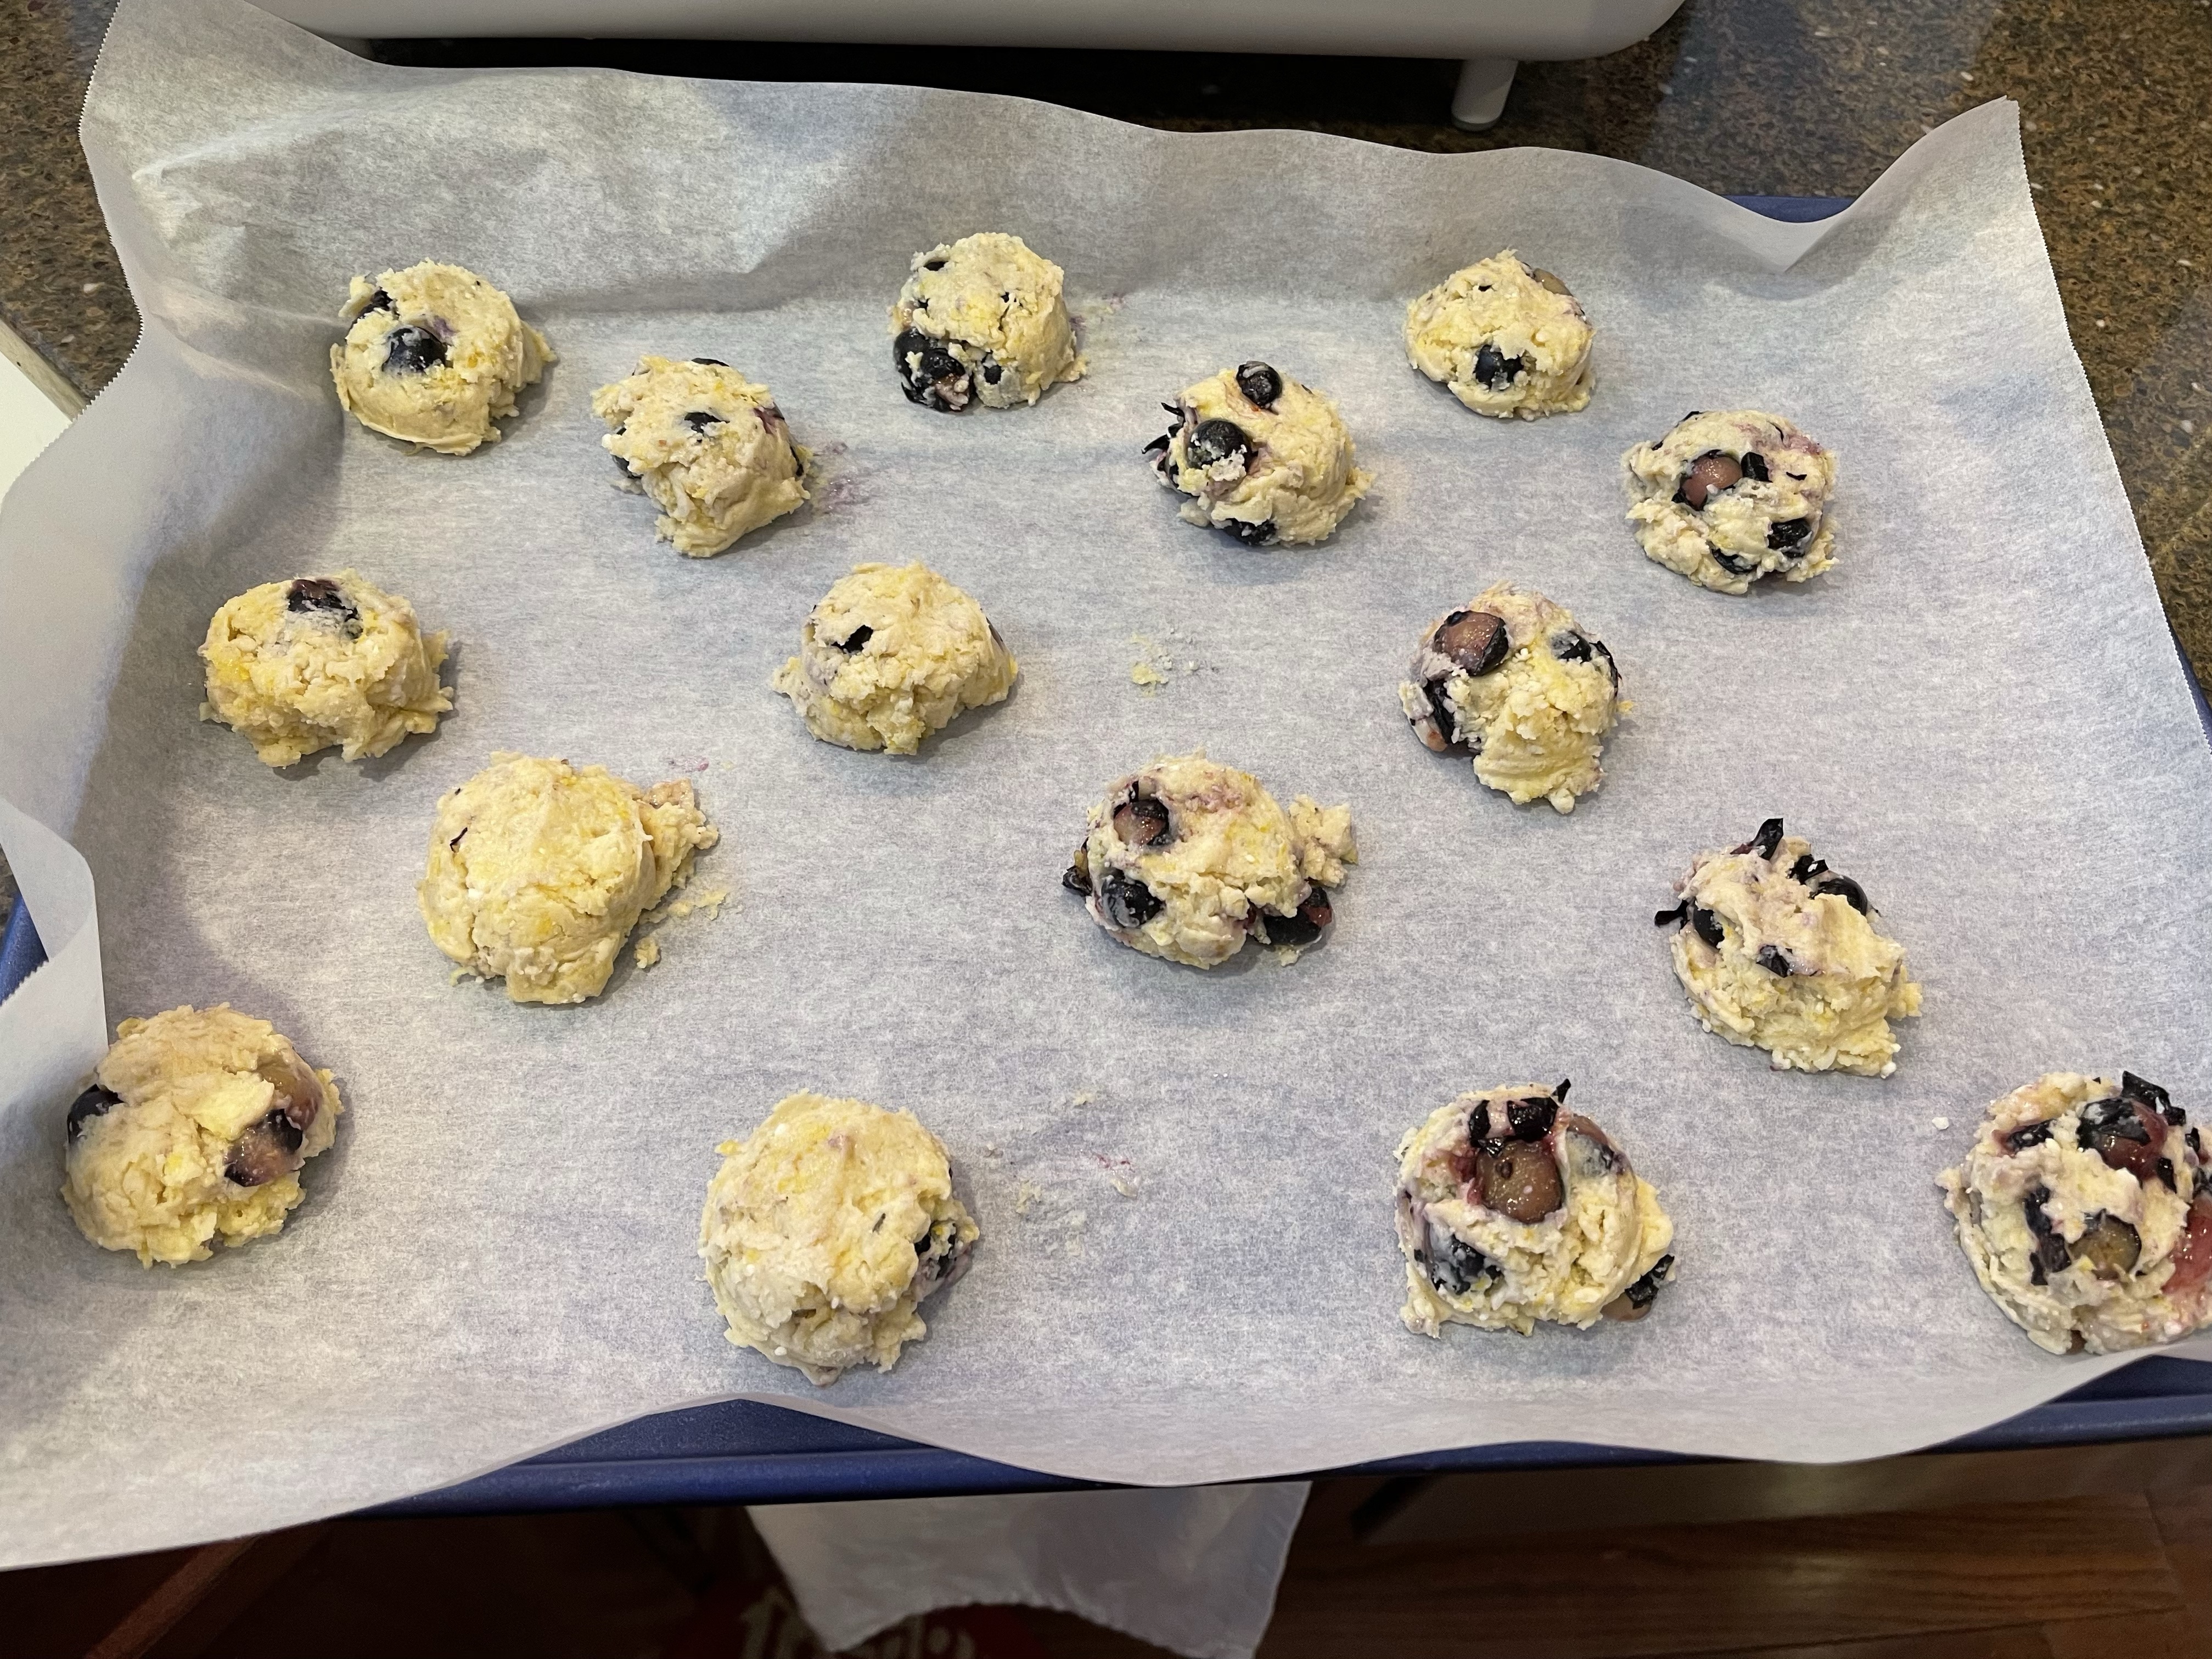
I got to play in the kitchen today…. and chose to experiment with a scone recipe that uses my favorite @JiffyMixes baking mix. Jiffy mix has been made by the Chelsea Milling Company, a family-owned business started in 1901. Since we lived in Chelsea, MI for a number of years, I love to use this product for biscuits, scones, pancakes, or even fried chicken… it’s so versatile. Here’s a photo of the box – look for it in the baking aisle of your local grocery store.

INGREDIENTS:

  • 1 1/2 cups Jiffy Mix
  • 3 TBSP sugar
  • 1 1/4 tsp lemon zest (I use the zest of one lemon)
  • 1/2 heaping cup blueberries, if using frozen, don’t thaw (I use 1 handful of blueberries)
  • 1 egg
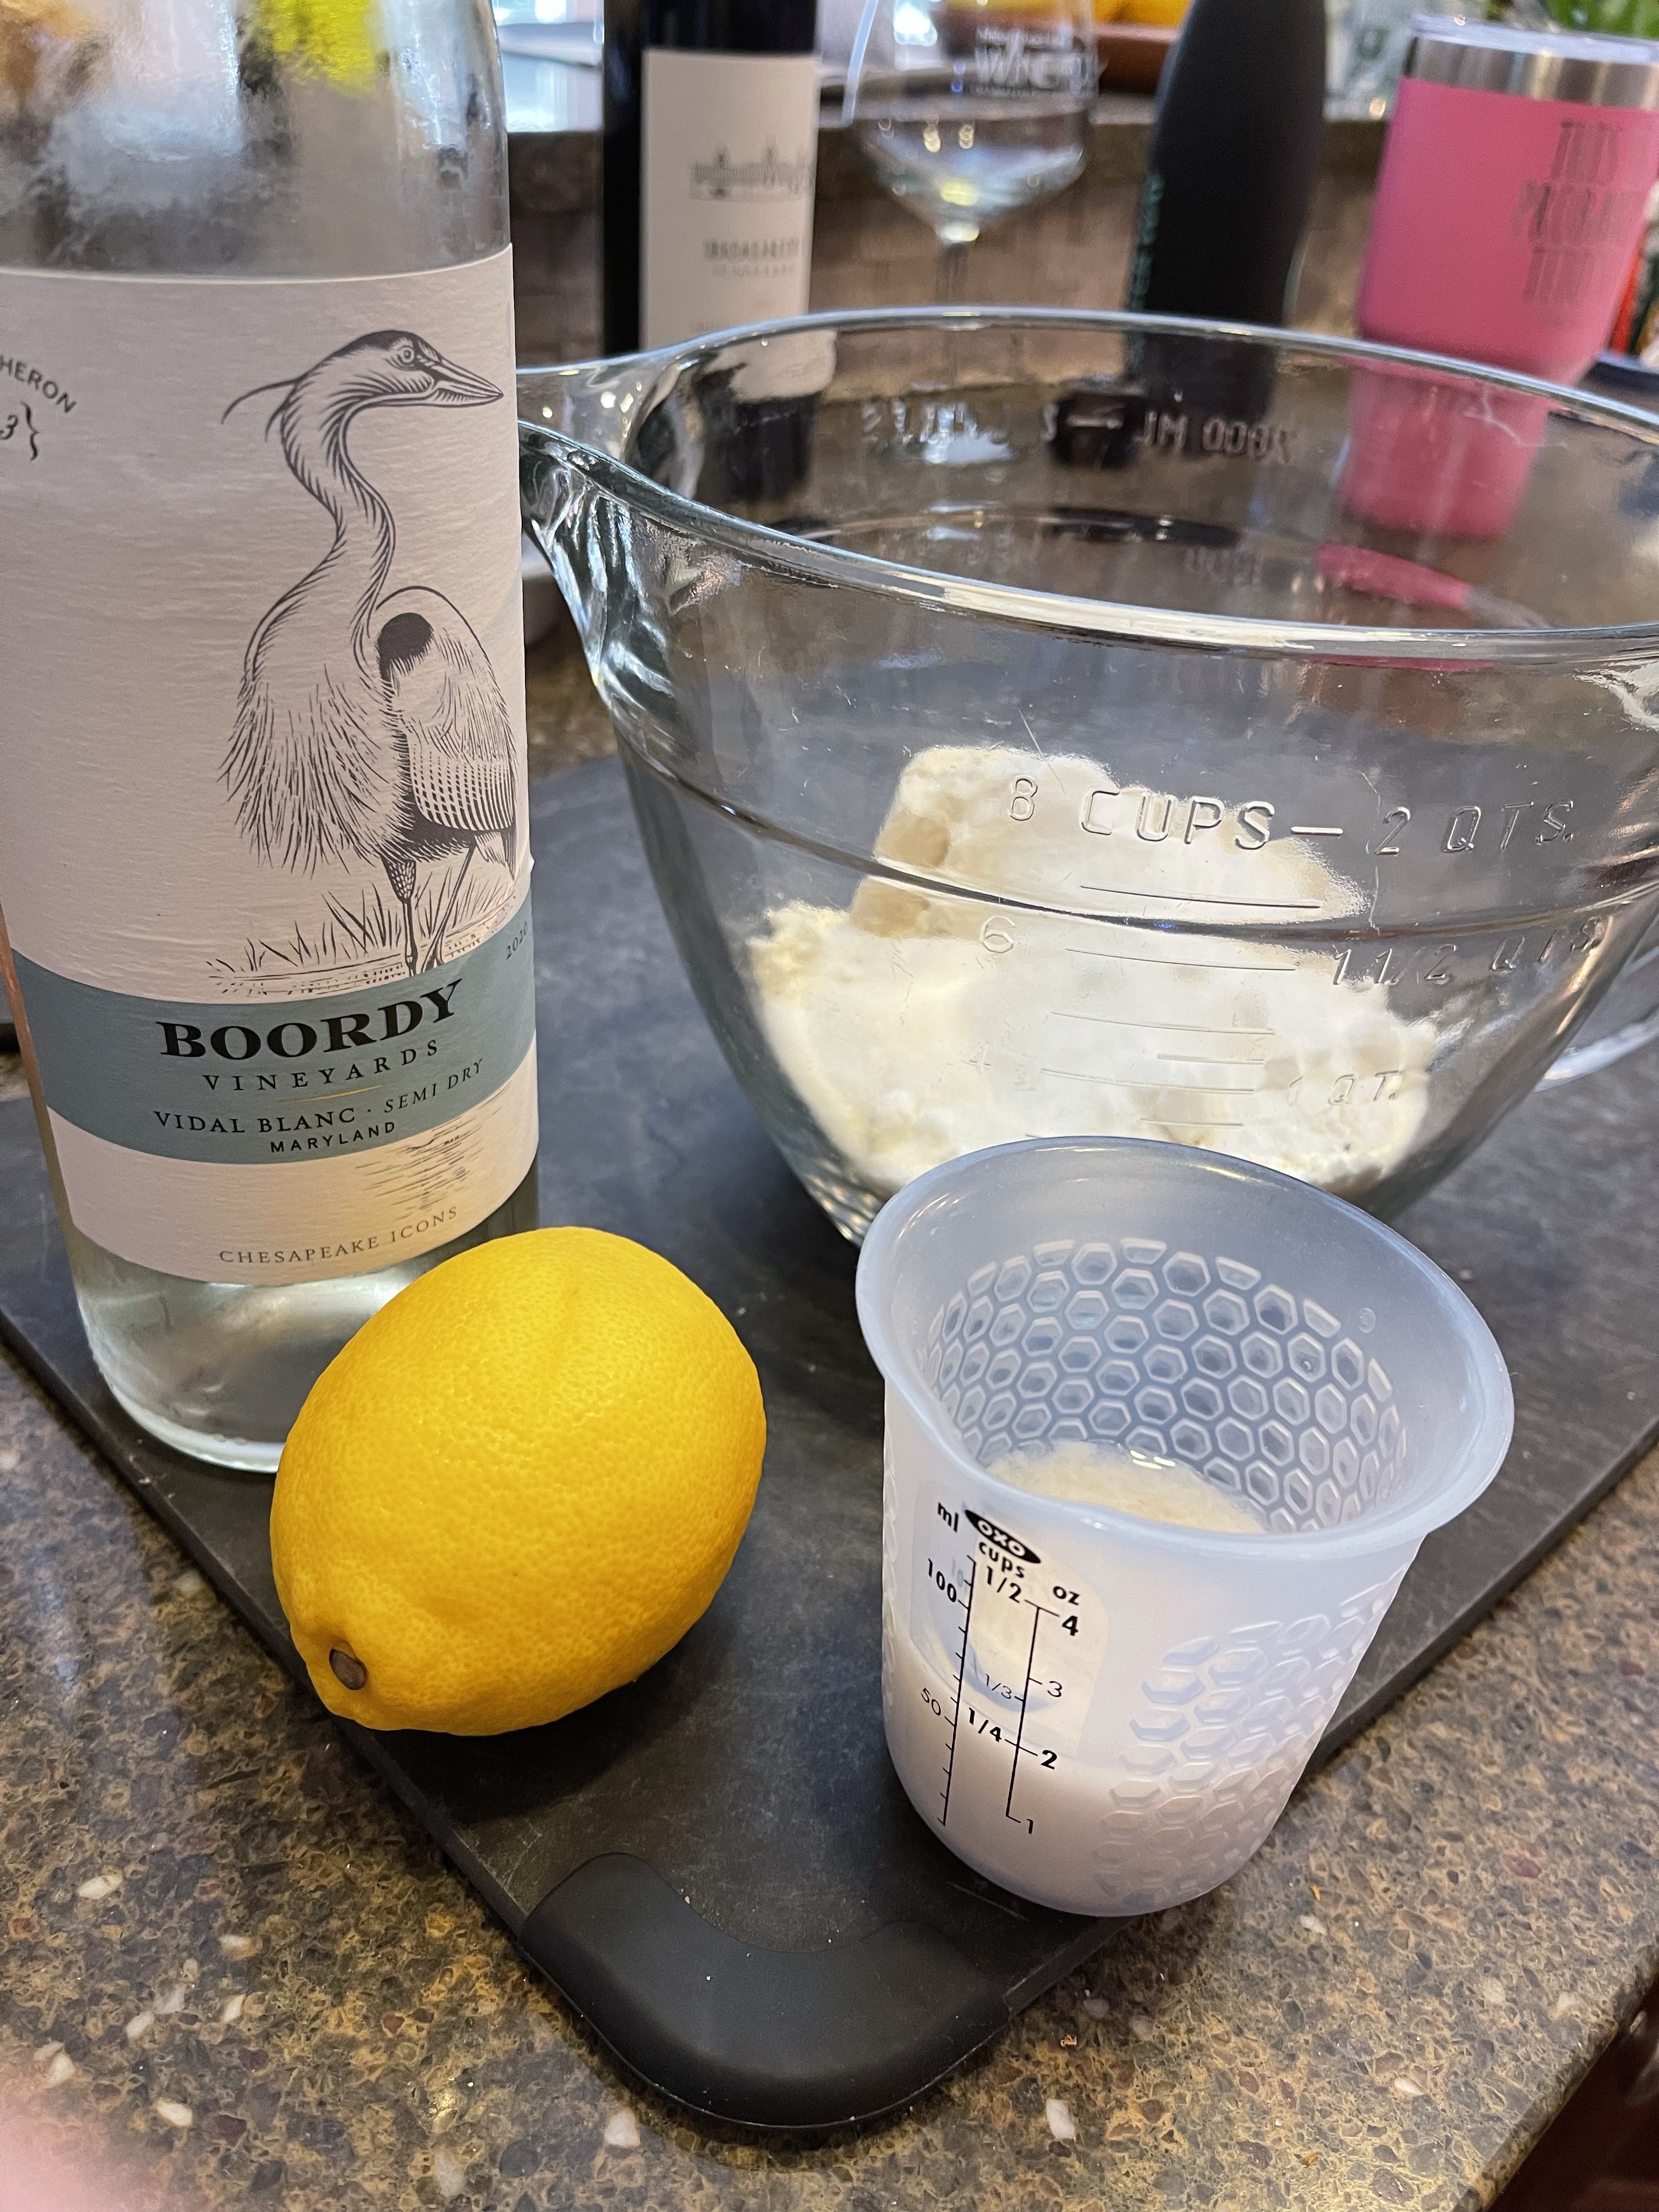
  • 3 TBSP liquid (I used a mixture of half almond milk, half @BoordyVineyards white wine)
  • 1/2 tsp vanilla extract

DIRECTIONS:

  • Preheat oven to 375* F
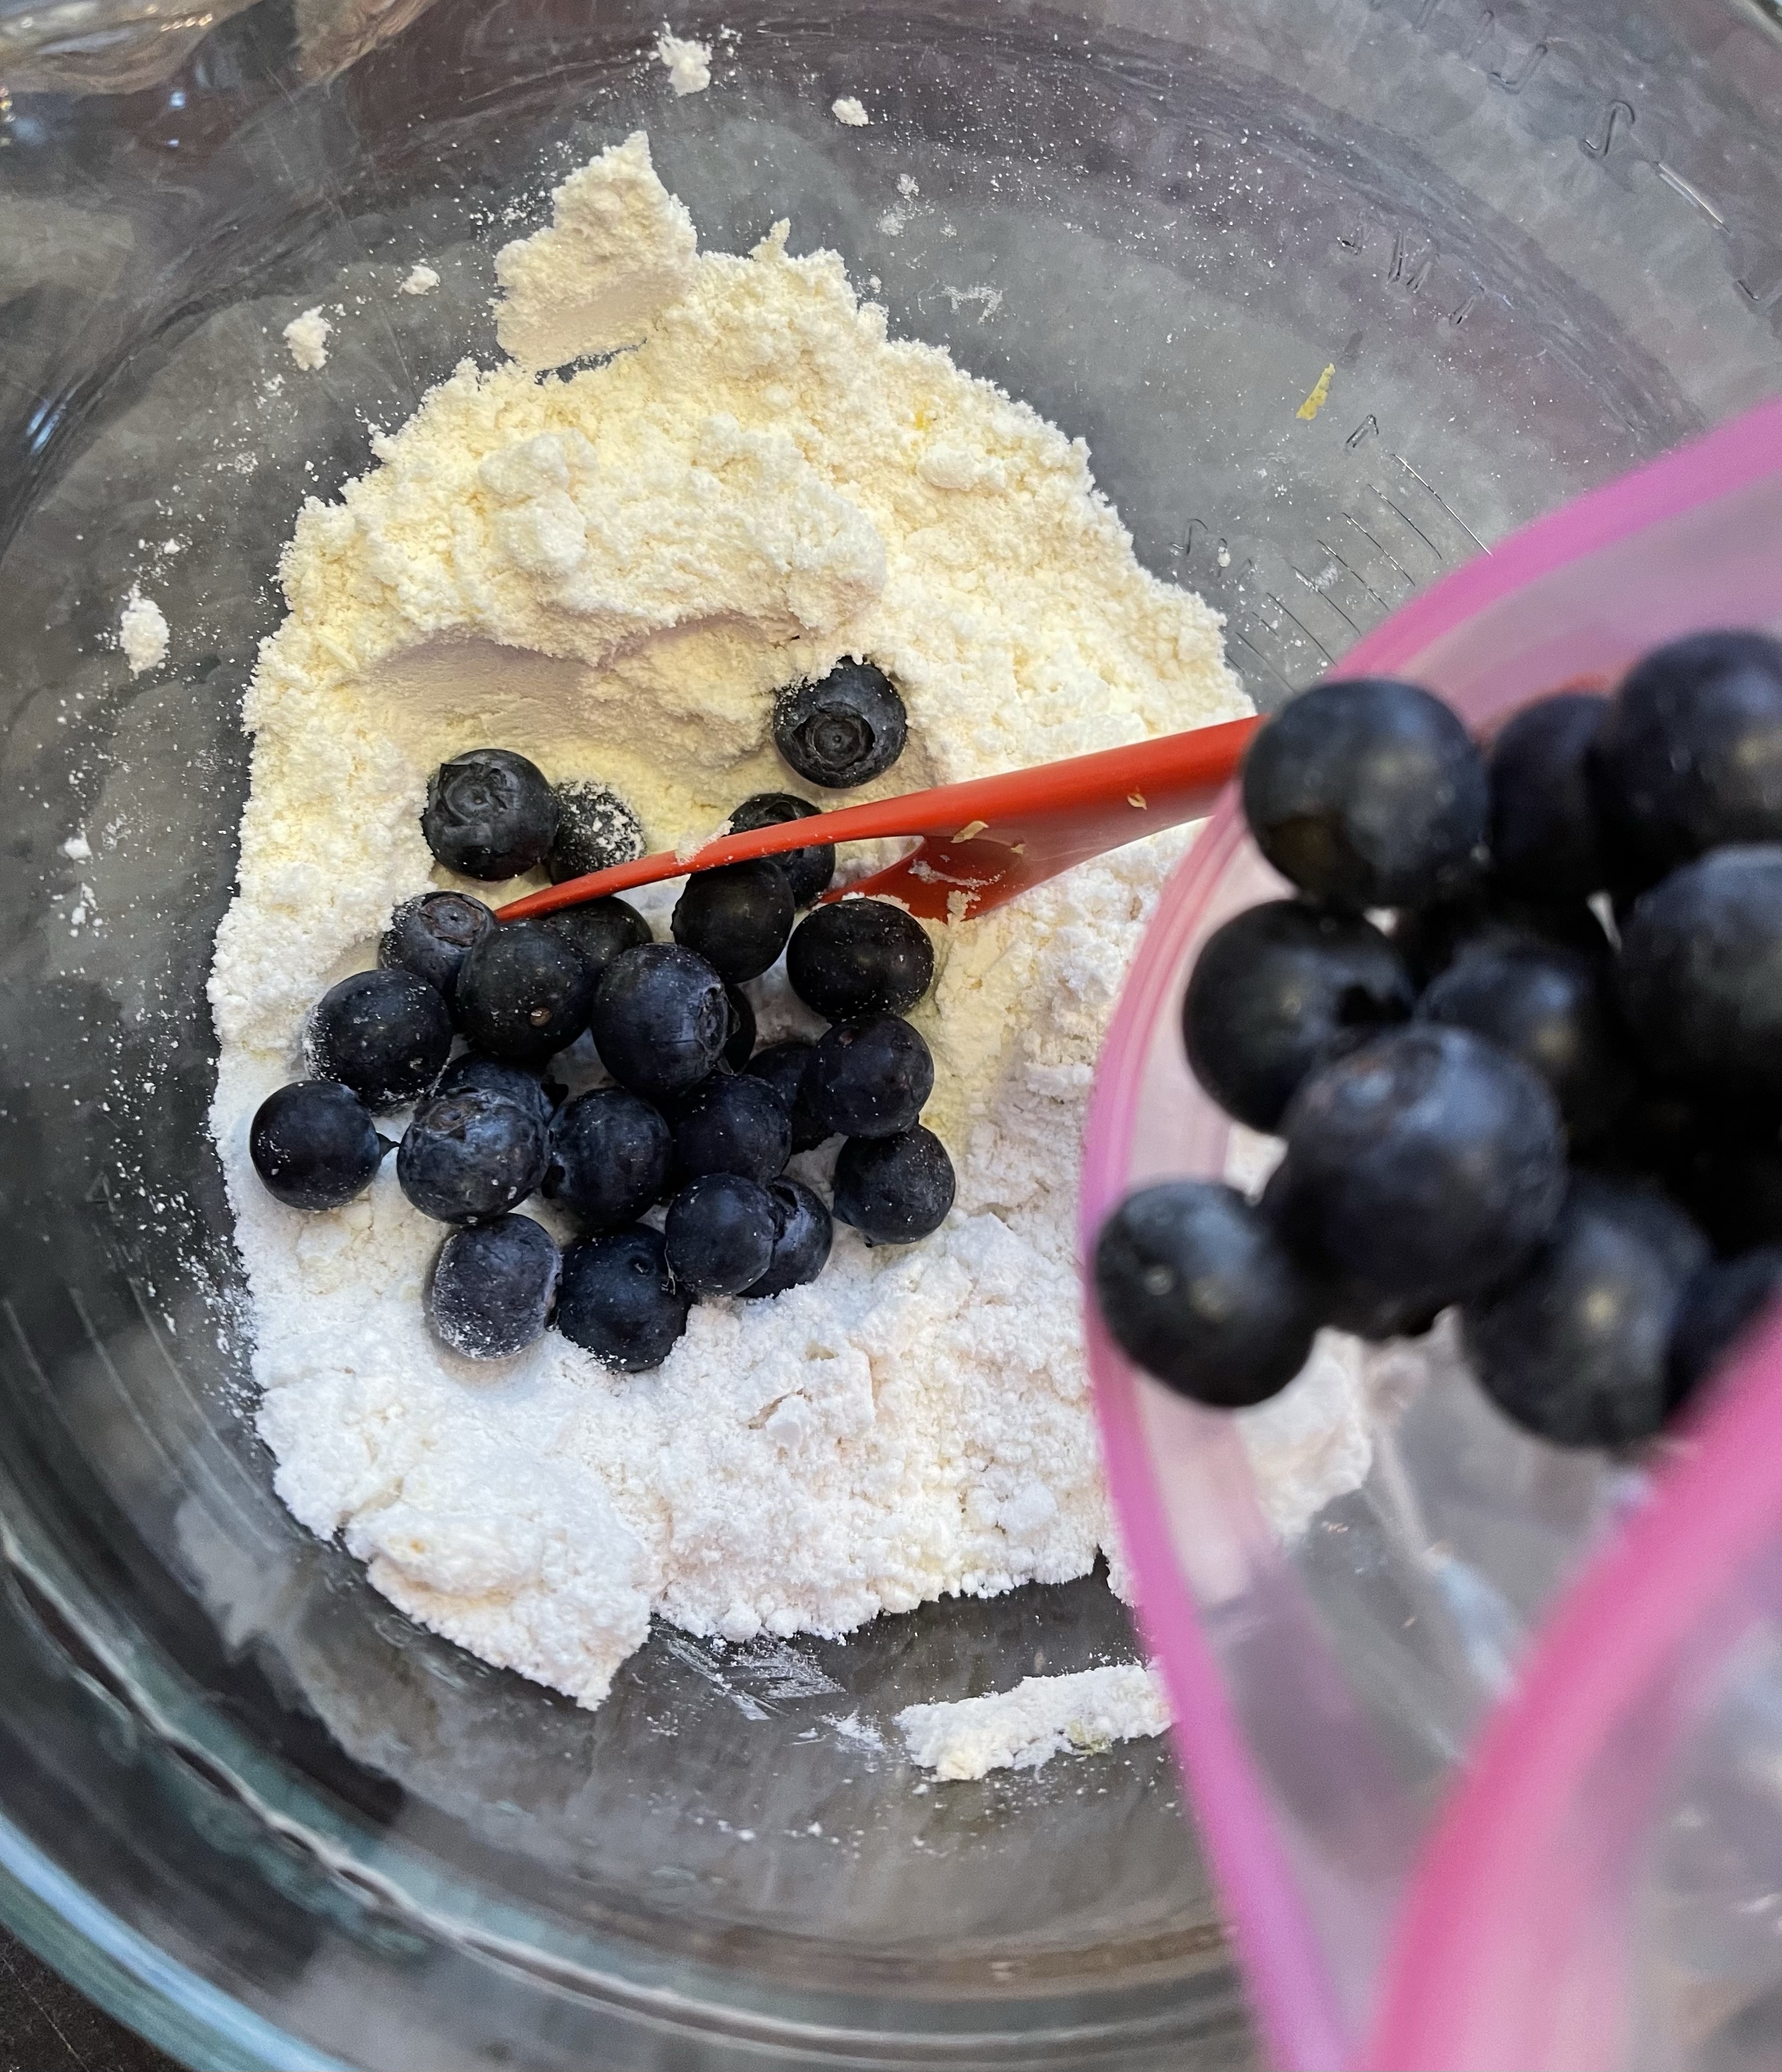
  • In a large bowl, blend Jiffy Mix, sugar, egg, liquids, and vanilla. Add zest and berries and mix thoroughly, but gently.
  • Lay a piece of parchment on cookie sheet and scoop out dough into small scones. I use a medium size cookie scoop and lightly press the dough down to flatten slightly. I like to lightly dust dough with sugar before baking
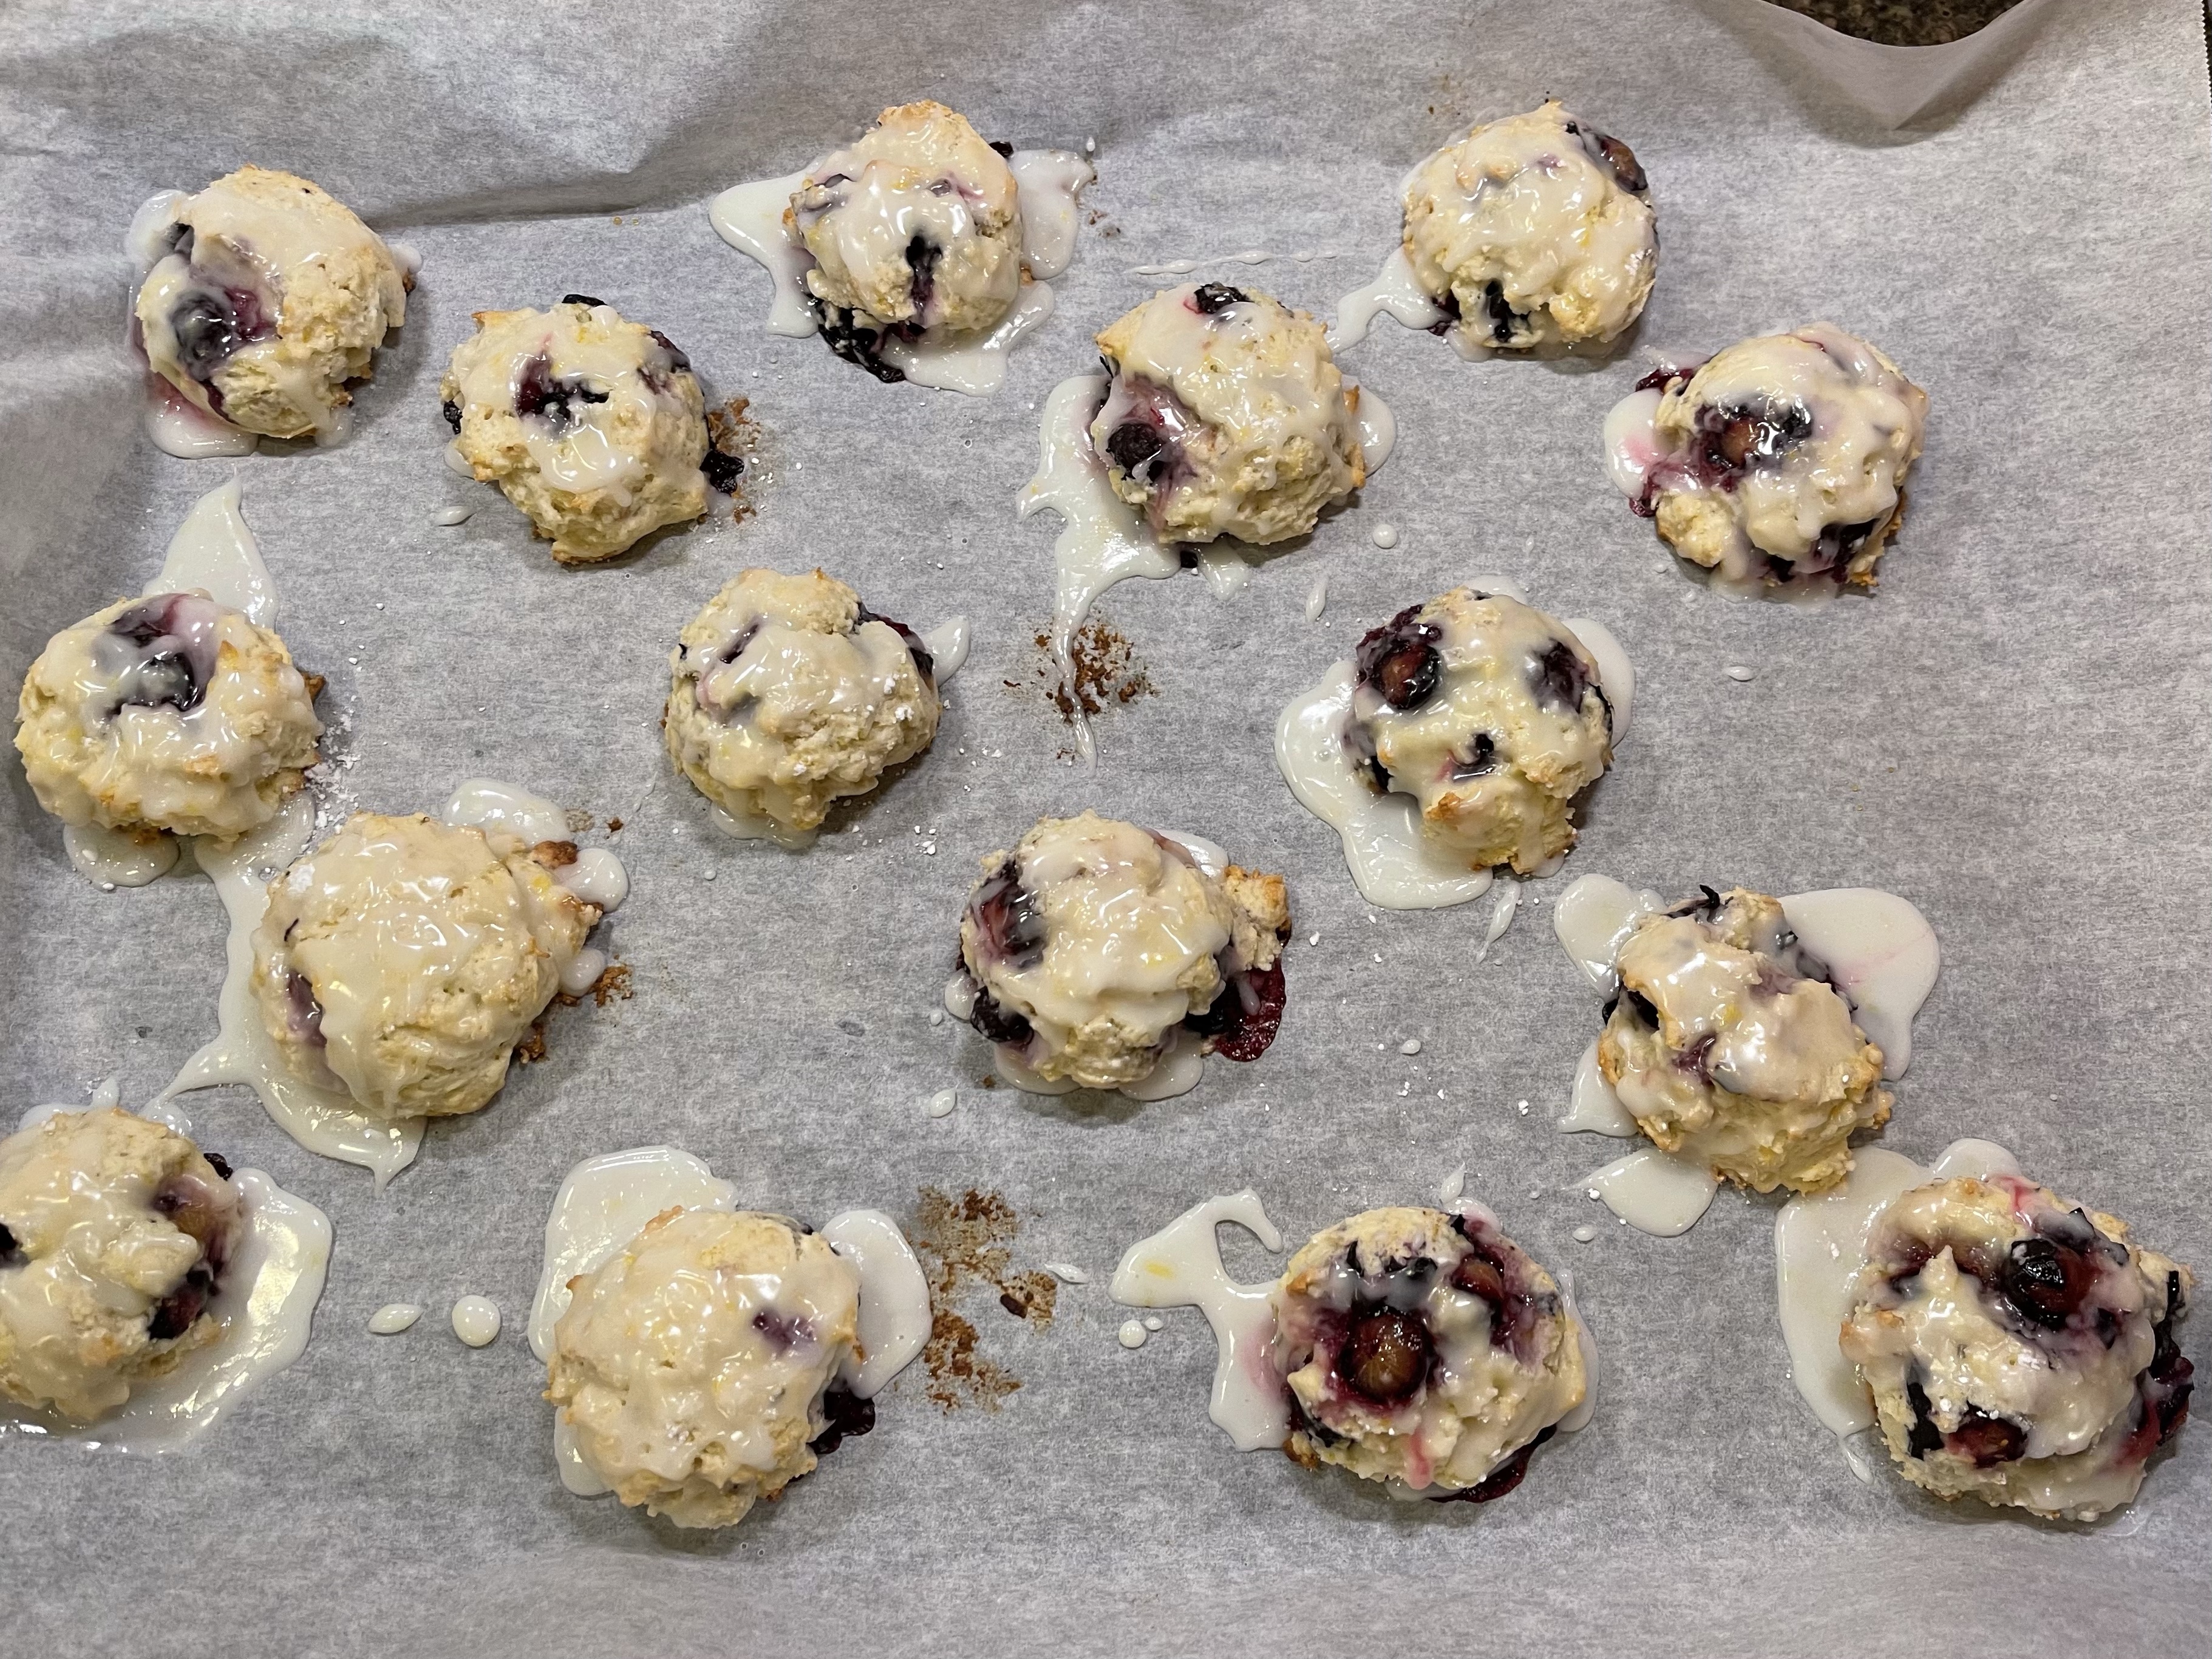
  • Bake in preheated oven for 10-15 minutes until edges begin to brown.
  • Let cool for at least 5 minutes before drizzling with glaze.

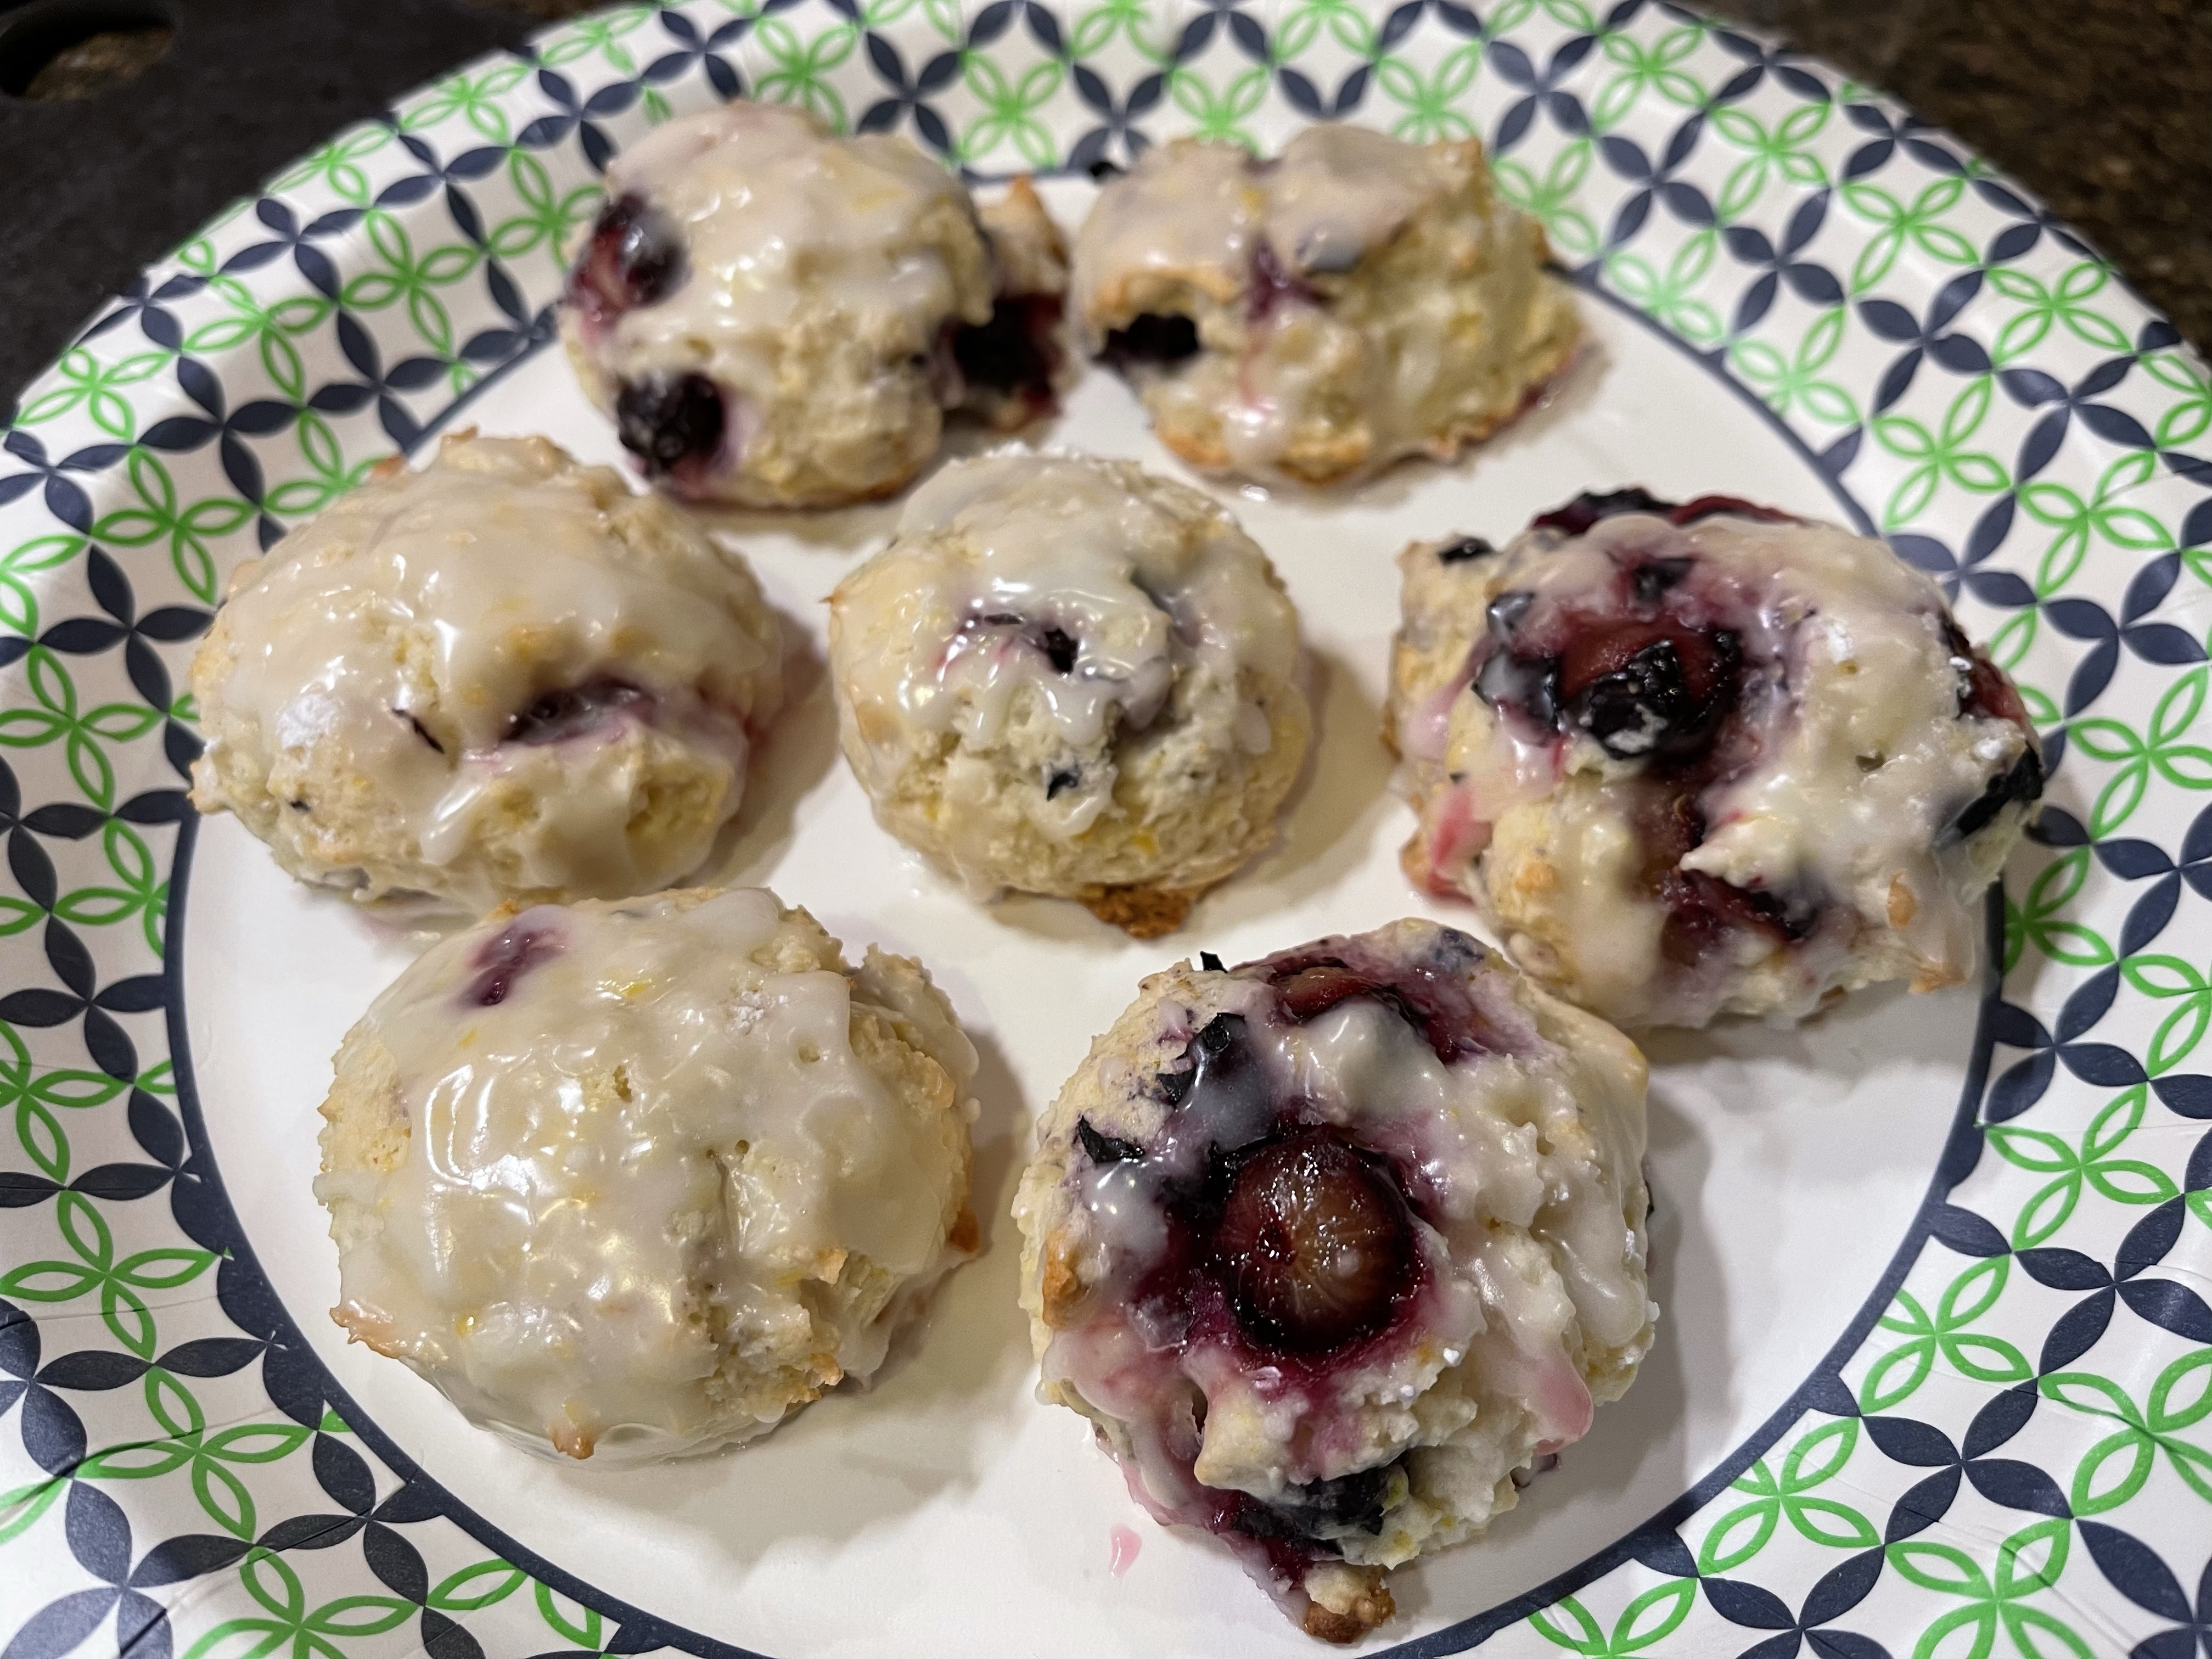
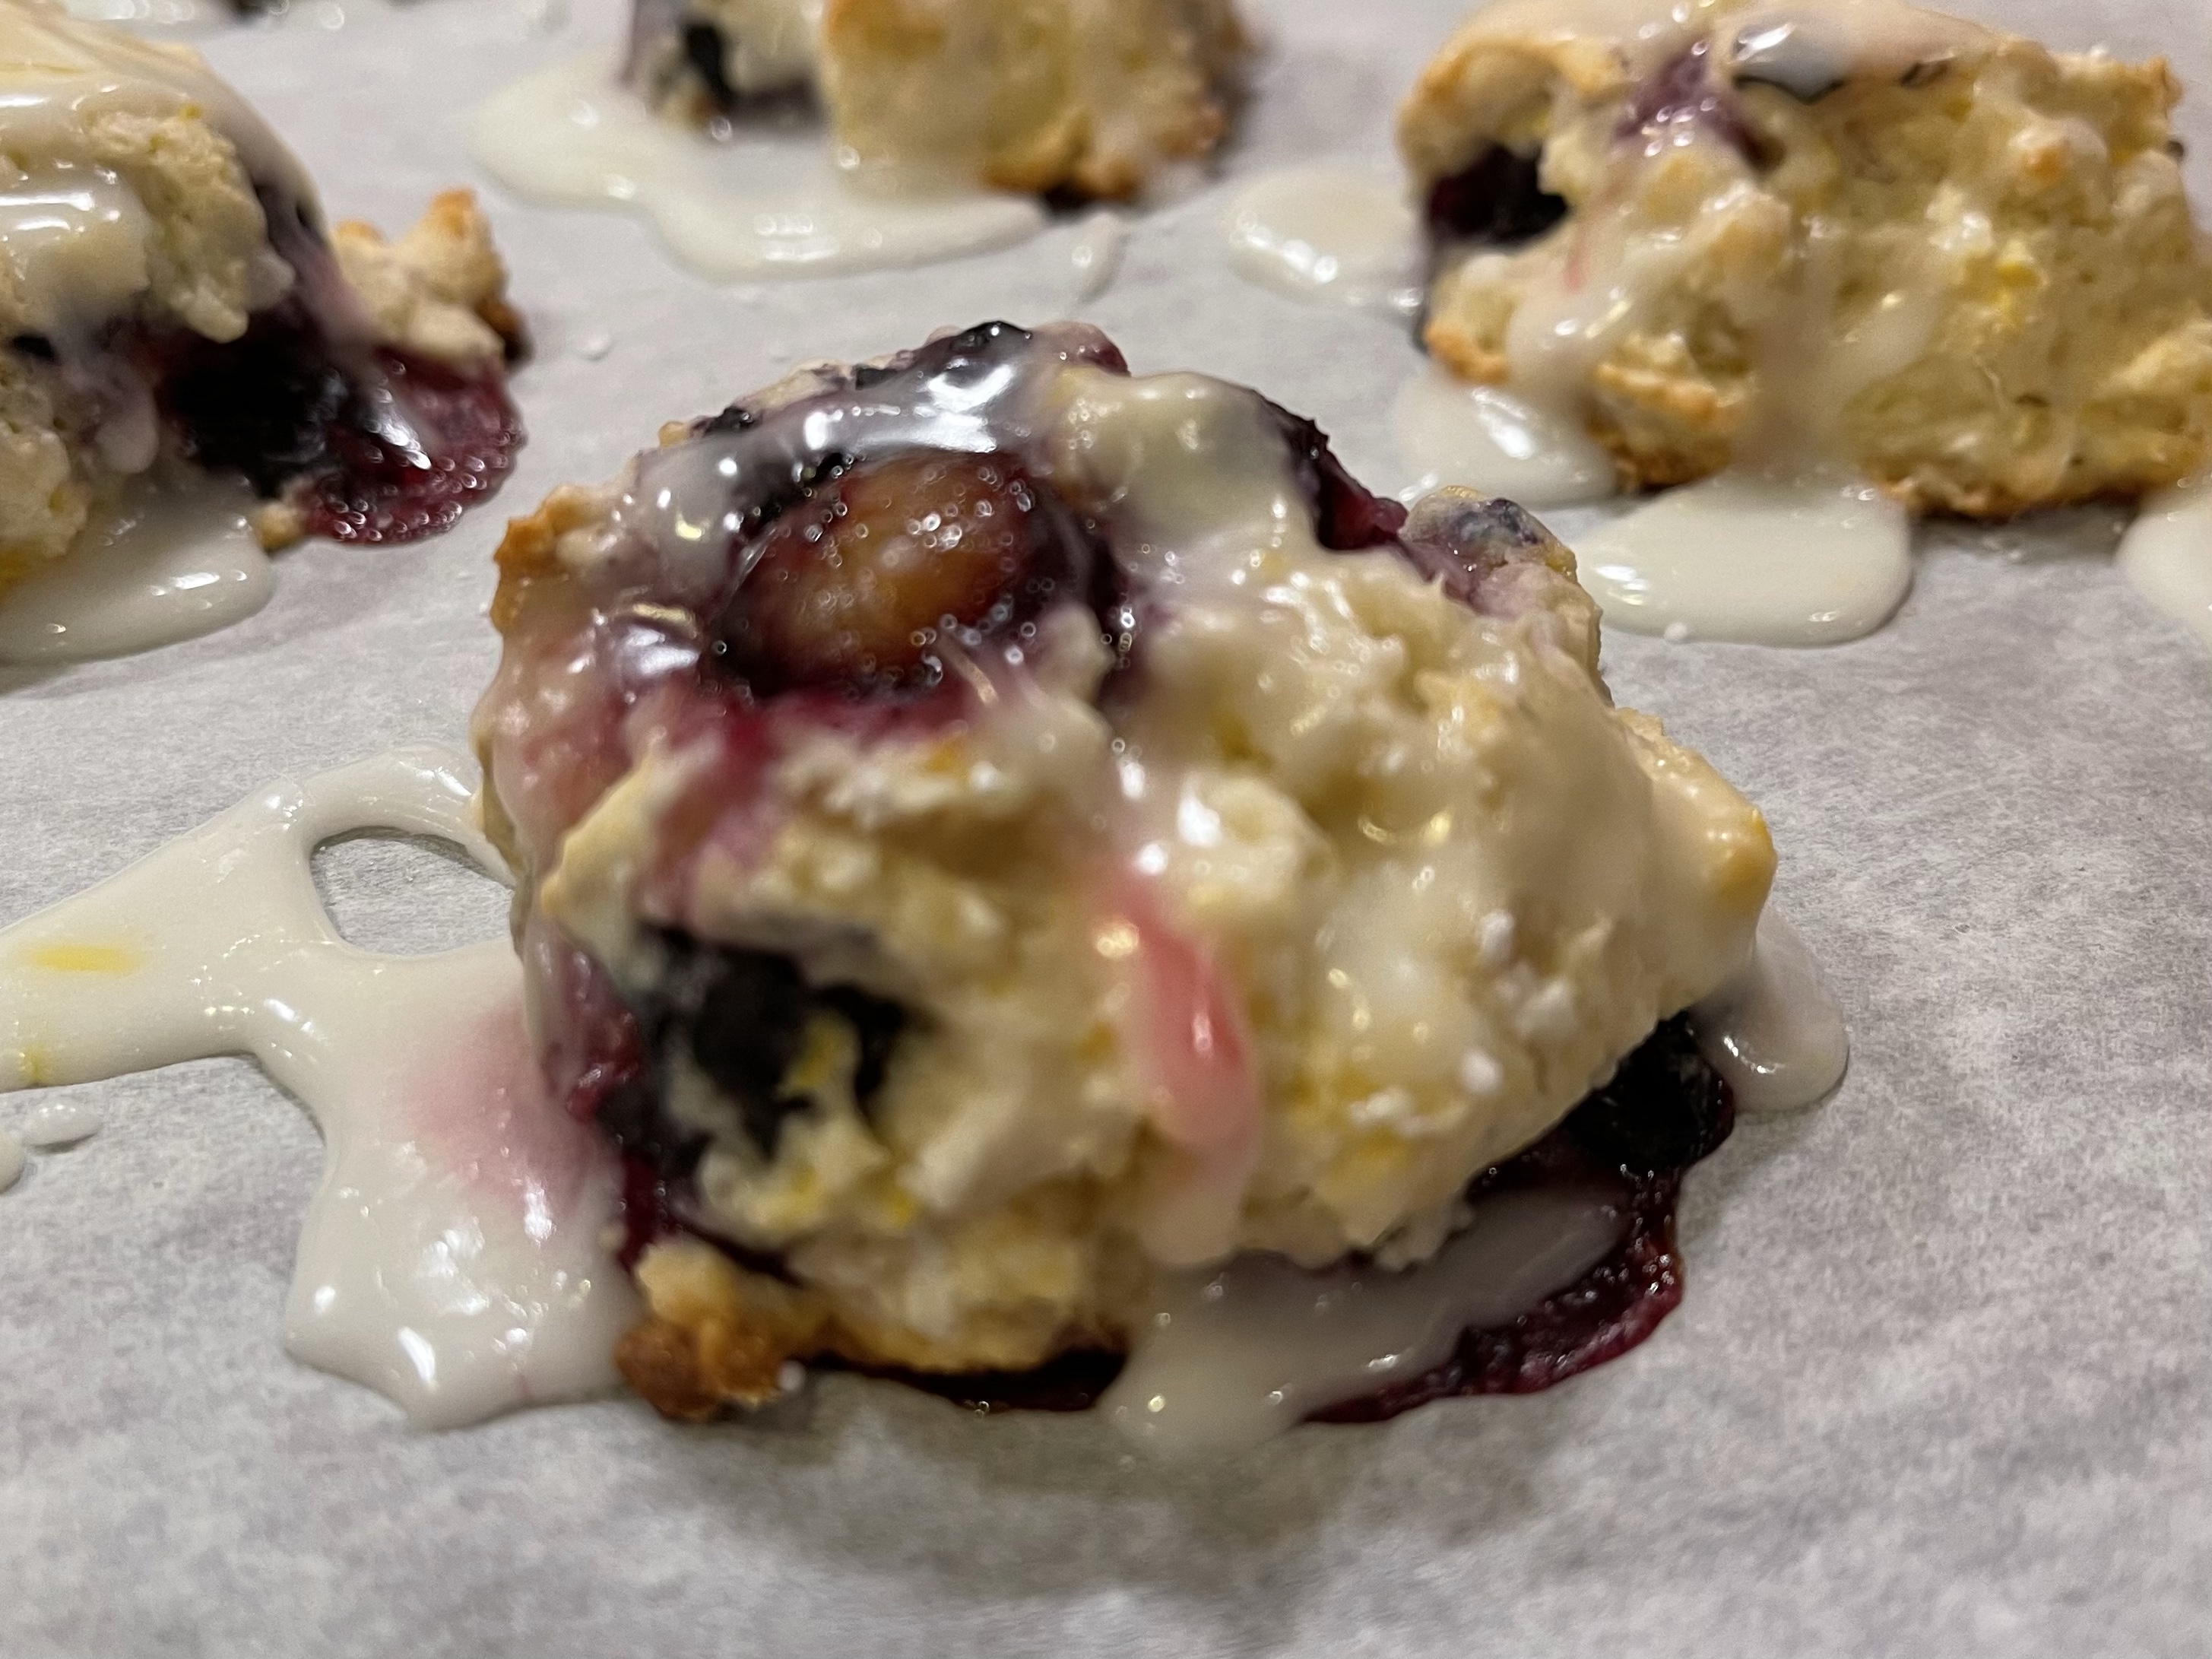
If you choose, you can drizzle the scones with a simple glaze made with the juice of one lemon and confectioner’s sugar. In this case, I also added a dash of salt and a splash of fat-free half and half. This is all personal preference, but I think it makes the scones look delicious!

I’ve made this recipe using a lot of different blends of add-ins such as dehydrated raspberries with cocoa nibs and orange zest with mini chocolate chips. The basic recipe isn’t difficult and doesn’t take a huge time commitment, which makes it a winner in my book.

I hope you’ll try this recipe and let me know what different combinations you’ve found to be delicious as well.

Thank You Muffins

It’s been ages since I last posted a recipe or a food pic here. I’ve been sharing things on my Instagram account (@AliSportShots), but sitting down to formally type out something has taken a back seat. I’ve posted *sooo* many recipes here (over 175, by last count) and I like to be able to share something totally new, if possible…. however, I realized that I’ve been mentioning “Thank You Muffins” on multiple platforms and have never written this recipe for others to use, so I’m fixing that now.

Here’s my very favorite recipe… the one that I make at least once a week… the one I use anytime I need to express my appreciation for someone… the one that I’ve made SO many times throughout the past year that it’s become a “thing” in our house. This is my recipe for Thank You Muffins.

The ingredients list is fairly simple and incredibly flexible:

  • 1 box cake mix (any flavor)
  • 1 can solid pack pumpkin
  • Add-ins (chocolate chips, coconut, nuts, seeds, etc. – a palm-full)
  • Wine (just a few splashes, to thin out the batter a touch)

Directions:

  • Preheat your oven to 375*. Place a large piece of parchment paper (or use a silpat) on two large baking sheets
  • In a large bowl, empty the cake mix, add the pumpkin, include whatever add-ins you’d like, then splash in some wine. Mix thoroughly.
  • Using a small cookie scoop (I have all three sizes from Pampered Chef and prefer using the smallest for these muffins), place small scoops of batter on the prepared baking sheets. I’ve been able to get as many as 42 mini-muffins from a batch but it varies.
  • Bake at 375* for 12-14 minutes, until the muffins spring back if touched on the top. Remove and allow to cool on the paper (I lift the paper off the baking sheet so the bottoms of the muffins don’t continue to cook). NOTE: if you’re making these as full-size muffins, in a muffin tin, you’ll want to cook them at 400* for 15-17 minutes.
  • Once muffins are cool, you can freeze them for later use. I typically get two plates of muffins (or two weeks of muffins for my landscapers) from each batch.

I have used every flavor of cake mix for this recipe and tend to try and pair the flavor of the wine with the flavor of the cake mix. I’ve used chocolate cake mix with red wines, spice cake with red (or white) wines, yellow cake with white wine, carrot cake with rose’ (or most anything)… I’ve even used a sweet red (or a little sparkling wine) with a strawberry cake mix. Each one has come out well and has conveyed the right message…. “thank you”.

I must confess that the origin of this recipe is from about ten years ago, at a Weight Watchers meeting. It started as a two-ingredient sweet… cake mix and a can of pumpkin… no eggs, no oil, no complications… but I couldn’t leave it alone. I liked the idea of making full-size muffins from this recipe, which you can do easily, but I am a big fan of “bite-size” treats. After monkeying around with the recipe, I came up with the one you see above. My boys loved when I would make this recipe for their friends… especially since the main ingredient was solid-pack pumpkin… and I was happy to make it because I felt good about serving something relatively healthy to people.

Try this and see what you and your family think… I hope you enjoy it as much as me!

Fudgy Brownie Muffins

If you ever have the need for a delicious and simple muffin recipe, this is one to keep on hand.  I have been making (and playing with) this recipe for years and it is one of my absolute favorites.  This version seems a little more sophisticated, but it’s truly one that I make to give to anyone, especially when I have people doing work on my house.

We’re getting a new HVAC system installed in our home today.  We’re not exactly thrilled with the timing, but the original system was installed in 1998, so we knew we were due. Since I knew the workers would be here for much of the day, I thought I would make some muffins to show my appreciation for all the work they’re doing.  I made this recipe in mini-muffin tins so they would be “pop-able”… nothing worse than having to worry about muffin wrappers or holding food between bites if you’re working hard.  I just love the ease of this treat!

fudgybrowniemuffinsNote:  If you saw my post about “chocolate jury gems”, this is a version of the same recipe.

Ingredients:

  • One box chocolate brownie mix (I like to use dark chocolate mix)
  • One can solid pack pumpkin (NOT pumpkin pie mix)
  • 1/3 cup mini chocolate chips
  • 1 teaspoon cinnamon
  • 1 teaspoon dark chili powder
  • 1/4 cup (2 Tablespoons) red wine.  I used a pinot noir, but any dry red wine works well

Directions:

  • Preheat oven to 400 degrees.
  • Empty brownie mix into a large bowl and add remaining ingredients.
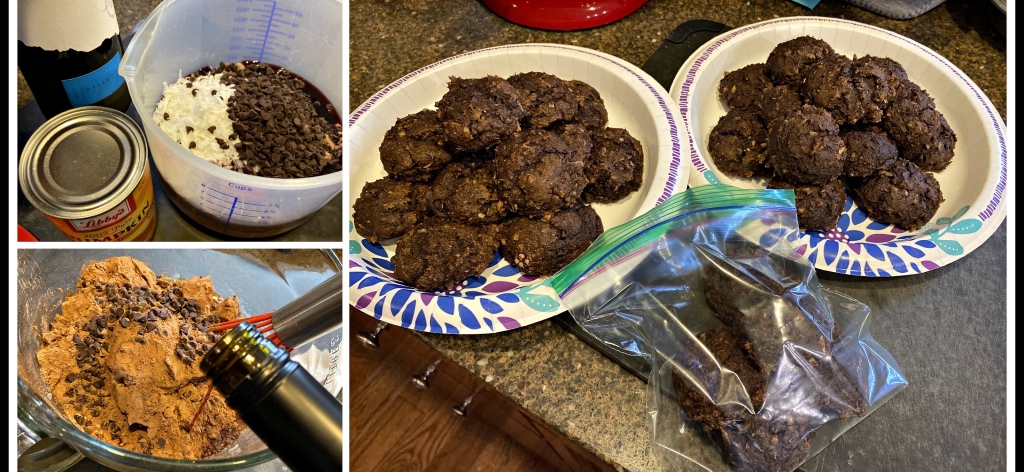
  • Blend everything together thoroughly until it resembles the photo in the lower left corner of the collage above.
  • Using a small cookie scoop, divide batter into mini muffin tins that have been sprayed with cooking spray.  Note:  this recipe will make about 40 mini-muffins, so you’ll go through two sets of mini muffin pans twice
  • Bake in pre-heated oven for 18 minutes, remove promptly and allow to cool while you scoop the remaining batter into the muffin tins for the second round of cooking.
  • These muffins are delicious warm, room temp, or cool.  They are fabulous for kids (the pumpkin packs a great punch of fiber) and have been a favorite in my family for years.