This Thanksgiving, I’ll be making a few additions to my traditional menu. We’ll be spending Thanksgiving Day with relatives (instead of just having our family of four) and I’ve been tasked with bringing the apple pies. Since I get bored making multiples of the same recipe, I’ve decided to make a lovely apple tart as one of my offerings. I had to try out the recipe before the big day, so here’s the recipe that I’ll be making for our Thanksgiving day meal with the cousins… my White Apple Tart.
I found a great recipe for “Sweet Pastry Dough” as well as one for a “Rustic Apple Tart” from Perfect Little Desserts by Nick Malgieri and David Joachim. This cookbook is absolutely mouthwatering and worth purchasing if you’re looking for a dessert cookbook. Because I always use wine in my recipes, this is where I began when I made both the pastry dough and the tart itself.
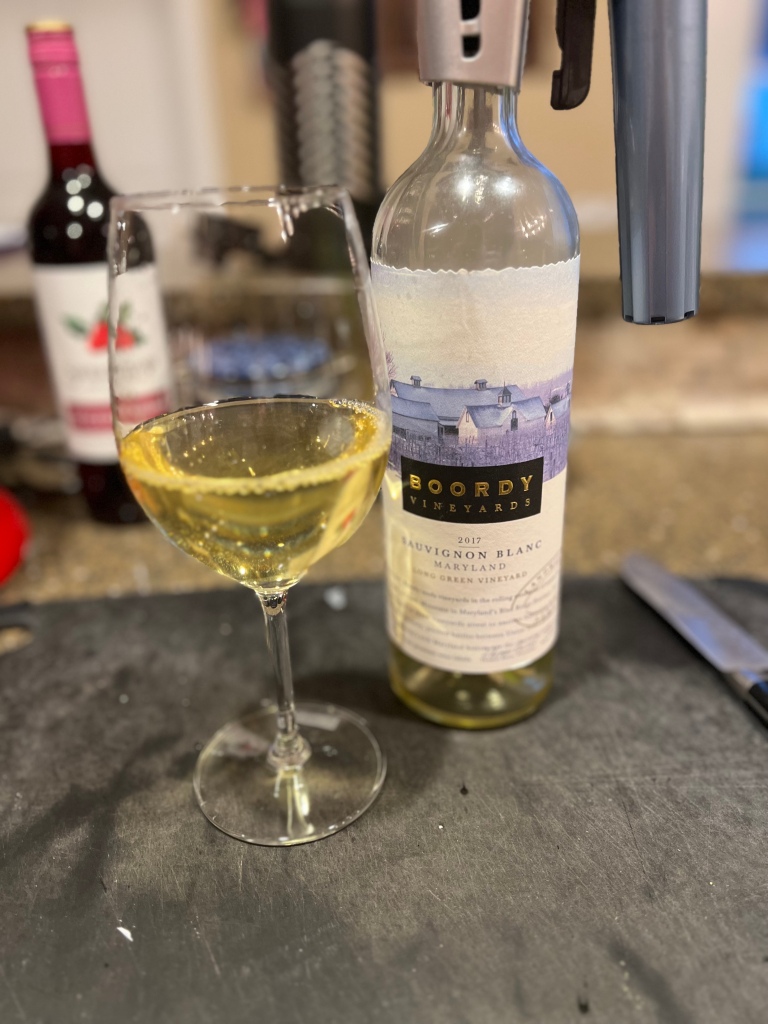
I started with the Pastry Dough. I put 1 cup of flour, 3T sugar, 1/2 t baking powder, and 1/4 t salt into my food processor and I blended the dry ingredients. I pulsed in 3T butter until the dough looked like wet sand. I then added 1 egg and 1T cold Sauvignon Blanc (white wine) and ran the processor until the dough came together into a ball. The dough was a bit wet, so I rolled it up in plastic wrap and popped it into the fridge for a few hours. NOTE: I intentionally made this in the morning so I could make the tart later in the afternoon… you can make this dough a few days ahead of time but the tart itself is best if made the day you want to serve it.
A few hours later, I was ready to make the tart. I actually had never made a tart before, so I had to purchase a tart pan for this dish. Thankfully, we had an amazing kitchen store nearby, so that task was easily handled. I pulled the pastry dough out of the fridge and gave it time to get to room temperature, then preheated the oven to 350 degrees. I rolled out the dough and then fit it into the pan, using a scraper to take off bits of the crust along the top of the tart pan. The dough was soft enough that I really only had to push and move around the dough to fit it all into the pan. It looked lovely. 
The next step was to prepare the apples for the tart. I used 3 large Honeycrisp apples (feel free to use your own favorite type of apples). I cut them in half, removed the core and skin, then sliced each apple into thin slices, across the width from bottom to top. Since there were 3 apples, you’ll use five halves to go around the outside of the tart and then use one half to fill the space in the center. I’ll try and do a cleaner job of this on my next attempt, but I thought it turned out nicely. I then sprinkled everything with a blend of 2T sugar and 1/2 t ground cinnamon. Once everything was nicely coated with the cinnamon/sugar mixture, I put the tart on the bottom rack of the preheated oven and cook for 40-45 minutes. Note: I think the apples needed a little more cooking time, so I will probably increase cooking time to 55-60 minutes when I next make this tart. Once the tart was nicely browned and the fruit was bubbly, I removed the tart to a wire rack to allow it to cool a bit before glazing the tart.
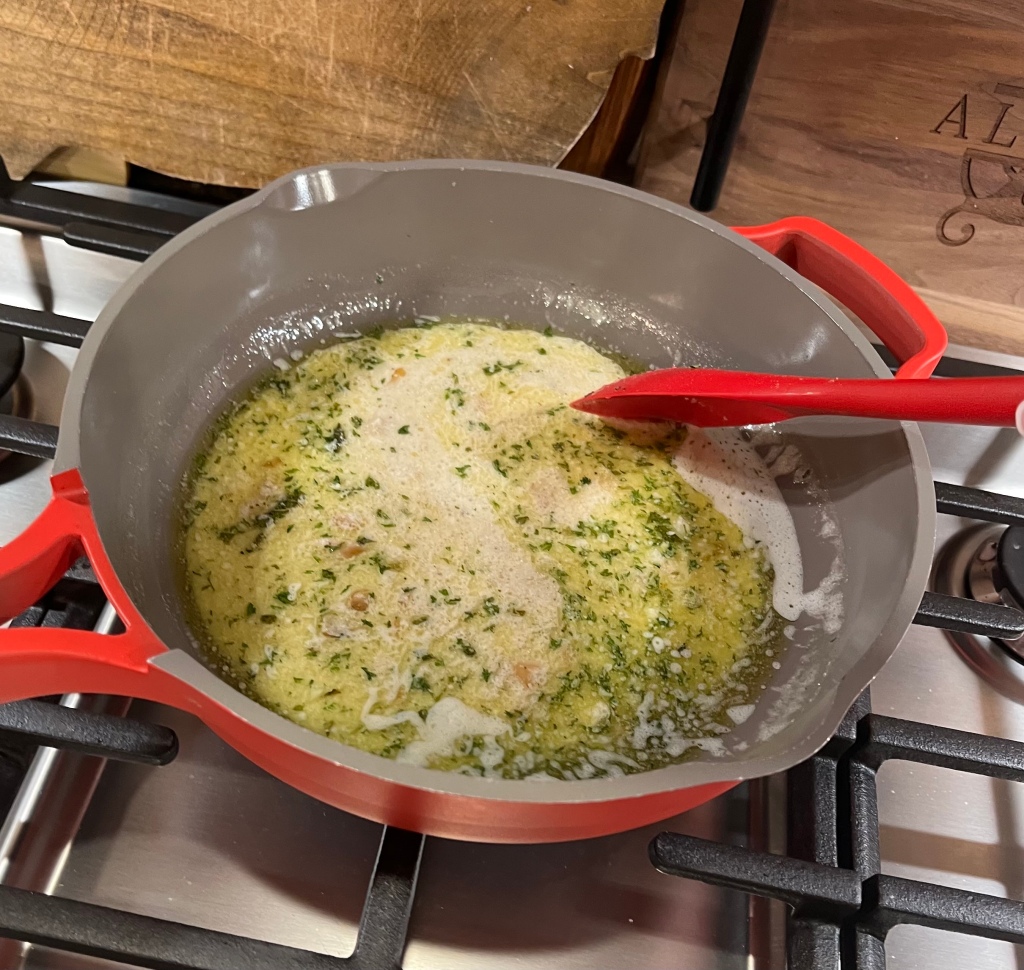
While the tart is baking, I needed to make the glaze. I simmered 1/2 cup apricot preserves mixed with 2T white wine (I used a Sauvignon Blanc) until it boiled a bit and then strained the glaze into another pan so it was as liquid as possible. Note: I used a small saute’ pan for the first step, then strained the mixture into a small sauce pan, since I only have one “small saucepan”. Before glazing the tart, I warmed up the glaze until it was thickened. I used a brush to dab the glaze all over the tart and make it all look glossy.
Extra Note: When making this recipe in 2016, I used fig preserves instead of apricot (because that’s what I already had opened in the fridge) as well as a simple dry white wine and the tart was still just as fabulous and delicious.
When I had to unmold the tart, the easiest way was to use a thick, flat object – like a large-wide can or a squat-sized canister – to allow the outside rim of the tart pan to drop away. I then put the tart on a large platter… it made for a beautiful presentation.
I hope you’ll consider trying to make this tart sometime. If you don’t want to use wine in this recipe, you can follow the original recipe and simply use water. I thought the addition was fun and added a light edge to both the crust and the glaze. Whichever way you choose to make it, it’s worth the try. I found it to be simple, yet spectacular. Totally worth the price of an actual tart pan!
