
Oh, my sweet Helen of Troy… these bars are absolutely amazing! Ok, they don’t include wine, but my version *does* include Bourbon. 😉
I found two fantastic recipes… one by Jenna of Butternut Bakery (https://butternutbakeryblog.com/brown-sugar-cinnamon-pop-tart-shortbread/ and one by Cooking with Karli (https://cookiesfordays.com/brown-sugar-cinnamon-poptart-bars/) and decided to play with each to create something a little different with a delicious hint of bourbon.
The original recipes are both wonderful and I highly recommend trying them (and giving both accounts a follow) but here’s how I made the recipe pictured here:

INGREDIENTS:
SHORTBREAD CRUST:
1 cup softened butter (I use unsalted)
3/4 cup white sugar
1 Tablespoon Bourbon vanilla extract (can sub traditional vanilla if desired)
2 1/2 cups all-purpose flour
1/4 teaspoon salt
BROWN SUGAR CINNAMON FILLING:
1/4 cup melted butter
1/2 cup brown sugar
1 Tablespoon flour
1/2 Tablespoon cinnamon
1 teaspoon Bourbon vanilla extract (can sub traditional vanilla if desired)
dash salt
BOURBON CINNAMON ICING:
1 cup powdered sugar
1 1/2 teaspoons Bourbon vanilla extract (can sub traditional vanilla if desired)
1 teaspoon cinnamon
3 teaspoons water
INSTRUCTIONS:
MAKE SHORTBREAD CRUST:
Preheat oven to 350* F. Draw an outline of a 9×9 pan on a piece of parchment paper, flip it over, and lay it aside. Line 9×9 pan with a second piece of parchment paper.
Cream together softened butter with sugar until light and fluffy. Add your extract of choice and mix until fully incorporated.
In a separate bowl, whisk together the flour and salt.
Add flour mixture into the butter mixture and mix until combined.
Take half the dough and press it onto the backside of the original piece of parchment paper using a third piece of parchment paper. I find it easier to press with my hands at first, then use the flat bottom of a 1/2 cup measuring cup to get the dough completely to the edge markings on the parchment. This will end up being your “top” piece of the bar. Once the dough is uniformly covering the outlined square, carefully remove that third piece of parchment paper.
Press the second half of the dough to cover the bottom of the 9×9 pan, utilizing the third piece of parchment paper. As above, I first press the dough with my hands then use the flat bottom of a 1/2 cup measuring cup to evenly distribute the dough.
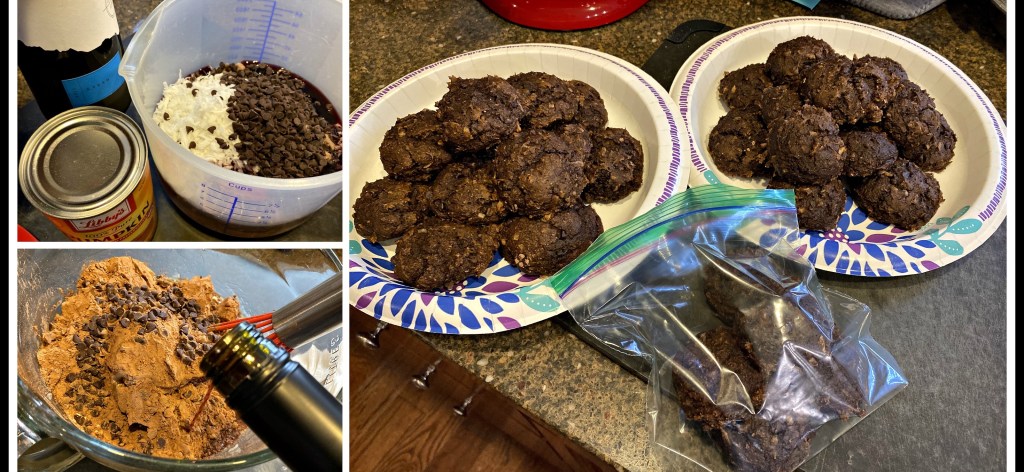
Par-bake the base of your crust in the middle of your oven for 10 minutes. Remove and let cool while you make the filling. If you’ve already jumped ahead and made your filling (like I did in the top right-hand photo), let the base cool for 3-5 minutes so the filling doesn’t immediately turn to liquid when spread onto the par-baked crust.
MAKE CINNAMON FILLING:
Add all filling ingredients together in a small bowl and mix until combined.
Spread filling quickly and carefully over the slightly cooled crust, making sure to cover all surface area.
ADD TOP LAYER OF SHORTBREAD:
Pick up the first layer of shortbread you pressed into a square on the parchment paper and carefully flip it over to exactly cover the bottom crust. Gently remove the parchment from the crust and pat it into place, covering the filling.
BAKE:
Place the assembled bars back into the oven and cook for another 30 minutes. Since oven temperatures vary, check at 25 minutes and remove from oven when the edges are just beginning to brown. Mine took 28 minutes to get to this level of doneness.
Remove from oven and allow to cool thoroughly before adding icing.
MAKE BOURBON CINNAMON ICING:
Combine the icing ingredients together and mix well until smooth.
Pour icing over cooled shortbread and spread evenly over the entire pan.
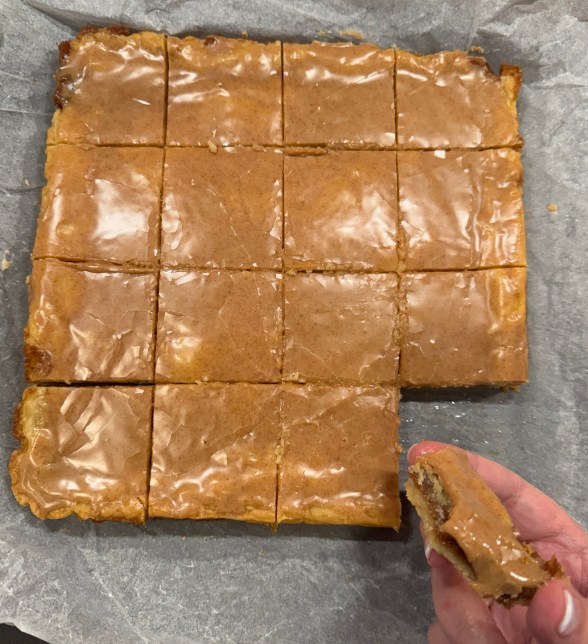
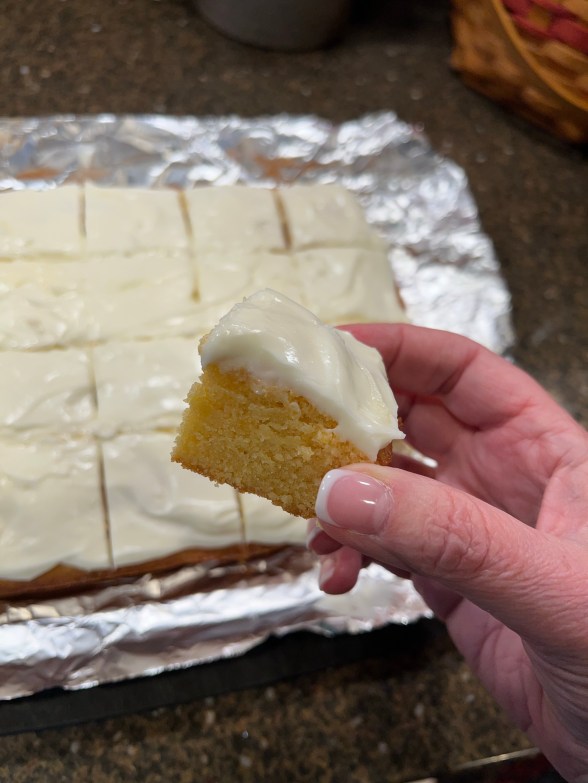
Cut once cooled and enjoy.
I like to make my bars smaller than some, so I typically cut into 16 bars (as seen above).

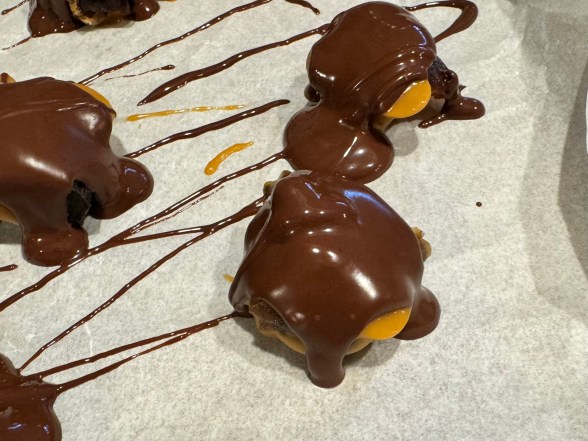


 Note: If you saw my post about “chocolate jury gems”, this is a version of the same recipe.
