Mimi’s Peas

You’ve had the traditional “Green Bean Casserole“, right?  It’s the one on the back of the Campbell’s soup can…. the one that has been around forever… the one that everyone makes for holiday meals.  What would you think if I told you that we make this same casserole with PEAS instead of green beans?  THIS is a game-changer, people.  It’s absolutely amazing and is a staple on almost every holiday menu (or at least Thanksgiving, Christmas, and Easter) in our family.

mimispeas

Ingredients:

  • Frozen Peas (1- 1 1/2 16oz bags)
  • 1 can sliced water chestnuts, chopped
  • 1 can French’s Onion Rings (reserve 1/2-3/4 cup for topping)
  • 1 can Cream of Mushroom soup
  • 1/4 cup white wine (I like a dry or semi-dry wine)
  • 1 packet G. Washington Brown boullion *Trust me, this stuff is worth finding.  LOVE it and use it in so many ways!

Directions:

  1. Mix everything together, topping with the reserved Onion Rings.
  2. Bake in greased casserole dish at 375 degrees for 30-45 minutes, until bubbly.

This is our family’s “must have” recipe on any holiday table.  It also works well when mixing with turkey, stuffing, and gravy (and topped with mashed potatoes) to make a leftover turkey shepherd’s pie.

Give it a try sometime… you may find that you like this even better than the standard recipe!

Sweet Potato Casserole

I got the basics of this casserole from my friend Jacqui, during our first duty station.  She called her recipe “Sweet Potato Pie with Cornflakes” but I’ve evolved it into something a bit different over the years.  My guys really love the topping and I adore the sweet potato itself, so it’s a great side dish for our holiday turkey menu.  I hope you feel the same!

sweetpotatocasserole

Ingredients:

  • 2 large cans sweet potatoes (or yams), drained
  • 1 small can crushed pineapple, drained
  • 2-3T white wine (semi dry or dry wine)
  • cinnamon to taste
  • salt to taste
  • 1/3 cup butter
  • 1/3 cup brown sugar
  • 2 cups cornflakes
  • 2-3 cups mini marshmallows

Directions:

  1. Mix drained sweet potatoes with pineapple and season with wine, cinnamon, and salt to taste.
  2. Spoon into 9×13 casserole pan and flatten with back of spoon.
  3. In a bowl, melt butter and mix with brown sugar.  Add cornflakes and mini marshmallows, mixing well to coat everything with the butter/sugar mixture.
  4. Spoon topping over sweet potato mixture.  Bake at 375 degrees for 15-20 minutes until marshmallows are toasty and bubbly.

This is a great side dish for those people who don’t really want a vegetable for holidays.  We have learned that the topping doesn’t reheat very well, so feel free to suggest that people eat the sweet topping before putting the leftover sweet potatoes in the fridge.

As for the difference between sweet potatoes and yams?  Here’s a link to figure out which tuber you might be using!


Leftover Recipe: Holiday Turkey Casserole

I have to confess that I absolutely LOVE our Thanksgiving and Christmas dinners.  I love cooking them, I love serving them to my family, and I especially love the leftovers.

Creating a new meal from the leftovers is just so much fun!  Everything has already been cooked at some point, so all you’re really doing is re-assembling the foods in a new and different way… how hard can that be?  TurkeyCasserole

Last year, I used the stuffing to create “stuffing waffles”… if you haven’t tried this before, you HAVE to try it.  They were simply incredible!  You can check out my recipe here, which also talks about topping them with turkey gravy.  Serious “yum” factor here.  This year, I decided not to get the waffle iron down, so I came up with this new casserole.  Same sort of “yum” to the flavor… just a whole new twist.

I layered about 2 cups of our Mimi’s Peas Casserole (it’s the same “green bean casserole” that everyone else does… we just use frozen peas instead.  GENIUS!), sprinkled 1 cup of diced turkey on top, then spooned 3/4 cup of leftover gravy just to cover the turkey.  To finish this off, I took scoops of leftover stuffing and put stuffing balls over the entire casserole, then smooshed them down with my fingers to “connect” them as a topping.  Just for extra flavor, I crumbled about 3 slices of bacon over top, but these really weren’t necessary… this casserole was stellar all by itself.

NOTE:  Before you ask where the “wine” is in this recipe, remember that I used wine when I made the stuffing AND the gravy (and it’s in the peas as well), so I didn’t really feel the need to add more, but you’re welcome to add a little to the gravy if you think it’s too thick.  Just use your best judgement.  

Once everything was assembled, I baked the casserole for dinner at 375 degrees for 35-40 minutes or until the gravy was visibly bubbling.  This dish was honestly so good that we ate it for two nights in a row… all the flavors of a holiday dinner wrapped up in one meal.  YUM!

Recipe: Winter Crab Bisque

One of the best things about this recipe is that it uses up the leftover Crab Dip that I had from our family’s Thanksgiving dinner this past weekend.  Crab Dip is a thing of beauty…. thick, creamy, and so very decadent.  The hard part comes when the entire recipe isn’t eaten and you have to find something that is equally delicious in which to use all that fabulous crab… and this, in my opinion, is it!WinterCrabBisque

I started my Winter Crab Bisque by making the soup base.  I diced half an onion and sauteed it in a bit of olive oil.  I then diced 3/4 of a butternut squash (about 4 cups) and one large sweet potato and added them to the large stock pot, turning the heat to medium to start a simmer.  Quickly adding equal parts chicken stock and white wine, I gave the vegetables time to cook on a low boil until everything was soft.  I had chosen to use marjoram, some fresh rosemary, and pepper for my seasoning, so added these to the cooking vegetables so the flavors would combine.

Once the vegetables were soft (almost “falling apart” soft), I used a stick blender to thoroughly mash everything until smooth. The soup was still very warm at this point, so I turned off the heat and added the cold leftover crab dip.  NOTE: My Crab Dip recipe couldn’t be easier… it comes from my cousin, Kris, and it’s as easy as warming 1 stick of butter and 1 block of cream cheese in a double boiler, then adding 1 lb crabmeat and seasoning with Old Bay and parsley.  

After adding the cold crab dip, I simply folded the soup over the dip until everything came to the same temperature and combined nicely.  The crab dip had already been seasoned with Old Bay and parsley, so this was a lovely addition to the winter vegetables in the soup, coming together to make a thick and hearty bisque that could warm the coldest hearts on a winters day.

One extra note on the crab dip: my official recipe from Kris says to use Lump crab meat, but the cost was about to make me choke, so I substituted claw meat, which was half the cost of the lump crab meat.  I was pleased with the results, but I was also serving a bunch of guys who don’t mind the difference.  If you’re trying to impress, the lump crab meat is definitely more “perfect”, but I tend to lean more toward something that’s less costly if I’m mixing it into other ingredients.

I do hope you’ll try this simple, yet elegant dish.  I made it in under an hour this morning and am very happy with the results.  If you’re looking for a delicious bisque recipe that isn’t going to send you running to the store for new/unique ingredients, this is a great option!  Enjoy!

Recipe: Zinful Orange Cranberry Sauce

If you’d been given the task of bringing the Cranberry Sauce to the family Thanksgiving table, this is definitely a recipe to try. The flavors of the red wine and cranberry, combined with a citrus-y touch of orange make this cranberry sauce recipe a simple and delicious addition to any style of holiday spread.ZinfulOrangeCranberrySauce

The recipe is incredibly simple.  Into a medium sauce pan, mix 1 cup of dark red wine (I used a deep, dark Zinfandel but you’re welcome to use whatever wine you like.), 1 cup of sugar, and most of a bag of fresh cranberries (saving 1/2 cup of berries to add at the end of the cooking process), the zest and juice of one navel orange, and 1/4 teaspoon salt.  Cook this mixture on medium until it starts to boil, then reduce and cook at a low simmer until the sauce becomes thick and all the berries have popped.

While the sauce is cooking, chop the saved 1/2 cup of berries to a fine dice.  Once the sauce is thoroughly cooked, stir in the diced berry pieces and remove from heat.  Move the completed sauce into a resealable container and store in the fridge until you need it.

If you only have a white wine on hand, feel free to use that in place of the Zinfandel in this recipe, or check out the other cranberry sauce recipes on this blog.  While I don’t remember ever enjoying cranberry sauce when I was younger, it has become one of my favorite sides for holiday meals.

Happy Holidays!

Leftover Recipe: Stuffing Waffles with Turkey Gravy

I’m always looking for a new and unique way to use leftovers, especially from holiday meals.  We seem to have extras of everything in the fridge, so I find it very exciting when a new idea comes around.  This recipe idea was one that my husband found and it really looked fun.  A new way to use my waffle maker other than just making waffles?  I’m IN!

I started by making the turkey gravy that would go on top of our dinner.  Basically, I reheated the leftover gravy from Thanksgiving and, using James River Cellars Reserve Chardonnay, flour, and chicken stock, I thinned the gravy out to make more and then added chunks of leftover turkey.  Once this was done, I turned my attention to making the waffles.StuffingWaffles&TurkeyGravy

I preheated my waffle iron and then sprayed it with cooking spray before starting.  Using a large cookie/muffin scoop, I put one scoop of cooked stuffing into the center of each quarter of the waffle iron and let it all cook for 7-10 minutes.  Seriously, it was that simple.  I didn’t add anything to the stuffing… it was already moist enough that it toasted up nicely in a short amount of time.  When the waffle was crispy, I turned it onto a plate, topped it with turkey gravy and added a side of homemade cranberry sauce.  It was a really delicious way to enjoy our favorite parts of Thanksgiving in a new and tasty way.

I hope you’ll try this way of making your leftovers into something different instead of just reheating the same meal for a few days in a row.  As yummy as that is, having a new and unique meal that incorporates your leftovers can be really fun.  Honest!

Wishing you a wonderful holiday season with lots of leftovers…

Recipe: Sausage and Apple Stuffing

I absolutely love making stuffing.  I don’t make it only for Thanksgiving and Christmas, but those are the two times when I make a massive amount and want to use it in sandwiches and leftover meals for a few days.  It’s just so incredibly tasty!

I start making the ingredients for my stuffing a day or so before I actually put everything together for the meal.  It’s easier to cook the sausage a few days in advance and, since I bake the stuffing bread (see previous post) for most of my stuffing, that *has* to be done earlier.

I start two or three days ahead and bake a loaf of bread, then cube it and allow it to dry on a tray.  NOTE: Make sure to let your family know that you’re starting your holiday meal prep or your drying bread may get a little toastier than you expected.  The sausage can be cooked two to three days ahead and kept in the fridge – I like to rinse the sausage once it’s cooked to remove an excess fat, but that’s simply because the cooled fat grosses me out.

Here’s the basic recipe for my Sausage and Apple Stuffing:SausageAppleStuffing

  • 2 loaves of bread cut into cubes (I like to use 1 loaf of Italian bread and 1 loaf of Stuffing bread)
  • 1 lb bulk sage sausage (browned and cooled)
  • 2 apples (I use 1 sweet apple and 1 granny smith apple), chopped fine
  • 1 stick margarine
  • 1 1/2 cups liquid (I use half Oaked Chardonnay and half chicken stock)
  • turkey liver (from the bag inside the bird)
  • 3 ribs of celery with tops, diced
  • 1 small to medium onion, diced
  • 2 packets G. Washington Golden Bouillon (use your own preferred brand)
  • 2 eggs (keep a third egg on hand in case needed)
  • Salt and pepper to taste, herbs as you want * I like to add some poultry seasonings (both ground and dried) and parsley.
  1. Mix the bread, sausage and apple together in a HUGE bowl (you need a big enough bowl to get everything incorporated well)
  2. Melt margarine into the liquid,  and cook the turkey liver.
  3. Once the liver is cooked, add this mixture to the celery and onion and blend until everything is well pulverized.  I use a Stick blender (immersion blender) in a high-sided bowl until everything is totally incorporated and all the veggies are unrecognizable.  Add bouillon packets to the liquids and stir to combine.
  4. Add your liquid to the bread mixture, top with the two eggs, and use your hands to incorporate everything into the stuffing. Add salt and pepper as needed and use the third egg if the stuffing doesn’t hold together well.   NOTE: Take your time with this step and make sure to taste the stuffing as you are blending.  As my mom always said “if it doesn’t taste good raw, it won’t taste good when it’s cooked”.  This may seem gross, but the nuances in taste as you add a little more salt or extra parsley will make the difference between a stuffing that tastes good and one that knocks your socks off.  We’re going for the “knock your socks off” taste here.
  5. Once the stuffing is done, stuff the turkey everywhere you can find space.  I use the neck cavity as well as the body of the turkey.  I’ve also taken to layering stuffing under the skin, on top of the breast meat and between the body and legs of the bird.  This seems to add to the moist taste of the meat when you carve your turkey.

Enjoy!  This should be a great addition to your holiday meal…

Recipe: TWELVE-Hour Turkey

My turkey recipe is very, very simple.  I start with the largest turkey I can find and I stuff it with as much stuffing as I can possibly get into the bird (inside the body cavity as well as under the skin wherever possible).  I do all this the night before Thanksgiving and then my husband (Thank GOD for that man) gets up at 3:30AM to put the stuffed bird into a 200-degree oven and we allow it to cook all day.  NOTE:  I do, at some point, have to turn the oven off and turn it right back on again because apparently there’s a fail-safe on my oven that doesn’t allow for the oven to remain on continuously for 12 hours.  At the end of the 12 hours, remove the turkey from the oven and allow it to sit on a carving tray for 10 minutes (tented with foil) while you make the gravy and give the meat time to rest and for the juices to redistribute.  Once you carve the meat off the bone, place on a tray and, if you’re not eating immediately, pat with bits of margarine, seal with foil, and set on the stove top to keep warm.

Here’s photos of my turkey, from stuffed to cooked:

I know this recipe is going to freak a lot of people out, but I felt compelled to share my turkey recipe with you all here on my wine blog.  While this recipe doesn’t traditionally use wine, you can easily add some to your stuffing liquid.  I’d suggest using the same wine (my preference is an Oaked Chardonnay)  that you use for much of your meal, for consistency’s sake.  NO need to baste – basting decreases the oven temperature every time you open the door and dries out your bird.

Extra Note:  I stuff my turkey before going to bed, put the turkey in the fridge, then it’s put into the oven at 4AM to begin the cooking process.  I have been told that this is not safe, but have never had a problem with it in any way.  You are more than welcome to decide to stuff or not to stuff your turkey, depending on your comfort level.  I also do not baste or brine the bird.  We haven’t found this to be helpful and it really does save a step.  I typically cook a 20+ pound bird and the meat is always juicy and flavorful, although I’ve made as small as a 12# bird and as big as a 28# bird.

I was given this basic recipe from Dawna, a woman at our church in Michigan who owned/operated a restaurant in the area and generously made a Thanksgiving dinner for the entire congregation each year.  Amazingly, this was the way she was able to bake so many turkeys for a noon meal for such a large crowd.  She shared this recipe with me before we moved to Virginia in 2000.

I keep the turkey in the oven and increase the heat to 350-degrees for the last 45 minutes to begin cooking the remainder of the meal.  See sample time table below:

Sample Time table for Thanksgiving Dinner at 4PMFeel free to adjust timetable for your dinner time.

  • 3:30AM: put turkey in the oven at 200-degrees – I don’t pre-heat the oven
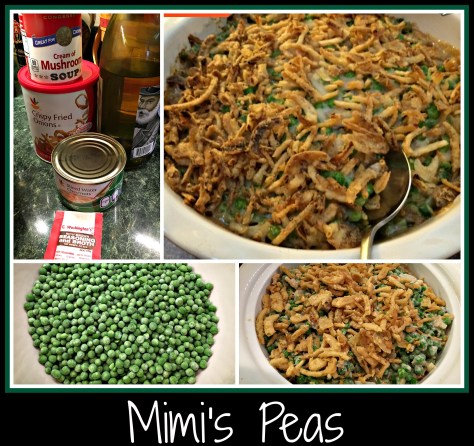
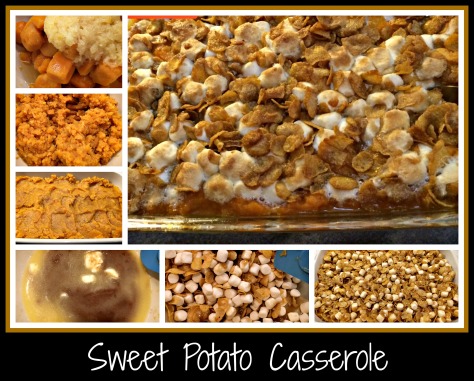
  • Before Noon: make peas, sweet potato pie, prep potatoes
  • 1PM: start rolls, start making mashed potatoes
  • 2:45PM: form the rolls (roll into cloverleaf shapes, three dough balls per muffin cup)
  • 3:05PM: Oven goes to 350 degrees, peas go into oven (40 minutes) **This is usually when I turn off the oven and turn it back on again.
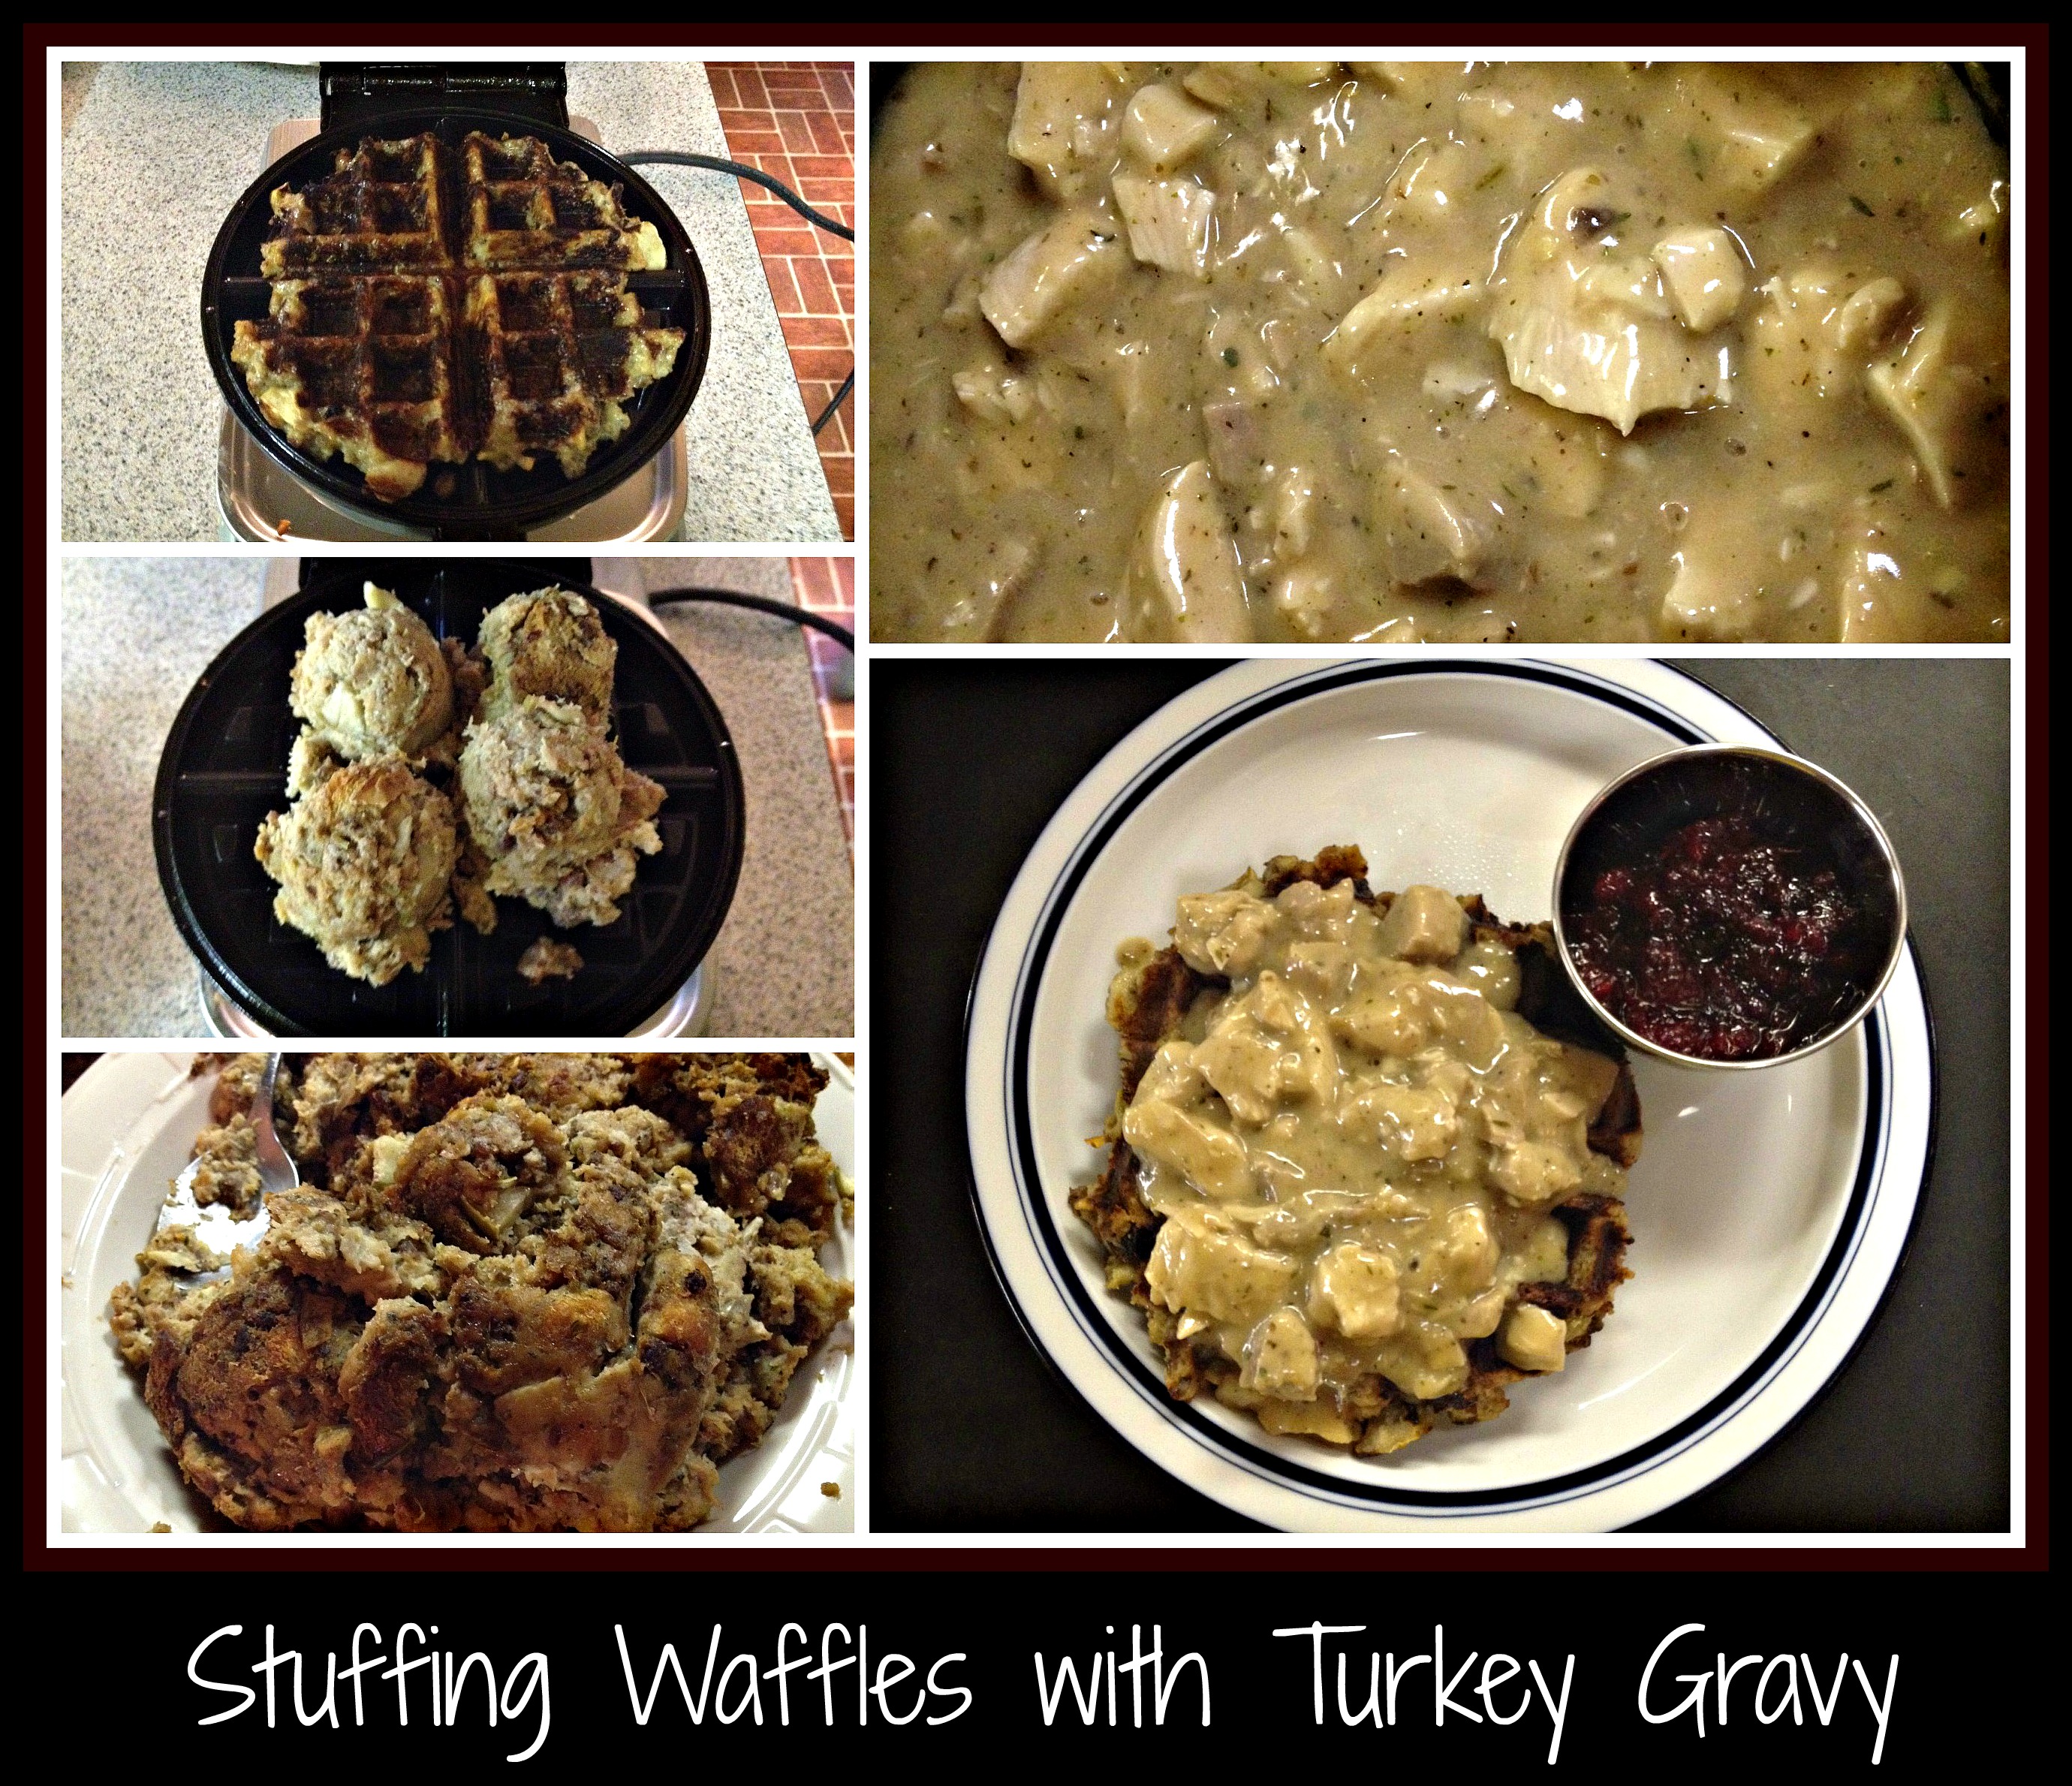
  • 3:15PM: pan stuffing into oven (30 minutes)
  • 3:30PM: sweet potato pie goes in (15 minutes), warm up the turnip casserole in the microwave (7-9 minutes) take turkey out of oven and put bird on platter (let bird sit for a good 5 minutes before beginning to carve, then cover platter with foil) *start gravy (I start gravy first so I’m not carving the bird too early)
  • 3:45PM: all out of oven – raise temp to 400 degrees and put rolls in to bake (15 minutes)
  • 4:00PM: Time to EAT!

This may be a rather unconventional way of making your Thanksgiving meal, but it’s become our favorite.  I’ve roasted a turkey in a paper bag slathered with butter… I’ve cooked the bird on a rack with veggies around it… I’ve followed the “4-hour turkey” recipe… in all cases, this recipe has surpassed all our expectations and resulted in a picture-perfect turkey, suitable for any special occasion or holiday meal.  For a photo of this ginormous bird, check out my Stuffing recipe… it shows you the turkey in more stages than I could here!

I wish each and every one of you a most blessed holiday season and thank you for your readership and participation in this blog.  Happy Holidays!

Recipe: Holiday Stuffing Bread

‘Tis the season, so I’m sharing a bunch of my family’s favorite holiday recipes with you.  This recipe is my younger son’s favorite addition to our Thanksgiving line-up.  It’s a twist on a traditional Italian bread recipe that I had for my bread machine… I usually make a loaf or two to use in the stuffing I make for inside the bird and then have extra available for sandwiches and snacking.  You know you have a winner when your son asks for this specific recipe, right?

Since you  know that I use The Force when I cook, it shouldn’t come of much a surprise to learn that I also use The Force (cautiously) when I bake.  I understand that baking is a science, so I don’t mess with ingredients too much, but I do like to add seasonings to things whenever possible.  Wine is a fun way to add flavor to your baking, as are things like bouillon packets and random bits of herbs.  The following bread recipe is my “jumping off point” – occasionally, the dough is either a little too moist and I have to add some flour before baking or it’s a little dry and I add a touch of liquid until it all comes together.  I love using my Zojirushi bread machine to make the dough, so my recipe utilizes this helpful appliance.  If you have a bread machine and don’t use it often, you’re missing out on something that really does save time and effort!StuffingBread

Holiday Stuffing Bread:

  •  1 cup water + 1/4 cup white wine (I like James River Cellars Reserve Chardonnay, but use what YOU like)
  • 1 1/4 teaspoon salt
  • 1 teaspoon sugar
  • 2 teaspoons olive oil
  • 3 cups flour
  • 1 Tablespoon ground poultry seasonings
  • 1 Tablespoon dried Herbs de Provence (or dried Poultry Seasonings)
  • 1 packet G. Washington Golden Bouillon
  • 1 Tablespoon dry yeast

These ingredients are listed in order of addition in my bread machine.  I use the flour to keep the liquid from starting the yeast too early but I *do* make this on the “dough” setting so I can then remove the loaf and bake it in the oven after letting it rise until doubled.   I try to follow standard cooking directions, when I remember, but there are times when I get distracted and just pop the bread dough into a hot oven to bake… those are the times when I’m left to the “thumping the loaf” method of checking to see if the bread is done.  The wine seems to give the dough a more chewy consistency and all the herbs and seasonings bake everything together into something so delicious.

I realize that it’d be so much simpler to just buy a few loaves of bread for stuffing, but I’m grateful to know that my family appreciates all that goes into making a big holiday meal.  I hope you try this recipe some time… it’s also a great addition to your leftover sandwiches!  Happy Thanksgiving!