Recipe: Pinot’d Pizza

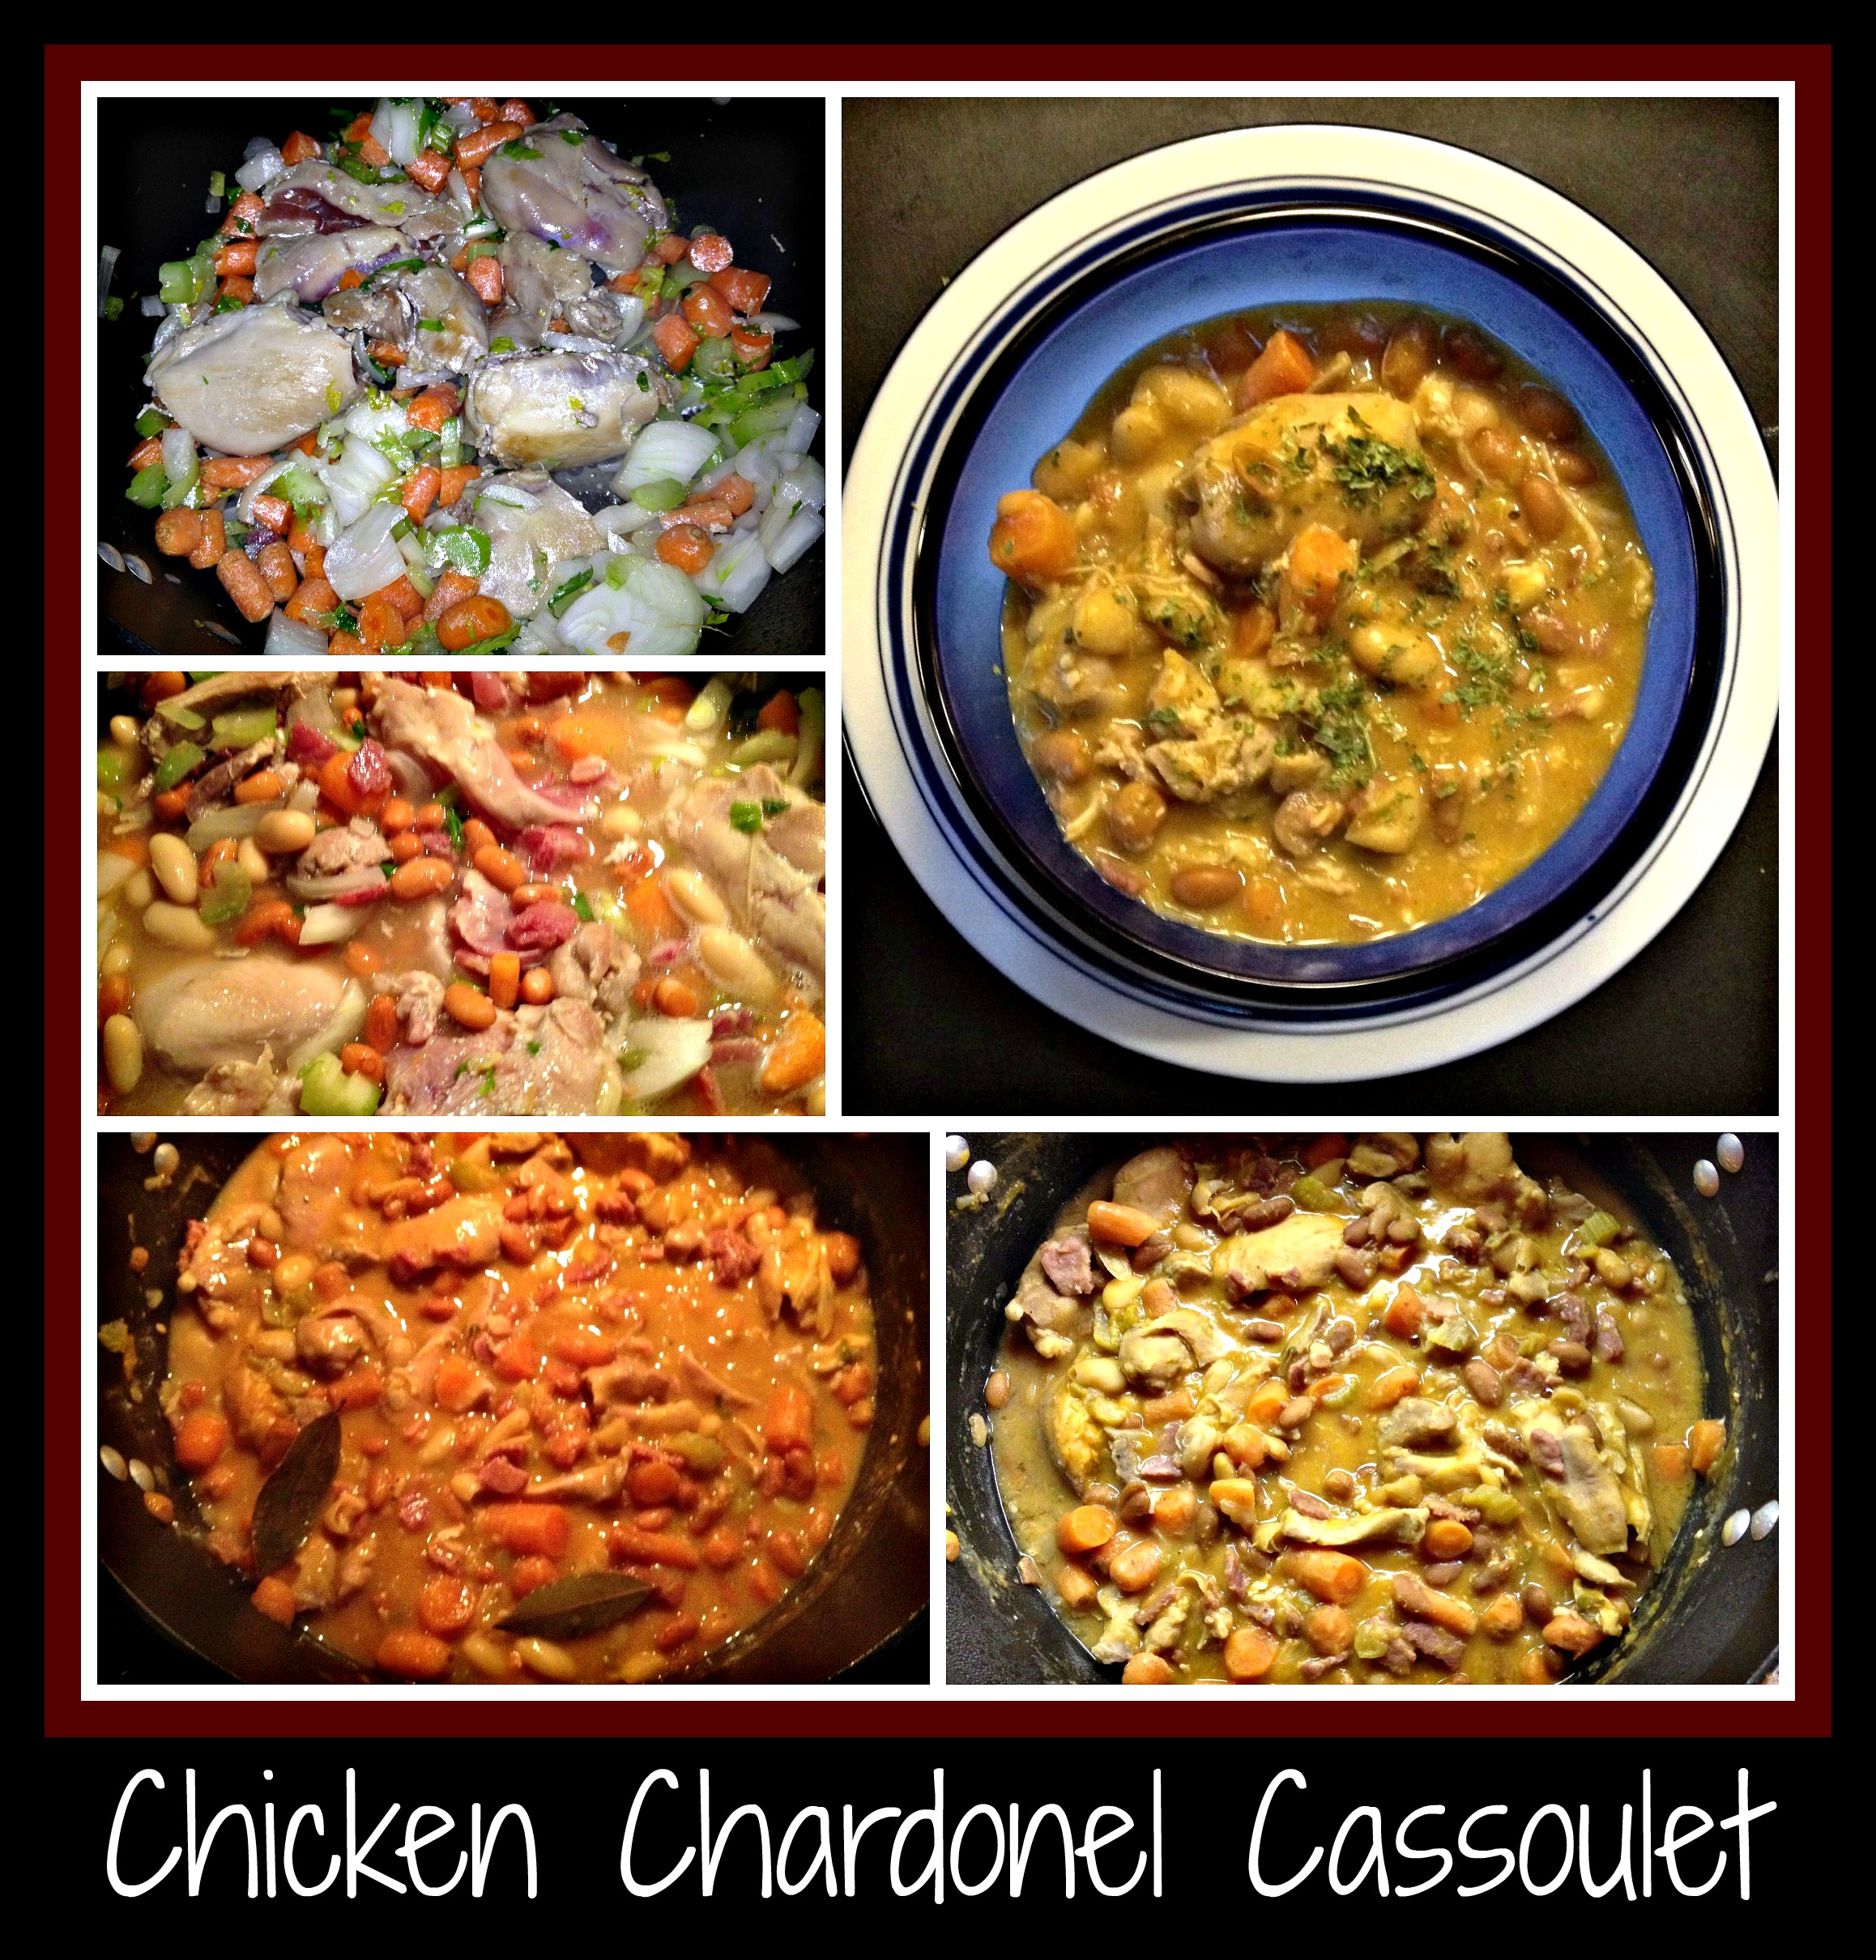
Ok… I’m almost embarrassed at how easy and simple this pizza was… well, almost.  The wine portion of this meal came from simply “thumbing” some Pinot Noir over the pizza that I put together tonight for dinner.  Honest!  It’s a lazy, Friday night, so here’s my favorite way to make a homemade dinner without a huge amount of effort… and here’s how I put everything together.

I started with a trip to my local pizza place and purchased a medium size pizza dough for $4.00.  Seriously… $4.00 and I had enough dough to split into 2/3 dough for my hubby’s pizza and 1/3 dough for my own pizza.  It’s the perfect “single-serve” amount of pizza for dinner for me and the cost is totally worth it.  NOTE:  if I’m planning on feeding more people, I would obviously purchase more dough.  My boys like thicker pizzas, so I would have picked up a medium size for each of them and do our 1/3:2/3 split for us.  See if your favorite pizza place sells dough… it’s a huge timesaver!PinotPizza

I had thrown the dough in the fridge when I got home, so I pulled it out to rest for about an hour before starting to make our dinner.  M and I have things down pat when making pizza for dinner.  I make the crusts for everyone and then, together, he/I add all the toppings and such.  My pizza tonight consisted of jarred pasta sauce (go cheap if you like… it’s getting covered after all), a large handful of spinach/arugula mix, cut in thin strips  (this is called a chiffonade), crumbled gouda cheese, mozzarella cheese, and  garlic salt.  I layered everything in order mentioned and added as much or as little as looked right to me at the moment.  The “pre-oven” pizza pic is on the left.  NOTE: for those of you wondering, my husband makes a mean pepperoni pizza with light sauce and light cheese… and NO wine.  LOL.

At the last moment,  I pulled out a bottle of Pinot Noir red wine that I had just opened and used my thumb to sprinkle the wine over my pizza.  Weird, I know, but it was one of those “why not” moments.  The pizza went into a pre-heated 475 degree oven for 10-15 minutes.  Don’t leave the house or plan to be too far away… this pizza can go from “almost perfect” to “burned” fairly quickly if you’re not watching.

With the extra liquid on top of my pizza, I needed to let it rest for a few minutes before cutting it into 8 pieces and inhaling… I mean, eating… my dinner.  It was a wonderful way to end the week.

May your evening meal be as entertaining AND delicious as ours!

Recipe: Chicken Chardonel Cassoulet

I truly love having an afternoon when I have time to make a hearty, warming, delicious dinner.  I love to start with a few ingredients and turn them into something that just screams “Fall” to me and my family.  This was just such a meal. I make a lot of cassoulets, but this one turned out really well… so well that I wish I had doubled the recipe so I could have it for another few meals.

Tradition dictates that a “Cassoulet” is a French dish made with meat and beans.  It’s actually named after the slanted-side earthenware bowl (called a Cassolein which it is to be cooked.  I don’t own such a cooking vessel, so I use a large heavy stockpot that will stand up to some good old-fashioned cooking.  I don’t subscribe to the notion that you have to purchase a ton of different individual utensils to make a good meal.  It’s not necessarily about the final presentation… it’s about the care and love that goes into anything you make.  I realize that this can sound pretty hokey, but it’s honestly how I approach cooking in general.

This recipe was fairly simple and came together extremely well.  I used the following ingredients:  olive oil, one package of boneless, skinless chicken thighs, one thin slice of ham steak (thinly diced),  2 cans of cannellini beans (I used one can of pinto beans and one can of cannellini beans, because that’s what I had on hand), well-chopped Mirepoix (a mixture of carrots, celery, and onion…. don’t let the “big word” bother you), 2 bay leaves, salt/pepper, a can of chicken broth, a can of James River Cellars’ Chardonel, 2 Tablespoons of pumpkin puree, and 1/4 cup of non-fat plain Greek yogurt.

NOTE:  As you may know (if you read this blog at all), I cook using “The Force”.  I look at my fridge and pantry when cooking and adjust my ingredients based on what I have available or what might look good to me at any given moment.  This was one of those recipes.  If you’re starting with a recipe (especially one of *my* recipes), feel free to add or subtract ingredients to tailor the meal to your family’s taste preference or pantry contents.ChickenChardonelCassoulet

I started with a heavy, rounded stockpot.  I added some olive oil and sauteed the diced ham until it was fairly crispy and the fat had rendered out of the ham.  Using a slotted spoon, I removed the ham and added the mirepoix to saute and soften for a few minutes before popping in the chicken thighs and allowing them to brown a bit.  The meat is going to cook for an hour or two, so don’t worry about whether it’s browned long enough… you simply want the color on the meat before adding in the rest of the ingredients.  Once the chicken and veggies were sauteed (see top left hand photo), I replaced the ham into this mixture and started layering everything into the pot.

The middle photo on the left shows the cassoulet after I added the can of pinto beans (WITH liquid), can of cannellini beans (WITH liquid), can of white wine (James River Cellars’ Chardonel), can of broth, and seasonings.  I put the lid on the pot and allowed everything to cook together for an hour before starting to adjust seasonings.

The bottom photos show the cassoulet after I added a bit of pumpkin puree.  I realize that this is a strange ingredient to add to a cassoulet, but (as I keep saying) it was in my fridge and I knew that this small amount would thicken the sauce a bit without changing the flavor significantly.  I could have made a roux (butter and flour) and slowly added it to thicken the sauce, but I really felt that would have thickened the cassoulet too much.  It’s really up to you as to how you thicken (or not thicken) your meal… that’s the glory that *is* cooking… make it your own!  My final addition was a huge spoonful (about 1/4 cup) of non-fat plain Greek yogurt.  I could easily have used sour cream, but I try to always have Greek yogurt on hand for just such an occasion.   I absolutely could have left the yogurt out at this point, but adding that light touch really finished the cassoulet and made it special.

That’s a cassoulet, in a nutshell.  Not too hard, right?  This recipe is something that can provide you and your family with a filling, one-pot meal that only needs some crusty bread on the side to complete your dinner.  I hope you’ll try your hand at making this recipe… and making it your own… you may even find a new family favorite!


Recipe: Red Steak Stir Fry

The house smelled soooo good when I was making dinner last night…. a definite plus after a weekend of pizza and dinners out, no matter how yummy.  Since M asked me to make a stir fry, I stopped by the grocery store on the way home from work and was able to throw this delicious meal together without too much difficulty.  Picking up two sale packages of “stir-fry beef”, a package of sliced mushrooms, a small package of Haricot Verts (long thin green beans), a bag of onions, and a bottle of Korean Teriyaki sauce, I started cooking in “layers”.  Let me explain what I mean by that…

RedSteakStirFry

Start with the onions and mushrooms.  Slice half an onion and half of the package of sliced mushrooms, and saute them in a pat of butter and a little bit of olive oil until they start to brown.  To this mixture, add some Napa Valley Pinot Noir red wine (this is what I had in the fridge… any tasty red wine will work well in this recipe) and allow the veggies to soak up the wine (here’s your first layer of flavor).  Remove the veggies and add another pat of butter and a little bit of olive oil, allowing the pan to get hot.  Add salt and pepper to the beef and add to the melted butter/oil in the saute pan.  Brown the beef thoroughly and then add more red wine (this is your second layer of flavor) so the beef can soak up more of this flavor.  Once the beef is cooked, return the onion/mushroom mixture and bring everything to temperature.

While sauteing the vegetables and beef, take a moment to pull the stir-fry sauce together.  This sauce was a blend of 2/3 cup red wine, 1/3 cup of Teriyaki sauce, some garlic, some ginger, and a spoonful of flour.  Whisk the sauce thoroughly to incorporate the flour into the sauce and wait to add the sauce until the beef is thoroughly cooked and toasty and the veggies are returned to the pan.  This will be your third layer of flavor.

Since the Haricot Verts are so incredibly delicate and quick cooking, I would suggest adding the beans and the sauce close to the same time in the cooking process.  Toss everything together for a few minutes to allow the flour to cook and the beans to warm.  I did add 1/4 cup water to thin the sauce a bit, but the stir-fry sauce I had made was absolutely delicious.  Served over a bit of brown rice (I microwaved a package of brown basmati rice), it was a thoroughly satisfying meal… warm, tasty, and totally yummy.

Try your own version of this stir-fry at your house… chances are that it will become your family’s favorite as well!

Recipe: Taco Wine Braid

Here’s a recipe that is has it ALL.  It tastes fabulous, it’s simple to make, and it looks really impressive… what more could you want?!  I made this for my family this weekend and everyone agreed that it was a terrific recipe that I had to share as soon as possible.  I’ll admit that the name of this recipe sounds a bit odd, but it really is a good descriptor, if you look at the photos.   I was using the base from a previous post (Weeknight Taco Pie) and then got a little creative after watching our cousin Ann whip up a delicious lunch that looked like something from a magazine.

Since I wasn’t going to have a lot of time for dinner prep on Sunday, I decided to cook the “taco meat” part of this meal a day ahead of time.  I started with one package of ground turkey, one packet of taco seasoning and some red wine.  I cooked the ground turkey, added the entire packet of taco seasoning, and then added the red wine.  I substituted approximately the same amount of red wine as the packet called for water (ok… I guestimated, since I didn’t want to use a measuring cup) and allowed the browned ground turkey to soak up every ounce of liquid and taco seasoning before adding one jar of black bean salsa (of the “medium-heat” variety).

NOTE: Since I wasn’t at home and didn’t have any James River Cellars wine on hand, I used a bottle of Malbec that I chose at the local market.  I like Malbec, as a general rule of thumb, so this was an easy call for me.  Remember… use the wine you like to drink or have on hand.  If I’d had an open bottle of Pinot Noir, I could certainly have used that.  The flavor will differ slightly from varietal to varietal, but that’s what makes cooking so much fun.  You can also leave the wine out entirely and just use water OR you can add beef stock/broth in place of the water.  USE THE FORCE… be brave!

TacoWineBraidI cooked the taco/salsa mixture until it was very dry and allowed it to cool a bit before storing it in the fridge for the night.  I don’t always do this, but it actually allowed the flavors to meld and mellow a bit, which was welcome surprise.  If you like your food spicy, feel free to use more seasoning or amp up the flavor using a different salsa.  That’s the beauty of making your own food… you can do what you like!

The fun part of this dish came when I decided not to put the taco mixture into a pie plate and bake it.  On a cookie sheet lined with foil (and sprayed with cooking spray), I laid out two packages of refrigerated crescent dough beside one another (so it looked like a really long rectangle.  I then spooned the taco/salsa mixture down the center and topped it with one package of shredded Mexican-style cheese (again… use what you like here).  Using a knife, I made slits along each side (making sure they matched), starting at the meat mixture and going to the outside edge of the dough (but don’t cut through the foil).

Here’s where it got COOL.  Gather up corresponding edges of dough, bring them to the center, twist them, and lay them back down in line (or slightly overlapped… YOUR CHOICE).  Repeat this with all the strips of dough until you get to the end, then pinch the ends closed.  It should look like the photo on the bottom left-hand corner.  If you want to be really fancy, top with cheese (like I did in the photo), brush with a simple egg wash (easy if you use some egg substitute and a little water), or just spray with cooking spray.  Pop your Taco Wine Braid into a 375 degree oven for 15-20 minutes, until the dough is nicely browned and you can see some bubbling of the taco meat peeking through the holes in the braid.  Let it sit for a few minutes while you gather the plates to serve this gorgeous dinner to your adoring public.

I like to serve this dinner with some lettuce, tomato, and sour cream… again, this is all personal preference.  For our dinner, I used one head of butter lettuce (because the romaine looked like it would be too much), a small container of grape tomatoes, and a tiny package of light sour cream.  Whatever you choose will be wonderful as long as you use what you like or have on hand.

This was a dinner that was a huge hit with everyone in my family.    See if you don’t get some rave reviews of your own if you make it sometime soon for your own family.  Enjoy!

Recipe: Chardonnay Pesto Shrimp & Pasta

I started planning dinner before I left for work this morning.  I didn’t do anything as adventurous as get out the crock pot and start dinner… nope….  I just started thinking about what I wanted to make that evening.  Such is my life when I get to talk about wine all day.  Mind you, I’m definitely not complaining… just making an observation.  When I lead guests through a wine tasting at James River Cellars Winery, I gloss over recipe ideas and offer up ways to use the various wines we have to offer.  It’s the way I’ve always done wine tastings, but apparently it’s unique enough that people are stunned when I toss out recipe after recipe for our wines.  Thankfully, the winery owners have allowed my blog to be linked to the winery’s website, Facebook page, and Twitter account – guess I’m doing something right, huh?

I stopped off at the local grocery store to pick up a bag of shrimp on my wayChardonnayPestoShrimp&Pasta home and grabbed a tube of Pesto paste to use, along with some bow tie pasta.  I thawed, peeled, and sliced  the shrimp in half when I got home so that dinner prep would be as simple as possible.  Then I got out the rest of my ingredients:  a lemon, a pat of butter, olive oil, James River Cellars Winery Chardonnay, and a touch of half & half left over from another meal this week.  Once my husband got home, I was ready to start cooking.

I put some of the bow tie pasta into a pot with some salted water and got that started while I melted butter and olive oil in a large saute pan.  As soon as the butter/oil mixture was hot, I added the shrimp and allowed it to cook thoroughly – I had sliced the shrimp length-wise so the thin shrimp pieces curled up into little corkscrews.  Once the shrimp was cooked, it was time to start creating a sauce.

I made the sauce with the shrimp in the pan.  Sometimes I’ll remove the shrimp, but I was feeling a little lazy tonight and didn’t do this extra step.  I added some wine to the shrimp and let it sizzle for a bit until the chardonnay had almost been absorbed by the shrimp.  I then added the juice of the lemon, some pesto paste, a little more wine, a splash of half & half, and some of the pasta cooking liquid.  I allowed this to simmer until the sauce looked thick enough before I tossed everything with the cooked pasta.  It was quick and delicious!

The entire meal, cooking from start to finish, really only took about 15 minutes.  I even had enough time to defrost and toast a ciabatta roll so we could each have half to soak up the sauce.   While there are tons of different things I could have added or changed about this recipe, the clean taste of the wine, lemon, and shrimp paired with the pasta was just what I was looking for tonight.

I hope you’ll experiment with this recipe and come up with your own favorite version… it’s one of my favorite things to do.  Enjoy!

Creating a Recipe for a contest… Divine Triple Chocolate Port Wine Cookies

The people who make Fonseca Bin #27 offered up a challenge and I just couldn’t resist.  After all, I’ve been using red wine (alternating between a dry red from James River Cellars Winery OR Fonseca Bin #27 Port wine) in my “standard” chocolate chip cookie recipe for the past 15 years or so… why not write the actual directions down and see if people like it, right?TripleChocolatePortWineCookies

I decided to call the recipe:  Divine Triple Chocolate Port Wine Cookies.  I use chocolate chips in three different sizes and degrees of sweetness, then included Port Wine and a few other “choice” ingredients.  I am deviating from my traditional way of using The Force when I cook and have provided actual directions for this recipe.  It was tough, but I just had to try it.  While my recipe may seem a bit unorthodox, my family and friends seem to find them absolutely divine.  I hope you enjoy them as well.

Divine Tripe Chocolate Port Wine Cookies:

Preheat oven to 375 degrees and assemble all ingredients in recipe before you begin.

Start with the following ingredients in your mixing bowl:
1 cup butter crisco
1/2 c white sugar + 1 c brown sugar
1 t salt + 1 t baking soda
2 T Fonseca Bin #27 Port Wine
1 t blood orange balsamic vinegar
1 t dark chili powder
1 t cinnamon
1/4 t ground ginger
1 t vanilla extract + 1/2 t almond extract
2 eggs (at room temperature)
Cream all ingredients together until well incorporated
Slowly add 2 1/4 c flour and mix well.

Add 1 cup each: mini chocolate chips, regular semi-sweet chocolate chips, and bittersweet chocolate chips.

Using a small cookie scoop, place batter, teaspoon by teaspoon, onto a baking stone. Bake cookies at 375 degrees for 11 minutes (you may need to adjust for your own oven temperature). Allow cookies to sit for a minute on the baking stone before removing to a wire rack to cool.

I like to keep this cookie dough recipe in my fridge so I can make fresh cookies at a moment’s notice, as my boys’ friends can attest. These are wonderfully divine!

If you feel so inclined, please consider voting for my recipe, using this link.  I hope you try this recipe and enjoy making it and sharing it with the ones you love… after all, isn’t that why we cook in the first place?

Recipe: Easy Chicken Divan

I was recently tasked with using our new Cabernet Franc Blanc wine (James River Cellars’ 2012 Montpelier) in a recipe and this fabulously easy recipe was the result.  It uses both Montpelier wine AND Monterey  Jack cheese in a sauce that has it’s beginnings in my childhood, so for me, this was a win-win recipe.  I hope you find it that way as well!

EasyChickenDivan

I started with a leftover chicken carcass that I pulled from the freezer.  Typically, I’ll purchase a roasted chicken from our local grocery store and cut out the breast meat to use in a meal early in the week.  Once the white meat is gone, I like to bag up the chicken remains and pop it in the freezer for just such an occasion.  While the original recipe called for a can of cream of mushroom soup, I wanted to make my version a little healthier, so I put the frozen chicken into a large stock pot with about 2 inches of water and set it to a low simmer until the chicken was soft and easy to pick off the bone.  Most of what was left on the bone was dark meat, which suited me just fine.  I transferred all the meat into a large casserole dish and tossed the bones in the trash.   I quickly cooked a bag of broccoli florets in the microwave and layered them on top of the chicken in the dish.  Now to make the sauce that would pull everything together.

The remaining liquid in the pot had a deep chicken broth smell and taste, so that was the beginning of my sauce.  I added one pat of butter and a few spoons full of flour and whisked everything together until the flour had been thoroughly cooked and all lumps were gone.   I slowly introduced the Montpelier wine (you could certainly use a white wine, but a lightly dry rose’ would handle the flavors a bit better, in my opinion) and added a handful of Monterey Jack cheese, whisking again until the cheese melted nicely and the wine was thoroughly incorporated.  I also added a few spoons of Miracle Whip Lite and a generous amount of curry powder.  NOTE: I like to sweet/tangy addition of Miracle Whip in this recipe, so if you really want to use traditional mayonnaise, I would suggest adding a touch of sugar.  Once your sauce is smooth, creamy, and tasty (you HAVE to taste-test the sauce to make sure your flavors are combined well), pour the sauce over the chicken/broccoli in your casserole dish.

Using the same stock pot that you used to warm your chicken (and then make your sauce) add some butter, olive oil, salt, crushed garlic, and pepper.  Allow the seasonings to blend over medium heat and then toss in a few hands full of bread crumbs.  Toast the bread crumbs until they have soaked up the seasoned butter/oil mixture and become a bit crispy.  Layer them on top of your casserole dish and plan to bake your final dish at 350 degrees for 30 minutes or until bubbly.

You can absolutely plan to serve this with a simple green salad and some bread, but we love it just by itself.  The flavors combined nicely and everything tasted clean and fresh.  While it reminded me of my Aunt Treva’s Chicken Divan, it seemed a little healthier to me… maybe part of that is mental, but I do know that I was using fresh ingredients so I did feel better about how I made this version.

Try it with your own favorite childhood recipe… maybe you’ll come up with an updated recipe of your own!

Recipe: Roasted Mustard Pesto Potatoes

I was really lazy last week and wanted to make dinner without going through too many extra steps.  This recipe was born from my laziness (if you want to call it “laziness”, cuz I was *still* making dinner).  I started with the idea of roasting some Yukon Gold potatoes and this recipe emerged.  Please remember that you can always use whatever ingredients you like when making one of my recipes… I am only attempting to give you ideas from which you can branch out and create your own family favorites.

I started with four Yukon Gold potatoes and one onion.  I cut the potatoes into same-size chunks and cut the onion in half before slicing it into half-moon shapes.  I sprayed a baking sheet with cooking spray and then laid the potatoes and onions in a single layer on the sheet pan.   Being lazy, I simply plopped the ingredients on top of the potatoes, but next time I will probably mix them in a bowl and pour the sauce over top.  For the “sauce”, I used olive oil, dijon mustard, kale pesto, salt and pepper.  I tossed the potatoes and onions with these ingredients and then “thumbed” some James River Cellars’ Chardonnay over the whole mixture.  RoastedMustardPestoPotatoes

At this point, I realized that I had totally neglected to add any meat for our dinner… and that would never fly.  Since I didn’t want to roast a package of chicken tenders separately, I just added the individual tenders into the potato/onion mixture and turned them in the “sauce” to pick up some flavor.  This was my “easy out” way of making a two course dinner without any extra effort.

I roasted the entire baking sheet at 375 degrees for about an hour – this really was too long, but I had started making dinner so early that I was getting hungry before we were planning to eat.   Next time, I’ll adjust the oven temp and the cooking time so things don’t get quite so crispy but even so, dinner turned out really well.

BONUS RECIPE:  I found out that my husband isn’t as big a fan of roasted onions as my son, so I had quite a few left over to go with my extra potatoes for the next day’s lunch.  Since I had leftovers, here’s a quick way to use them up in a simple lunch-for-one.  I cut the remaining potatoes into smaller pieces, added the roasted onions and cut up two of the leftover chicken tenders, tossing all in one of my favorite salad dressings.  This became a really easy and tasty lunch for me and I didn’t feel like I’d wasted food.  Always a plus in my book!

Have fun making this recipe your own.  Use a different mustard… leave out the pesto… use a salad dressing or add balsamic vinegar with the oil… this is when you can let your creative juices flow to make something entirely your own.  I wish you a delicious meal… as always!


Recipe: Teriyaki Shrimp Stir Fry

I have to give my husband credit for the inspiration for this recipe.  I asked what he wanted me to make (using a pound of shrimp) for dinner and he rattled off a list of options that included the name of this dish.  I wasn’t thinking “teriyaki” until he threw that idea out… but it sounded yummy to me, so I set about rifling through the fridge to come up with ingredients that might work as a teriyaki sauce.

What I found, already in my fridge, were the following items:  half a jar of orange marmalade, Bragg Liquid Aminos (something like soy sauce, that *isn’t* soy, that my niece mentioned once on her blog so I bought it), homemade BBQ sauce, and a bottle of James River Cellars Montpelier wine (this new vintage is 100% Cabernet Franc, made as a semi-sweet blanc/rose’ wine… soooo yummy).  Since I hadn’t cooked with Montpelier yet, I was eager to try and find a way to use this fun wine.  NOTE: If you don’t have access to this specific wine, you’re welcome to substitute your favorite semi-dry/semi-sweet white wine or a lightly dry rose of your choice.  You could also just substitute chicken stock, if you prefer, but I really like the back note of wine in this dish.

TeriyakiShrimpStirFry

I defrosted a pound of frozen shrimp (I always like to have this on hand for quick and easy dinners that I know my husband will love) and sliced them in half, length-wise.  I love doing this with shrimp because they end up looking like little cork-screws of shrimp and they cook so quickly.  Feel free to cut them up or leave them whole… it’s entirely up to you!

I sauteed the shrimp in good olive oil until they were slightly toasty and browned.  Again, cook your shrimp according to your family’s preference… this is simply the way we like to have shrimp.  I wanted to add some sort of vegetable into dinner, so I used about a cup of broccoli slaw and tossed that with the cooked shrimp until it started to look a little glossy from the olive oil.  NOTE: If you’ve never used broccoli slaw before, you can find it in most grocery stores in the bagged vegetable area.  I love this stuff and try to keep it on hand to add to dinners whenever possible.  It cooks amazingly fast and is a nice addition to stir fry dinners.  I also like to use it in egg rolls, but that’s for another post on another day…

Once the veggies were well incorporated, I added the sauce that I’d made, using the ingredients i found in my fridge.  To be more specific, I used the half jar of orange marmalade, a few tablespoons of liquid aminos (this stuff is really salty, so go slow when adding and taste as you go), 2-3 Tablespoons of BBQ sauce, and 1/4-1/3 cup of Montpelier wine.  I tasted the sauce to make sure all the flavors combined well and adjusted as needed.  I let the sauce simmer with the shrimp/veggies until it had reduced a bit and didn’t look quite so wet in the pan.

Once the stir fry was done, I plated dinner in two different ways.  My husband really likes rice, so I like to keep microwaveable brown rice in the cupboard for meals.  I heated his rice and chose to put my dinner over a bag of Shiritake (tofu) noodles.  Let me say that I really like substituting regular pasta with these spaghetti-shaped noodles.  They’re low cal, low carb, gluten-free, vegan, and only about 30 calories for the entire bag (which is the amount I always eat).  They need to be rinsed REALLY well, as they are kept in a brine of some sort, but I find them to be a fun substitute that works well for me and how I want to eat.  I’m very visual, so I want to see a big plate of food or I feel like I haven’t eaten enough (no matter what my stomach actually says) and will snack more later.  NOTE:  The link I’ve included is the the Google search page for Shiritaki noodles… I didn’t want to limit you by suggesting a specific brand, since I’ve tried a few and don’t really have a favorite.

This dinner was super-simple and used things that I already had in my fridge or pantry.  I love being able to create something for dinner that doesn’t need tons of unique/single-use ingredients.  Orange marmalade is a terrific example of something that I keep on hand for tons of different uses.  Find your favorites and you’ll be able to pull dinner together in a snap – this was even faster (and cheaper) than take-out!

Enjoy!

Recipe: Kale’d Squash with Chardonnay

Just wanted to add a follow up recipe to the Kale Pesto recipe that I posted yesterday.  I shared lots of ways to use kale pesto, but here’s a recipe that I used for breakfast this morning.  This recipe would make a great side dish and can certainly be altered as needed if you are following a diet plan that doesn’t allow for wine or other ingredients.

Kale'd Squash

I had already roasted and cooled some spaghetti squash, so I started with this ingredient as my focus.  In a saute pan, I heated a small amount of olive oil, some crushed garlic, and a large spoonful of Kale Pesto.  Once this was sizzling, I added  2 cups of spaghetti squash, along with a nice amount of James River Cellars Chardonnay, and tossed all the ingredients together, cooking them until everything was toasty and fragrant.  

As I completed this recipe, I added some salt and pepper to taste and topped with a small amount of grated asiago cheese.  Since the alcohol in the wine had cooked out and I still had the back-taste of chardonnay in my food, this was a really tasty breakfast, but would have made an equally yummy lunch or even a full meal (if I added some protein).

 Isn’t that a great way to kick off a new day?  Enjoy!