Oh, my goodness…. this sauce is so delicious! A friend recently mentioned a crock pot dinner that she’d made that sounded good, but I didn’t want to use my crock pot. I got the basics of the recipe from her, looked at a few other recipes, and went to “work”.
INGREDIENTS:
2 TBSP butter
1/3 cup half & half (fat-free is fine)
2-3 forks of julienned sun dried tomatoes *I like to add a spoonful of the oil to this sauce as well
2 handfuls of spinach
1 TBSP Parmesan
1 wedge Laughing Cow light cheese
1-2 T white wine (I used Boordy Vineyards Vidal Blanc)
Salt and pepper to taste
Pasta water, as needed/if available, to thin or extend sauce
DIRECTIONS:
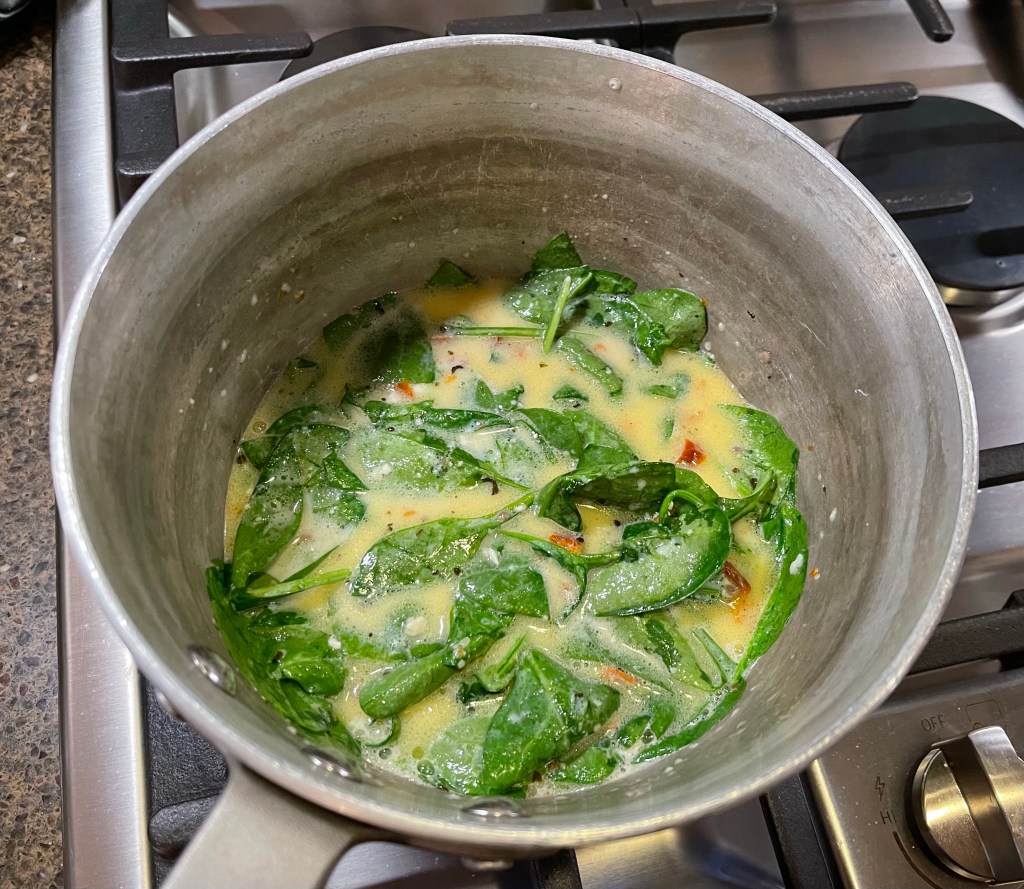
In a heavy sauce pan, simmer butter with half & half until butter melts.
Add sun dried tomato and fresh spinach, stir and allow spinach time to wilt.
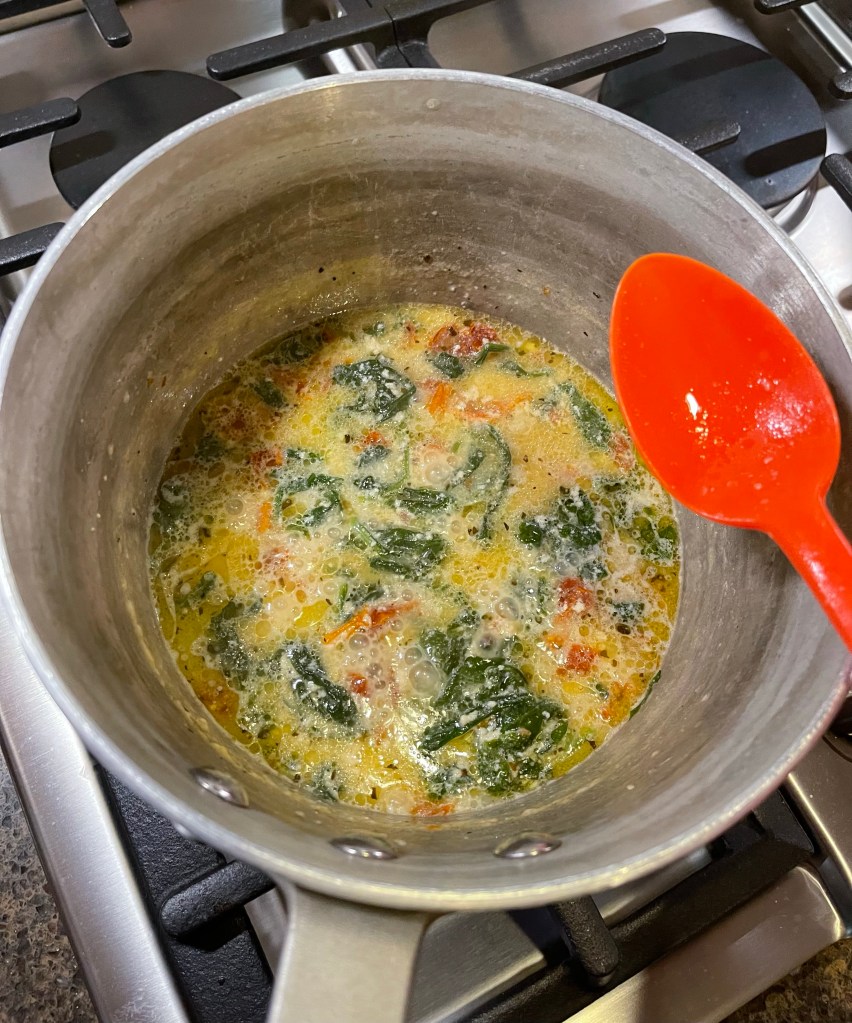
Add Parmesan and Laughing Cow, stir to combine and allow the flavors to meld.
Add wine, salt & pepper, then taste sauce, adjusting flavors as needed. Add pasta water, if needed.
I typically spoon this sauce over baked chicken, pasta, and broccoli, as seen in the photo. I’ve also served this sauce over shrimp. It’s a delicious addition to enhance that plain chicken and vegetable dinner. It doesn’t take long to make this sauce and makes for a beautiful dinner plate!
I got to play in the kitchen today…. and chose to experiment with a scone recipe that uses my favorite @JiffyMixes baking mix. Jiffy mix has been made by the Chelsea Milling Company, a family-owned business started in 1901. Since we lived in Chelsea, MI for a number of years, I love to use this product for biscuits, scones, pancakes, or even fried chicken… it’s so versatile. Here’s a photo of the box – look for it in the baking aisle of your local grocery store.
INGREDIENTS:
1 1/2 cups Jiffy Mix
3 TBSP sugar
1 1/4 tsp lemon zest (I use the zest of one lemon)
1/2 heaping cup blueberries, if using frozen, don’t thaw (I use 1 handful of blueberries)
1 egg
3 TBSP liquid (I used a mixture of half almond milk, half @BoordyVineyards white wine)
1/2 tsp vanilla extract
DIRECTIONS:
Preheat oven to 375* F
In a large bowl, blend Jiffy Mix, sugar, egg, liquids, and vanilla. Add zest and berries and mix thoroughly, but gently.
Lay a piece of parchment on cookie sheet and scoop out dough into small scones. I use a medium size cookie scoop and lightly press the dough down to flatten slightly. I like to lightly dust dough with sugar before baking
Bake in preheated oven for 10-15 minutes until edges begin to brown.
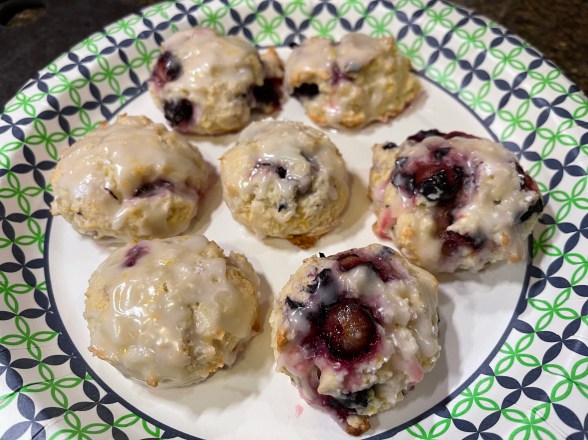
Let cool for at least 5 minutes before drizzling with glaze.
If you choose, you can drizzle the scones with a simple glaze made with the juice of one lemon and confectioner’s sugar. In this case, I also added a dash of salt and a splash of fat-free half and half. This is all personal preference, but I think it makes the scones look delicious!
I’ve made this recipe using a lot of different blends of add-ins such as dehydrated raspberries with cocoa nibs and orange zest with mini chocolate chips. The basic recipe isn’t difficult and doesn’t take a huge time commitment, which makes it a winner in my book.
I hope you’ll try this recipe and let me know what different combinations you’ve found to be delicious as well.
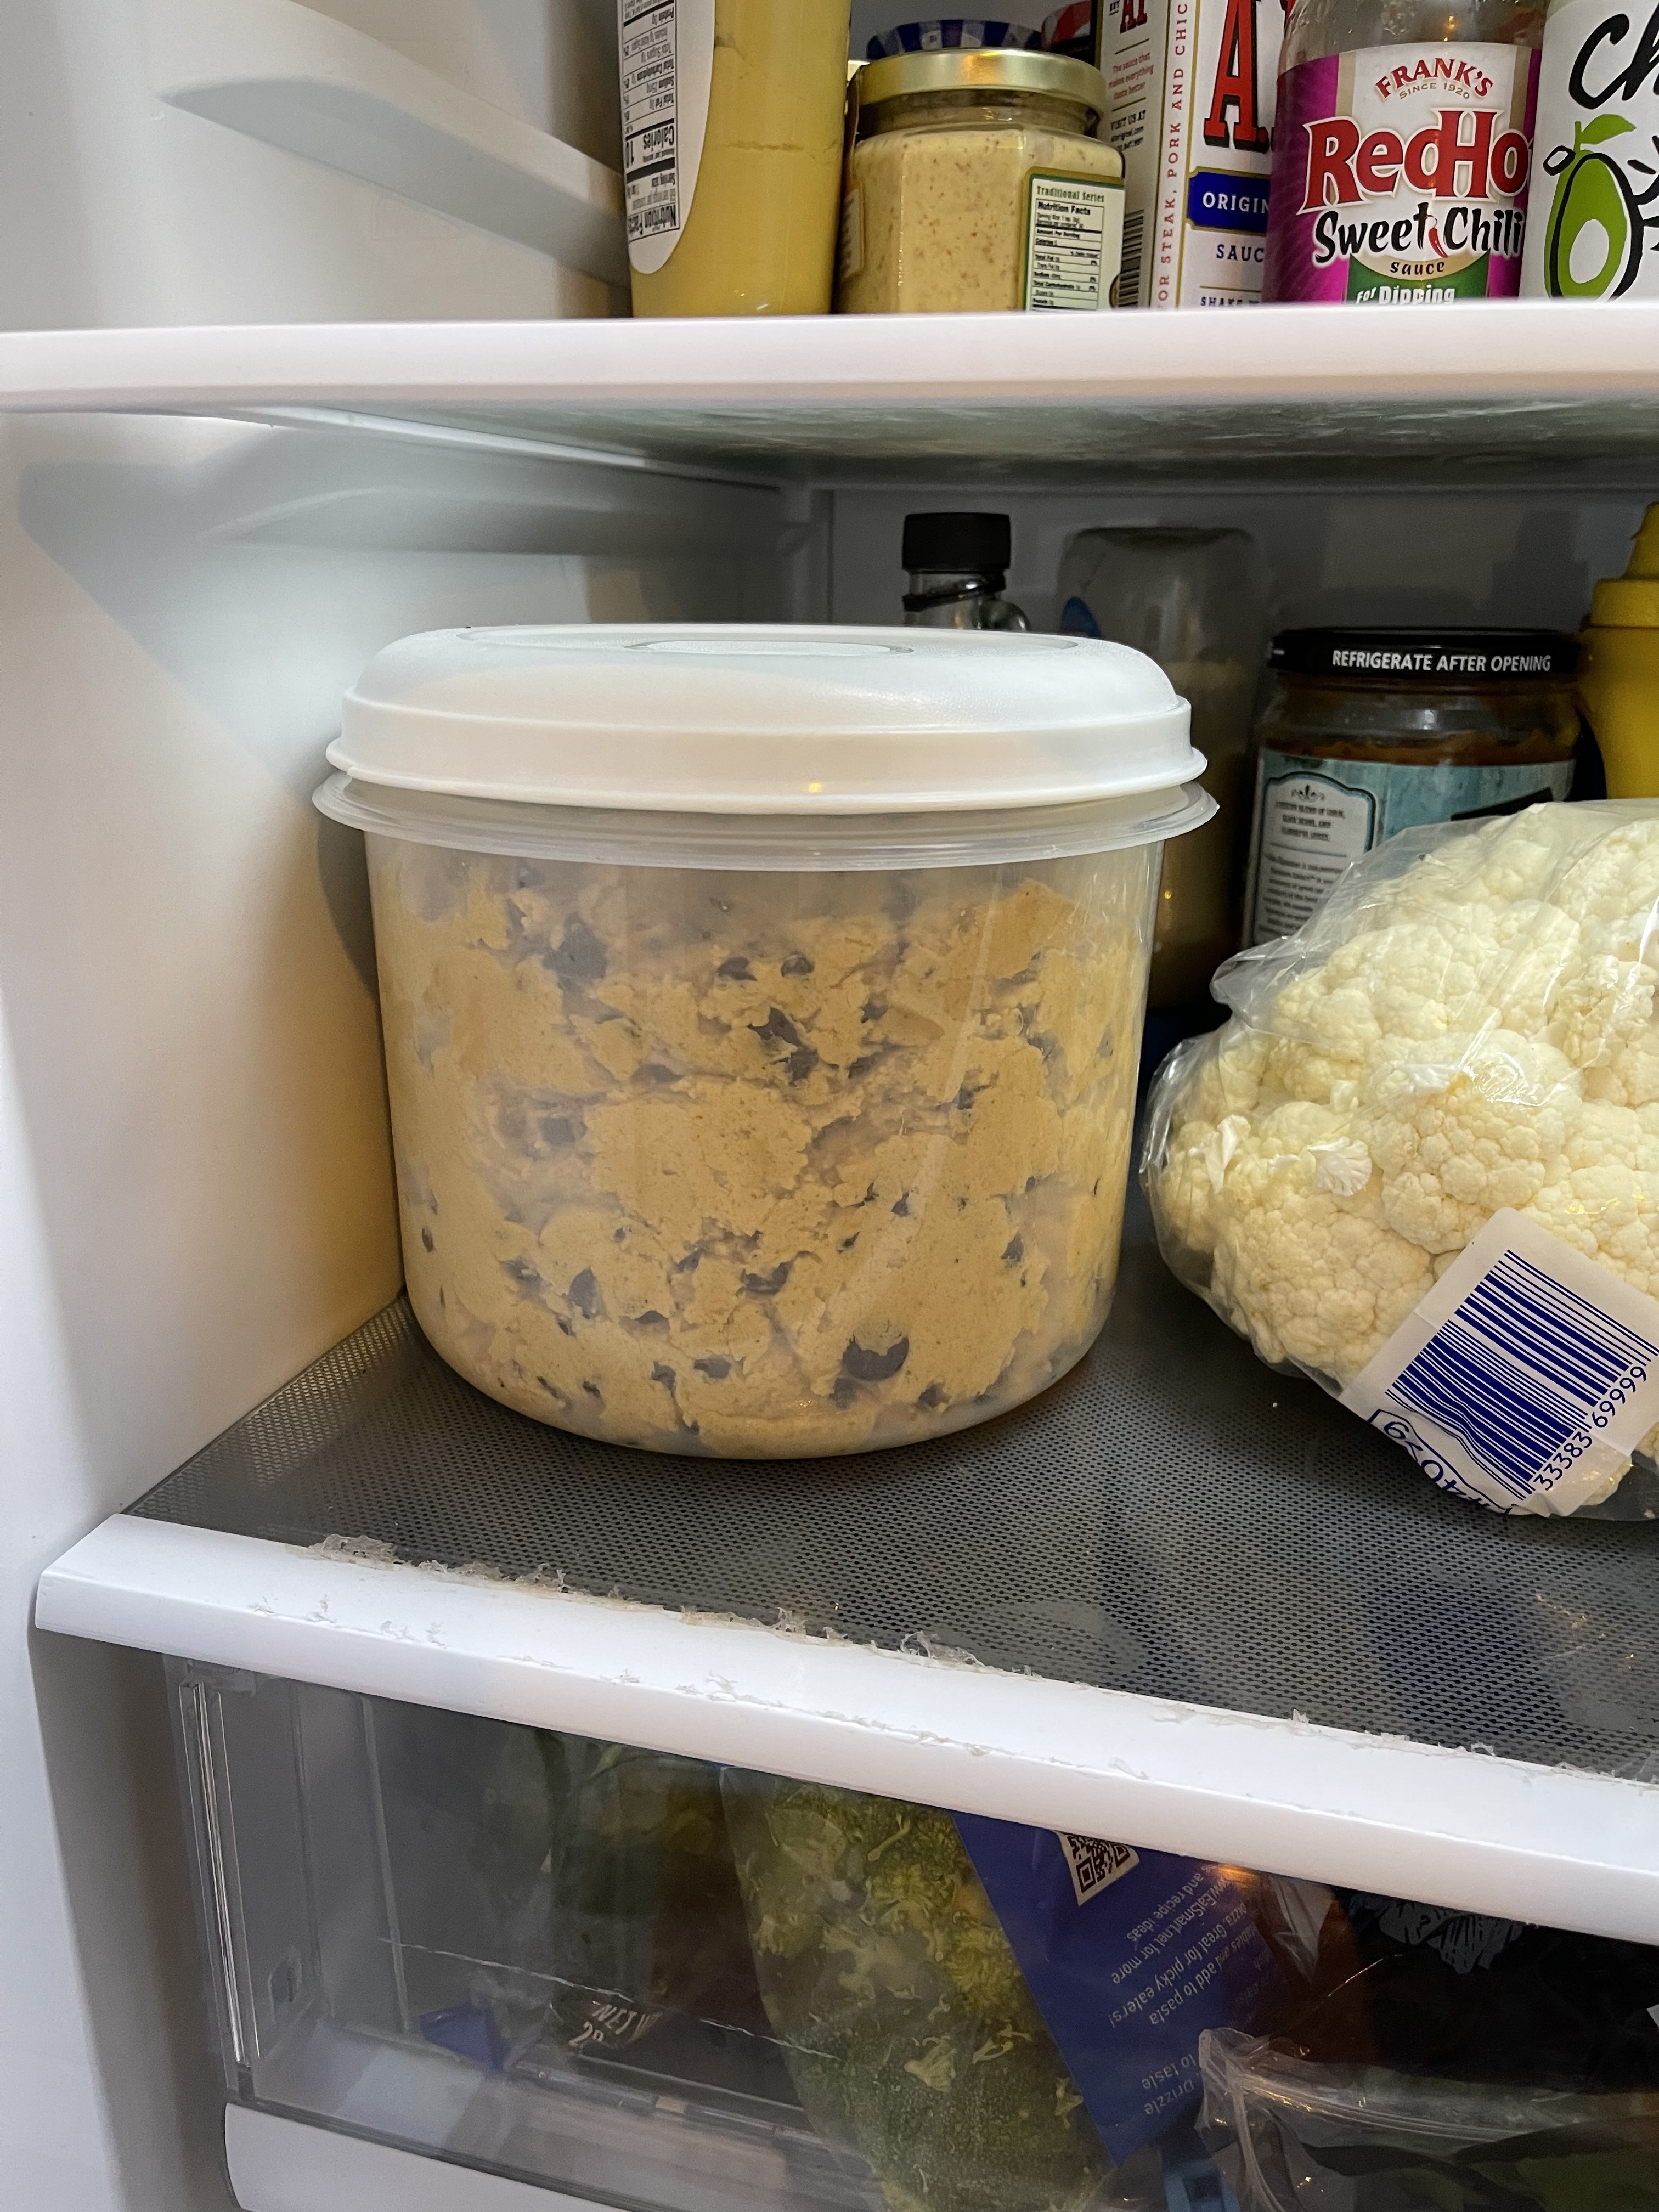
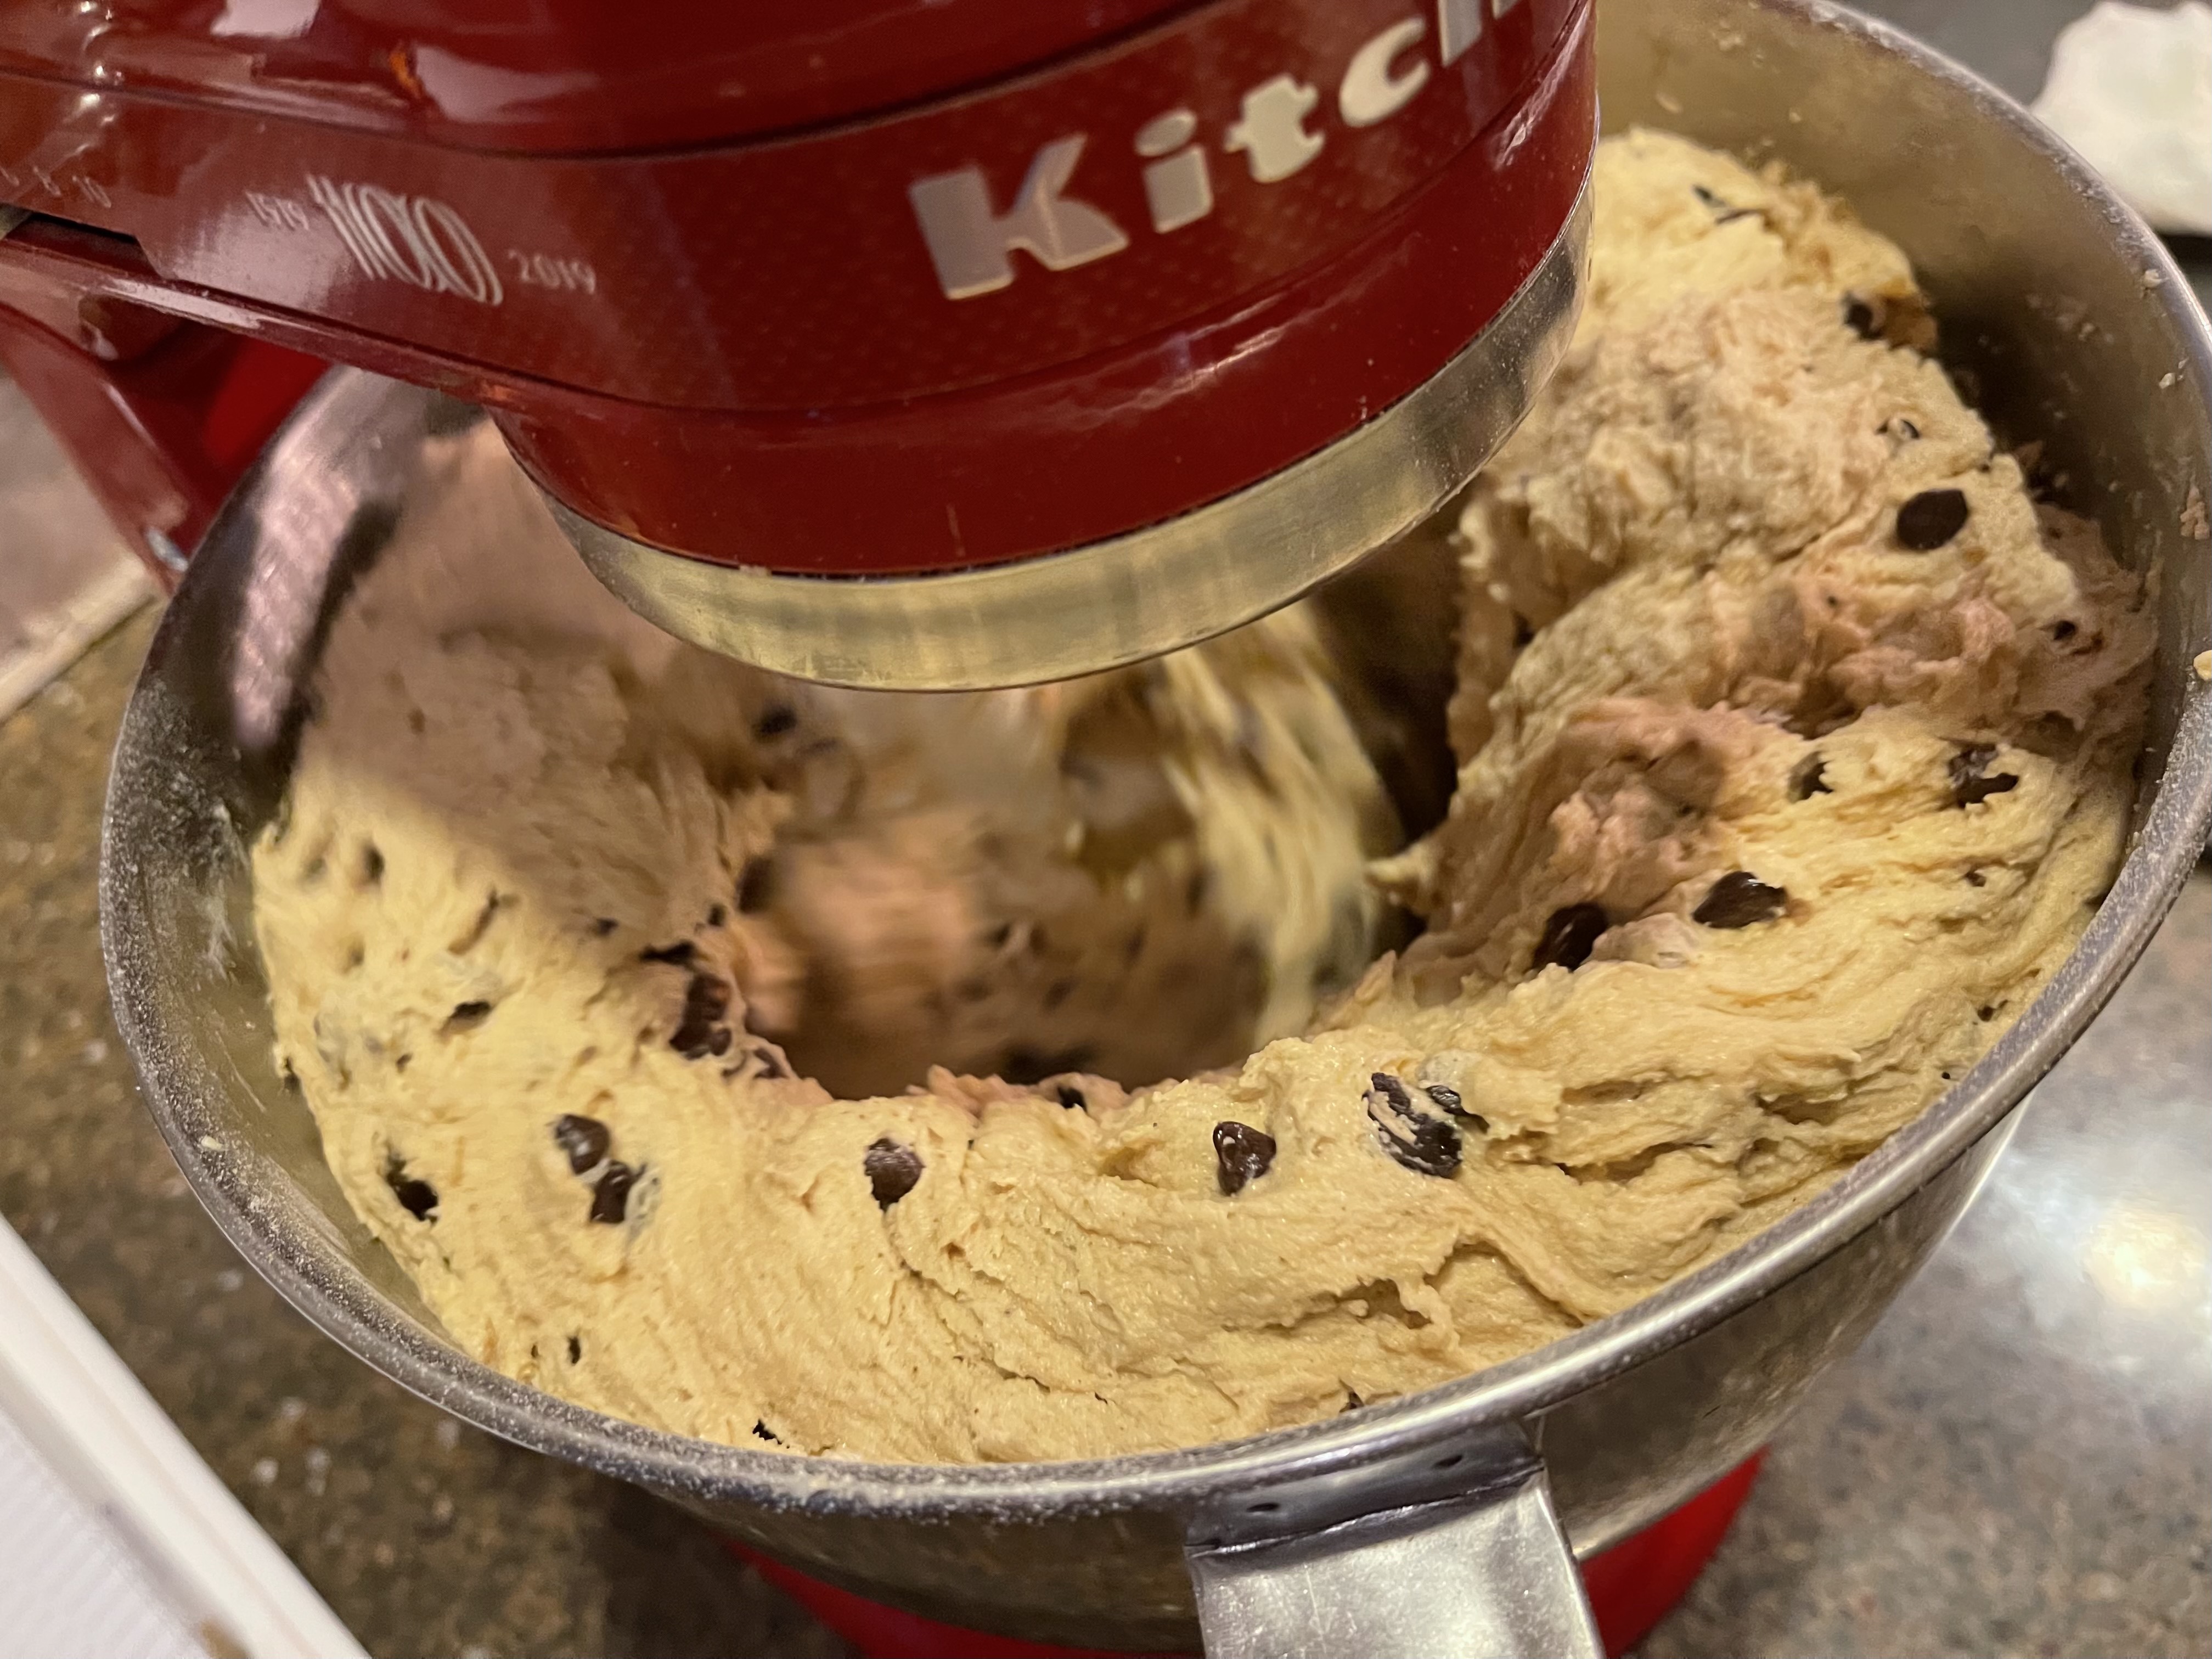
If you come to my house, on any given day, you will find a large tub of homemade chocolate chip cookie dough in my refrigerator. I know that my boys are now “grown and flown”, but this is one piece of their childhood that I know will carry over for years to come. I will *always* have cookie dough in my fridge – the ability to quickly have homemade cookies available, whether to share immediately or to gift to someone stopping by, is something that truly brings me joy.
This is a freshly made double batch of my chocolate chip cookie dough
INGREDIENTS:
4 1/2 cups flour
2 t baking soda
2 t salt
1 1/2 t cinnamon
1/2 t chili powder
1/2 t ground ginger
2 cups Butter Crisco
1 1/2 cups white sugar
1 1/2 cups brown sugar
4 eggs, at room temperature
2 t vanilla
1 t almond extract
2 T water
1 T red wine (preferably dry)
1 T balsamic vinegar
3 – 3 1/2 cups of chocolate morsels (I use a mixture of dark/bittersweet, mini chips, regular chips, and a small amount of espresso chips)
DIRECTIONS:
In large mixer bowl, with a paddle attachment, blend the butter crisco, white sugar, and brown sugar together until well combined and very light in color. I let the mixer run while I put together the dry and wet ingredients.
In a separate bowl, combine the flour, baking soda, salt, cinnamon, chili powder, and ginger. These are your “dry ingredients”. Set aside.
In a separate bowl (I use a 2-cup silicone measuring cup), break the eggs and whisk together. Once the eggs are well combined, add the vanilla, almond extract, water, red wine, and balsamic vinegar. Gently stir to combine. These are your “wet ingredients”. Set aside.
Once the sugar mixture looks “light and fluffy”, begin to slowly add your wet and your dry ingredients, alternating between wet and dry and mix well between each, NOTE: don’t use all the dry ingredients – leave a small amount in the bowl to toss with the chocolate chips.
As your mixer finishes blending your cookie dough, measure out your chocolate chips into the same bowl used to gather the dry ingredients and toss the chips with the small amount of the flour mixture that you saved.
Add in the entire contents of the bowl containing the chocolate chips/flour mixture. You can do this in stages or all at once, just make sure to add it all. Take time to mix everything well.
Transfer your completed chocolate chip cookie dough into a container and store in your fridge, baking cookies as needed… Mine rarely lasts more than a month.
To bake: preheat your oven to 375*F. Using a small cookie scoop, place balls of cookie dough on a tray covered with a sheet of parchment paper. Bake cookies at 375* for 11 minutes. If you’re making this recipe for the first time, bake cookies for 10 minutes and adjust cooking time for your oven.
The butter crisco/sugar mixture is ready for the next step.Wet and dry ingredients are combining into cookie dough,Chips have been added and the mixer is getting everything together.Lots of chips make for cookies with different size chips in each cookie
There are many, many ways to make this recipe your own. I originally started with the traditional Toll House cookie recipe but got bored making the same… thing… every… time… especially when if felt like I was making cookies ALL THE TIME. Here’s the back story:
When we were originally stationed at the US Naval Academy in 1991, I had a 1 year old son and my husband was teaching in Seamanship & Navigation, attached to the Sailing Department. He filled out an application to be an Officer Rep for a sports team and was pleasantly surprised when he was selected to be the O-Rep for the Varsity Men’s Soccer team! I became involved when he came up with the idea of giving each player a bag of cookies for his birthday. I would make enough chocolate chip cookies to fill a gallon-sized ziplock bag, write “Happy Birthday to ___ from Mrs LT”, and drop it off at Main Office in time for each player’s birthday. This was a really fun idea… in theory. I think we had one birthday in the first month, but the next month we had four birthdays in two weeks! I quickly learned to make cookie dough in double batches and started experimenting with the recipe to come up with something unique and delicious.
Over the years, I’ve added and adjusted the recipe until I came up with the one I’ve posted here. I work for @BoordyVineyard, so I love to incorporate their wine into any recipe I create – and pairing their red wine with chocolate makes it such a happy experience! I hope you enjoy trying this recipe… and feel free to tag me (@AliSportShots) !
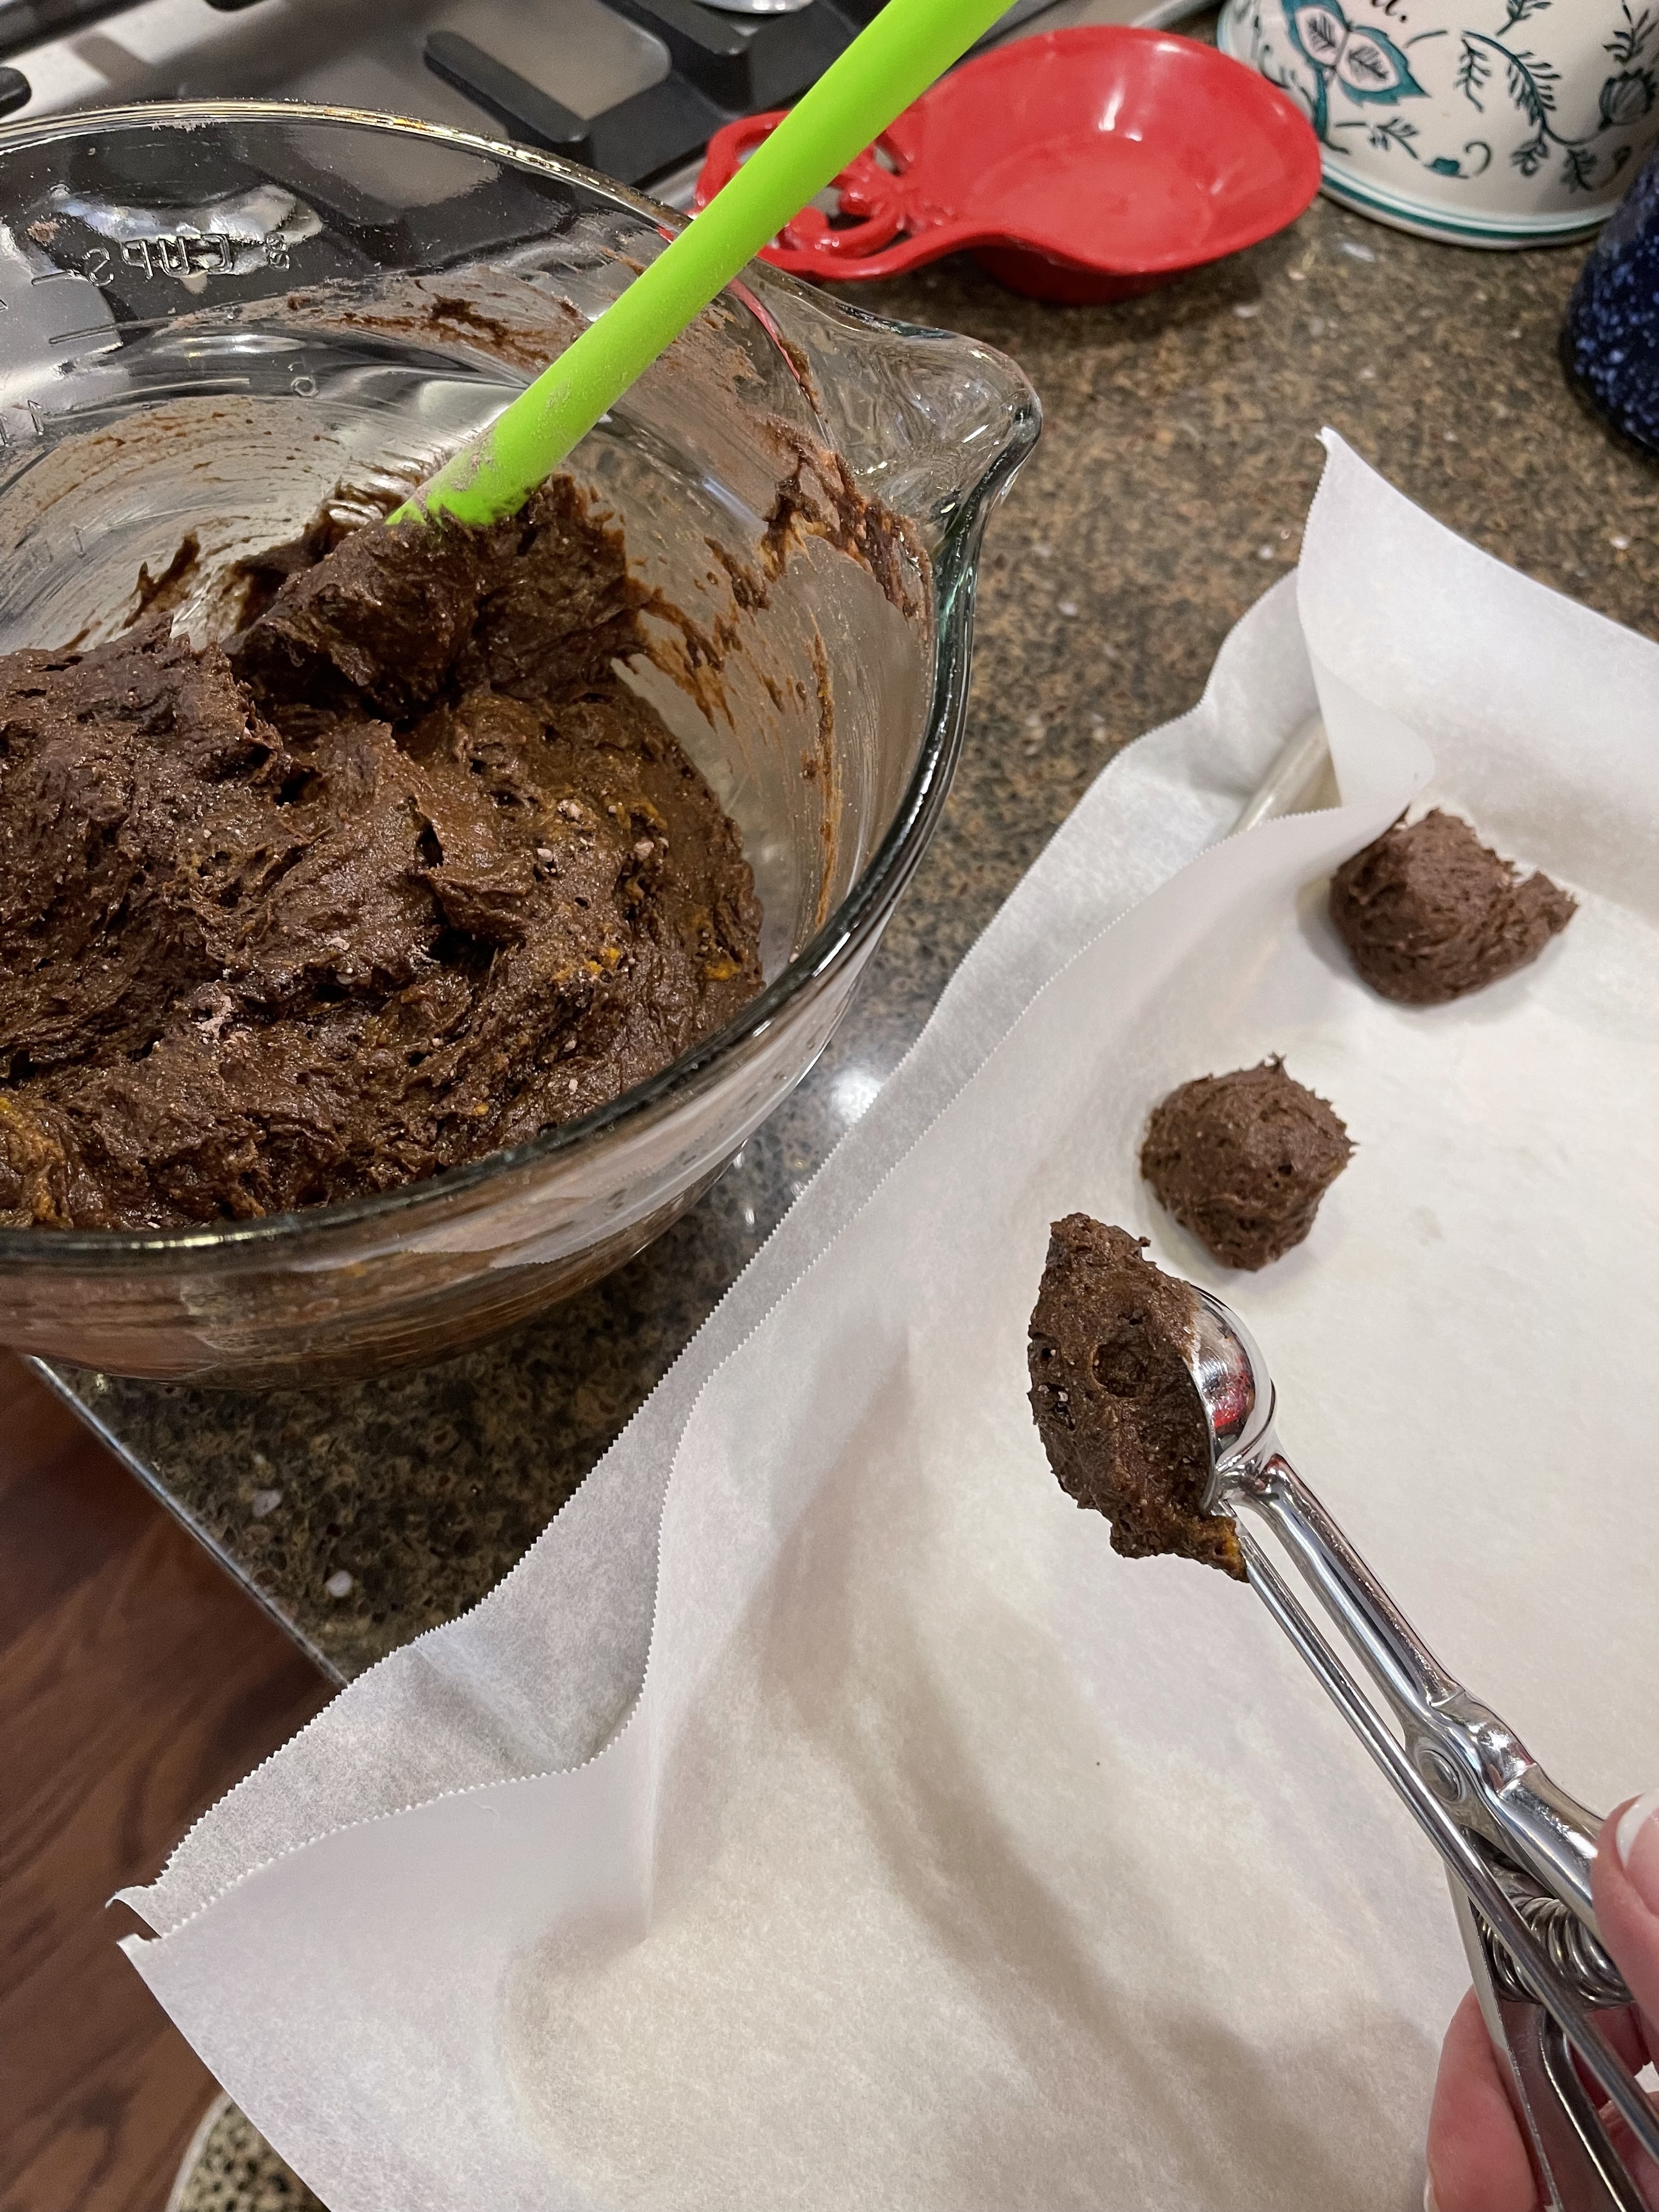
I call these “Thank You Muffins” because I make them to thank anyone who comes to my house – our landscapers, the mulch guys, the electrician, the plumber, the septic guys, and sometimes even our UPS guy! It’s my personal way of letting them all know how much I appreciate the work these people do to make my life easier… and doesn’t everyone like to know they are appreciated?
I’ve been sharing this recipe for years… and I don’t think I’ll be stopping anytime soon. I love having a recipe in my arsenal that uses a short list of ingredients, comes together quickly, and is (in my opinion) fool-proof… this recipe hits every one of those criteria!
Chocolate Thank You Muffins
INGREDIENTS:
1 box cake mix – I used chocolate cake, but you can use any flavor or brand you like best. Sale brands are great to keep on hand for this recipe.
1 can solid pack pumpkin – I typically buy 10 cans at a time, simply so I am always able to whip up a batch of muffins whenever needed
A small handful of Mini chocolate chips – off-brands are fine to use – they play a supporting role in this recipe.
A small amount of wine – I use red wine with chocolate, carrot cake, or spice cake muffins…. white wine with yellow cake, or anywhere I don’t want that pink hue to show. This is a great way to use up any “leftover wine”.
DIRECTIONS:
Preheat your oven to 375*F
Cover two large cookie trays with parchment paper.
Put your ingredients into a large mixing bowl and stir until thoroughly combined. If using a carrot cake recipe, feel free to let the mixture rest a little to allow the dehydrated carrots to plump a bit… it’s not necessary, but can help as you’re doling the mixture onto trays.
Scoop mixture onto cookie trays using a small cookie scoop. NOTE: I use the smallest cookie scoop from Pampered Chef, but will occasionally use the medium sized cookie scoop. The only difference will be in your cooking time and the number of muffin balls you can make. If I use the smallest scoop, I can make approximately 25 muffin balls/tray. Using the medium scoop only allows me to make approximately 18 muffin balls/tray.
Bake muffins in preheated 375* oven for 15-18 minutes (18-22 min for medium muffins).
Remove and allow to cool – I pull the muffins/parchment off the tray so the bottoms of the muffins don’t continue to cook.
Here are some photos of the process:
A “large” example of a “handful” of chips.The dry red wine I used for these muffins: @BoordyVineyards South Mountain RedScooping the muffin mixture onto a prepared tray, using the small scoopTwo trays of Thank You muffins go into the oven
Another alternative is to make this recipe into full-sized muffins, using a muffin tin, or even baking it in a 9×13 baking pan and cutting into pieces. The recipe itself is incredibly adaptable, but your baking times will need to be adjusted. I love having bites of cake to share with people, so this is my personal preference.
I hope you find this recipe helpful. I have written it down a few different times and have made many different versions, all of which have been delicious. Feel free to message me here, or on my FromTheBottomOfAWineBottle Facebook page, if you have any questions!